Advertisement
Quick Links
MicroLite Quick Start Guide
2012
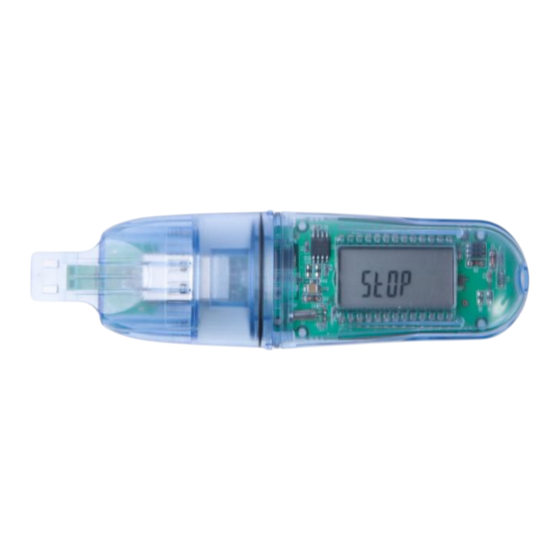
MicroLite Layout
Logger
cap
USB
interface
MicroLite with external input in cap
General Specifications (of all MicroLite Models)
LITE5008P/LITE5032P (Internal Temp)
Range: -40 to 80 °C Accuracy: ± 0.3 °C
LITE5032P (Temp/RH)
Temp Range: -40 to 80 °C Accuracy: ± 0.3 °C
RH Range:
5 to 95 % Accuracy: ±
LITE5032P-EXT (External NTC Temp input)
Range: -50 to 150 °C Accuracy: ± 0.3 °C
LITE5032P-4/20 (External Current input)
Range: 4 to 20 mA
Accuracy: ± 20 µA
LITE5032P-V (External Voltage input)
Range: 0 to 10 V
Accuracy: ± 5 V
www.fourtec.com | support@fourtec.com
LCD
screen
Battery
holder
LED
Magnet
holder
Cradle for wall
mounting
Memory: 8,000 or 32,000 samples
(cyclic)
Sampling Rate: Once per second to
once every 18 hours
Operating Mode: Timer Run,
2 %RH
Immediate Start, Push to Run (with
magnet)
Battery Life: Up to 2 years
depending on sampling rate,
operating conditions
Power Supply: Replaceable 3V
CR2032 battery
Rev B, Jan-14, PN:
Installing the DataSuite Software
1. DataSuite software is used to configure the MicroLite as well as download and
analyze the recorded data. Download the free DataSuite software from the
www.fourtec.com
2. Run the setup file to install the Windows ® software on Windows XP, Vista or
7 (32 or 64-bit). Follow the instructions to complete the installation.
Temp/RH
3. Double-click the DataSuite desktop shortcut to launch the software. After the
sensor
location
configuration screens are completed, connect the MicroLite to the computer.
Connecting the MicroLite to the Computer
1. Only once the DataSuite software has been installed, connect the MicroLite
data logger via the USB interface. Following detection by the PC, the MicroLite
icon will appear in the main DataSuite window:
2. If the logger icon does not appear, ensure the device is properly connected to
the USB port and go to Devices > Detect Device from the main menu.
Configuring the MicroLite from the DataSuite Software
1. Right-click on the MicroLite icon in the main DataSuite window and select
Setup from the context menu to launch the Setup window.
2. In the Properties tab, configure the relevant parameters e.g. sampling rate,
temperature scale, operation options, cyclic mode, unit comment, etc.
3. In the Sensors tab, if the MicroLite must be configured with alarm levels, select
the alarm checkbox and enter the specific Low and High alarm values.
4. In the Boomerang Report tab, enable the Boomerang checkbox to configure
this feature for automatically sending PDF data report via email when MicroLite
is connected to another computer. Refer to the Boomerang section for more
details.
5. From any tabs, click Setup and Run to start logging or Setup to run the logger
later. The MicroLite icon will appear as follows when in Run mode:
6. To stop the MicroLite when connected to the computer, right-click the
MicroLite icon and select Stop from the context menu.
Page 1
50257,
© Fourtec – Fourier Technologies
homepage.
.
P
.
Advertisement

Subscribe to Our Youtube Channel
Summary of Contents for Fourtec MicroLite
- Page 1 Sampling Rate: Once per second to LITE5032P (Temp/RH) 3. In the Sensors tab, if the MicroLite must be configured with alarm levels, select once every 18 hours Temp Range: -40 to 80 °C Accuracy: ± 0.3 °C the alarm checkbox and enter the specific Low and High alarm values.
- Page 2 DataSuite installed with an Internet connection. Go 1. Connect the MicroLite to the computer. The logger is immediately detected and to Tools > Options > Email Settings and use the Test Email function in the Email Profile Manager to verify the Email settings are working correctly.

Need help?
Do you have a question about the MicroLite and is the answer not in the manual?
Questions and answers