Advertisement
Quick Links
Models:
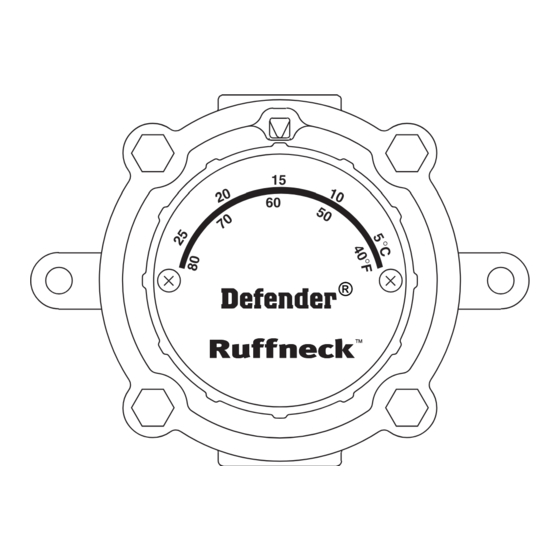
Thermostat for use in Hazardous Locations
Defender
®
Installation Instructions
22 Amps Res., 480 VAC Max.; 1/2 HP @ 125 VAC, 1 HP @ 250 VAC Cla
Feed-thru Models: XT-311 SPST, XT-312 SPDT
1 & 2, Groups C & D; Class II, Division 1, Groups E, F & G; Class II, Divis
22 Amps Res., 480V AC Max.; 1/2 HP @ 125V AC, 1 HP @ 250V AC
F & G; Class III; Class I, Zones 1 & 2, Groups IIA & IIB.
Class I, Divisions 1 & 2, Groups C & D; Class II, Division 1, Groups E,
F & G; Class II, Division 2, Groups F & G; Class III; Class I, Zones 1 &
2, Groups IIA & IIB.
CAUTION: Electrician must have experience with Hazardous Location eq
Disconnect and lock off power supply before wiring or servicing. All wiring
with local codes and ordinances.
1.
Mount thermostat
CAUTION. Electrician must have experience with
approximately 5' (1.5m)
Hazardous Location equipment. Disconnect and lock off
above the floor where
CAUTION
power supply before wiring or servicing. All wiring must
average room temperature
comply with local codes and ordinances.
will be sensed and air
Step 1
circulates freely. Keep
thermostat away from hot
Mount thermostat approximately 5' (1.5 m) above the floor where
average room temperature will be sensed and air circulates freely.
and cold surfaces.
Keep thermostat away from hot and cold surfaces.
2.
Wire switch terminals as per
Step 2
Fig. 1 or 2.
Wire switch terminals as per Fig. 1 or 2.
3.
Install the cover using the 4
Step 3
bolts supplied and tighten
4.
Fill any unused conduit
Install the cover using the 4 bolts supplied and tighten.
opening using plug supplied.
Step 4
Fill any unused conduit opening using plug supplied.
11936.Rev.1.00
®
Feed-thru Models
XT-311 SPST
XT-312 SPDT
Thermostat for use in hazardous
Models:
Feed-thru Models
XT-311 SPST
XT-312 SPDT
HEAT
COOL
COM.
22 Amps Res., 480 VAC Max.; 1/2 HP @
1 & 2, Groups C & D; Class II, Division 1
F & G; Class III; Class I, Zones 1 & 2, Gr
I F
G
.
1
CAUTION: Electrician must have experie
Disconnect and lock off power supply be
HEAT
COOL
COM.
with local codes and ordinances.
1.
Mount thermostat
approximately 5' (1.5m)
above the floor where
I F
G
.
2
average room temperature
will be sensed and air
circulates freely. Keep
thermostat away from hot
and cold surfaces.
2.
Wire switch terminals as per
Fig. 1 or 2.
3.
Install the cover using the 4
bolts supplied and tighten
4.
Fill any unused conduit
5918 Roper Road
opening using plug supplied.
Edmonton, AB T6B 3E1
Installation
ISO 9001
Defen
Thermos
®
COOLING EQUIPMENT
X
T
HEAT
A
l l
M
o
5918 Roper Road
I F
G
.
Edmonton, Alberta
Canada T6B 3E1
www.ccithermal.com
HEAT
1.800.661.8529
www.ruffneck.com
I F
G
.
Part No. 11936.Rev.1.02
August 2018
L1
L2
3 -
1
2
L1
L2
COO
d
e
s l
1-8
1
PH
FX
Info
COO
2
Advertisement

Related Manuals for Ruffneck Defender XT-311 SPST

Summary of Contents for Ruffneck Defender XT-311 SPST
-
Page 1: Installation Instructions
Fig. 1 or 2. www.ccithermal.com Info HEAT Install the cover using the 4 bolts supplied and tighten 11936.Rev.1.00 Fill any unused conduit 5918 Roper Road 1.800.661.8529 opening using plug supplied. Edmonton, AB T6B 3E1 www.ruffneck.com Part No. 11936.Rev.1.02 August 2018... - Page 2 Wire switch terminals as per Fig. 1 or 2. HEAT Install the cover using the 4 bolts supplied and tighten 5918 Roper Road 1.800.661.8529 Fill any unused conduit Edmonton, AB T6B 3E1 www.ruffneck.com opening using plug supplied. Part N . 11936.Rev.1.02 août 2018...
Need help?
Do you have a question about the Defender XT-311 SPST and is the answer not in the manual?
Questions and answers