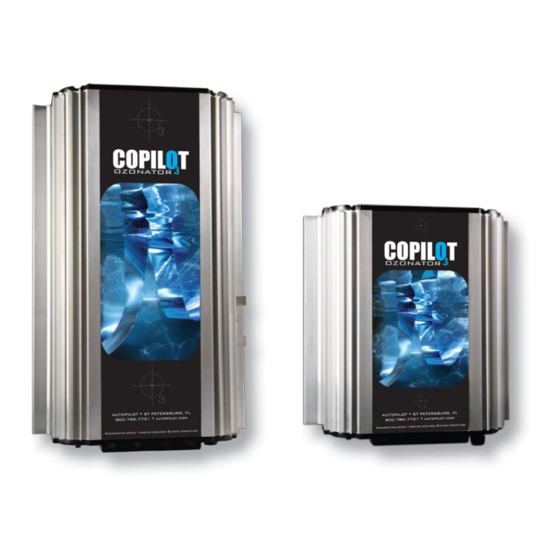
Summary of Contents for Autopilot CoPilot Ozonator 3
- Page 1 Corona Discharge Ozone Generators INSTALLATION & OPERATION MANUAL P/N: 4-1397-01 Rev.G...
-
Page 2: Table Of Contents
CoPilot Corona Discharge Ozone Generators Table of Contents SECTION 4 SECTION 1 General Information Maintenance & Service 1A Dimensions ..............1 4A System Electromechanical Overview .......4 4B System Maintenance ..........4 1B Description ...............2 1C Specifi cations ............2 4C Generator Servicing ..........4 1D Warranty Summary ..........2 4D Troubleshooting ............5 4E Contact Information ..........5... -
Page 3: General Information
CoPilot Corona Discharge Ozone Generators SECTION 1 General Information General Information 1A Dimensions. (All dimensions are in inches [millimeters]) 10.3 15.0 13.6 COP-1-A: NEMA 5-15P, 44IN LONG COP-2-A: 1/2 THREADED CONDUIT COP-A-CE: OPEN 18-3 CORD 44IN LONG COP-2-B: 1/2 THREADED CONDUIT COP-B-CE: OPEN 18-3 CORD, 44IN LONG Models: COP-1-A, COP-2-A, &... -
Page 4: Description
Figure 1. Mount generator in a clean, protected area, either benefi ts of ozonated water to your AutoPilot system in an indoors or outdoors (preferably out of direct sunlight). Locate environmentally safe and effective manner. -
Page 5: Operation
CoPilot Corona Discharge Ozone Generators 2D-2 Special considerations for the AutoPilot Combina- 5. The base of the CoPilot has two tube connections. Con- tion Manifold nect the longer end of the ozone supply tubing to the port marked "OZONE" (see Bottom View - Figure 3). -
Page 6: Maintenance & Service
CoPilot Corona Discharge Ozone Generators 1. Disconnect the power to the ozone generator. of water in the CoPilot may void the warranty. 2. After the ozone generator has been shut down, the pool WARNING: Do NOT touch the ends of the Ozone Check Valve water circulation pump may be turned off. -
Page 7: Troubleshooting
CoPilot Corona Discharge Ozone Generators the support bracket. 4. Disconnect the plastic power connector between the power supply and wire harness. 5. Remove the two screws that secure the power supply to the metal base. 6. Install the new ozone module by reversing the above steps. 4D. -
Page 8: Replacement Parts And Ordering Information
CoPilot Corona Discharge Ozone Generators SECTION 5 Replacement Parts and Order Information Replacement Parts and Order Information 5A. Standard Replacement Parts List: Ozone Module, COP-1-A, COP-2-A, & COP-2-B ............9-0789-01 Ozone Module, COP-A-CE & COP-B-CE ..............9-0789-02 Indicator Board, All CoPilot units ..................9-0789-03 Transformer, Ozone Power Supply, COP-2-A &...


Need help?
Do you have a question about the CoPilot Ozonator 3 and is the answer not in the manual?
Questions and answers