Advertisement
Quick Links
INSTALLATION GUIDE
1
CONNECTION AND INSTALLATION
i
The handset starts automatically after it
4
is placed on the charger cradle or the
micro connector is connected.
5
1
If the battery is completely discharged,
put the handset on the charger cradle
for at least 20 minutes.
6
3
2
For
optimal
use,
OR
7
Phone
protective film from the screen.
Telephone socket
Gateway
9
Sagemcom
10
8
15H
OR
To avoid the risk of explosion, only use the battery provided in the pack.
2
USING THE TOUCH SCREEN
Touch/Press
Swipe
Press one time the touch screen to access
You can scroll quickly the lists
a menu, launch an application, confirm an
or the screens to up/down or
action...
left/right.
Hold down
Pinch
Hold down the finger on the item until the
telephone vibrates.
On the screen, pinch two
fingers together to zoom out
You can then:
or spread them apart to zoom
in for images or webpages.
- from the desktop:
change the location of item,
delete the item.
- from the list of applications :
Rotate the handset
add a shortcut on the desktop
Rotate handset to display landscape mode.
- unlock the touch screen
- In case of a call:
accepting / rejecting the call
3
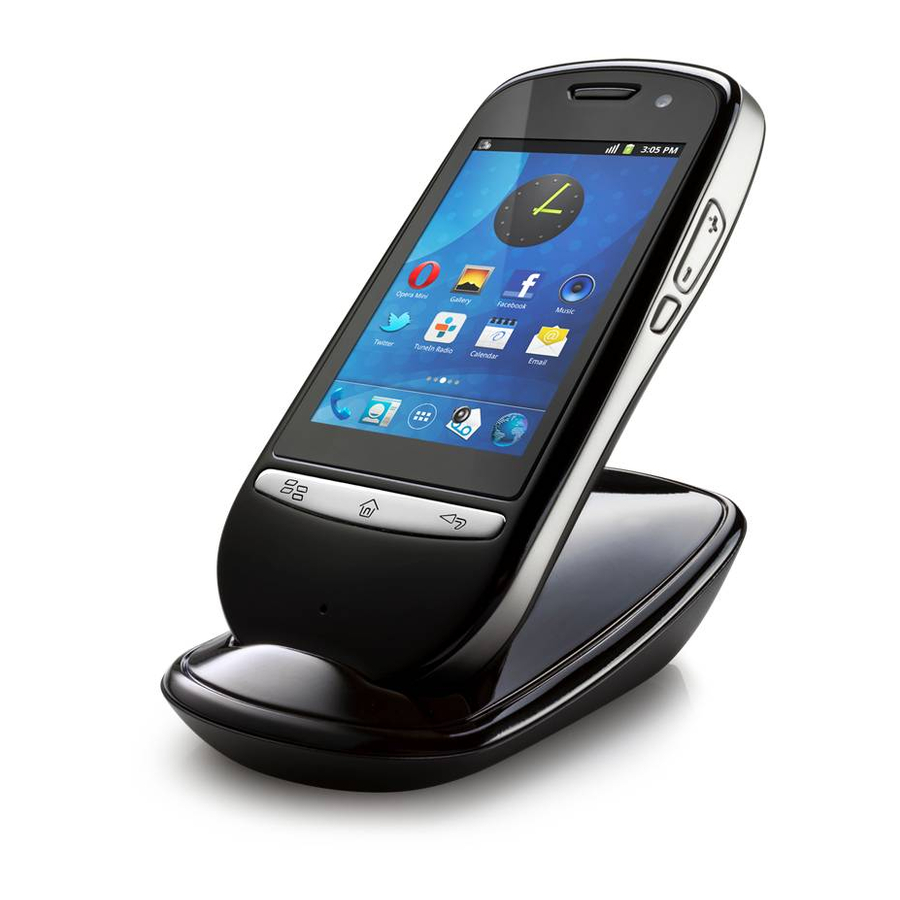
YOUR TELEPHONE
1- The handset
EN
Key «Home»:
press to return to the home screen
from any screen.
Hold down to display the last launched
applications
Key «Menu»:
display the menu according to the
context of use.
Location of the microSD card
(already inserted)
remove
the
Micro-USB socket
Connector of the charger cradle
2- Status bar
Status bar
Gives information about the handset activity. To obtain more information, slide down the status bar to display the notification pane.
Example of icons that can be displayed on the status bar:
WiFi signal (enable)
Software update available
Number of handset
New answering machine message(s)
Desktop
Wallpaper: to change it,
from the desktop press :
«Wallpaper»
Shortcuts: touch to launch the desired
application
Quick start bar
Numerical keypad : touch to access
the dialling keypad
Phonebook : touch to access
the phonebook
Touch to access the complete list of
applications / configuration menus...
* widget is an application used from the desktop. By default, a numerical key-pad is installed as a widget.
4
CONFIGURATION WIZARD
When the handset start the first time, an assistant allows you to configure the main parameters.
1- Select the language of the menus
Camera
Key «Vol. +»:
1
2
press to increase the volume
Access the list
of languages
Scroll the list
of languages
Key «Vol. -»:
press to reduce the volume
Key «ON/OFF/Stand-by »:
ON : hold down
2- Configure the WiFi
OFF : hold down
Stand-by : press to switch off the
screen / press to switch on the screen.
Key «Back»:
press to return to the previous screen,
close the virtual keypad,
Close the menu of options
1
3
2
Access
Select your
Active the WiFi
Jack socket (3.5 mm) for headphones
the configuration
WiFi device
7
8
6
Confirm
Press "Done"
(Connect)
DECT signal
i
You can configure the WiFi connection later from the «Settings» menu.
Battery status
Time
3- Registering the handset to the base (pairing)
If the
icon appears on the screen, the handset is correctly registered to the base. Skip this configuration step by pressing «Next».
If the
icon appears on the screen, proceed as follows:
Widget* : to add a widget
from the desktop press:
Indicator light
«Add»
«Widgets»
Button
2
Hold down the button located
1
behind the base (more than 3
Access to
Active page of extended desktop.
seconds) until the indicator
the pairing
You can browse through the 5 pages of
flashes
extended desktop by flicking the screen
to the right or the left
i
If you need to associate the
Alium
handset later (or another handset), refer to the pairing section in the complete user
manual available online at www.sagemcom.com in the section «support».
Touch to launch the web browser
4- Select the country
Touch to access the answering machine
1
2
Access the list
Scroll the list
of countries
of countries
5- Set date and time
1
Perform the required
settings.
4
You can set:
3
Select the
Confirm and go
language
the next setting
5
ACCESS TO THE MENU
1
Turn on the screen (if required)
4
5
Enter the password
Select the input field
Accessing the «Contacts» menu
of the WiFi device
The first time you access to the «Contacts» menu, a guide explains the process to add a new contact.
To add a new contact:
9
Press
Touch
If
, confirm
and go to the next setting
i
You can also access the «Contacts» menu by pressing
If
, restart
the process (without step2)
To access the «Settings» menu
Back to the
previous menu
The «Settings» menu allows to modify your telephone settings: WiFi, DECT, Display, Locking screen, Date and Time...
Example: to modify the call ring tone
Sound
4
6
COMMUNICATION
If
, Confirm
and go to the next
1- Making an external call
setting
From the key-pad widget
If
, restart
the process
3
Active the handset
1
registration
Go to desktop page
which contains
the key-pad widget
i
You can also access the dialing keypad by pressing
From the Phonebook
3
4
1
Select the country where
Confirm and go to
Access the
the handset will be used
the next setting
«Contacts» menu
GMT
the
2
timezone
Finish
09:26:30
the configuration
the time
10/04/13
the date
2
3
Access the applications /
Launch the application or
menu
access the menu
«New contact»
Enter the information required
Press
«Done»
from the quick start bar.
Ring tone 'X'
Phone ringtone
OK
OK
2
3
4
Dial
The call
Call
the number
screen appears
from the quick start bar.
2
3
Select the contact
Call the contact
Advertisement

Summary of Contents for SAGEMCOM ALIUM
- Page 1 Alium handset later (or another handset), refer to the pairing section in the complete user Hold down the finger on the item until the manual available online at www.sagemcom.com in the section «support». telephone vibrates. On the screen, pinch two Quick start bar fingers together to zoom out...
- Page 2 250, route de l'Empereur - 92848 Rueil-Malmaison Cedex - France In the cases set forth in B) as well as after expiry of the guarantee period, the customer must ask the Authorised Sagemcom Repair Centre for a cost estimation prior to work being carried out. In such cases, the repair and delivery costs will be invoiced to the customer.