Table of Contents

Summary of Contents for Peak PKC0VER
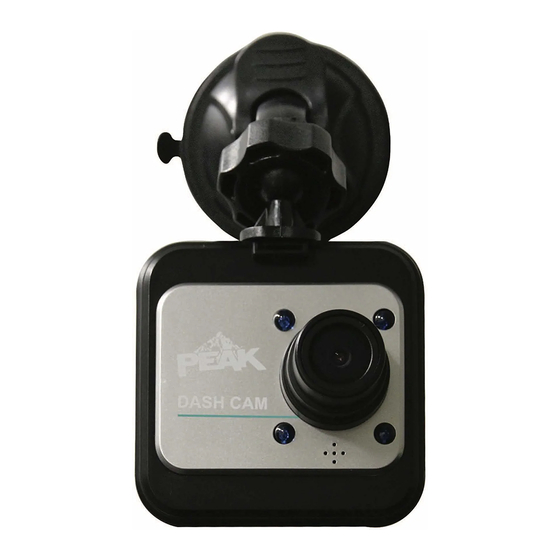
- Page 1 2.4-inch Dash Cam Model No.: PKC0VER Owner’s Manual and Warranty Information SETTINGS RW / UP SELECT FW / DOWN BACK MODE Read these instructions completely before using this product. Retain this Owner’s Manual for future reference. 2016 6/16...
-
Page 2: Table Of Contents
CONTENTS SAFETY PRECAUTIONS ........................ 2 Dash Cam Safety ........................2 Vehicle Installation Warnings ....................3 INTRODUCTION ..........................3 FEATURES ............................3 QUICK START GUIDE ........................5 INSTALLATION ..........................6 Initial Setup ..........................6 General Settings ........................7 Simple Operation ........................7 SETUP ............................. -
Page 3: Vehicle Installation Warnings
INTRODUCTION The PEAK® Dash Cam is a video recording camera intended to capture incidents while driving. It provides video evidence when you need it the most. The recorded footage can be played back on the 2.4 inch screen or downloaded to be reviewed on another device. The video footage can be protected after it FEATURES 2.4-inch LCD screen displays footage being recorded... - Page 4 SETTINGS RW / UP SELECT FW / DOWN BACK MODE 14 13 11 10 Legend Power ON/OFF Button Power ON/OFF LED 13. Select Button 360-Degree Swivel Ball Micro USB Charge/ 14. Rewind/Scroll Up Button Joint Suction Mount Download Cable 15. Settings Button Night Vision Infrared LEDs 12/24-volt DC Charge 16.
-
Page 5: Quick Start Guide
QUICK START GUIDE Buttons Description Function Power ON/OFF Settings Allows you to set up video and camera settings Rewind/Scroll UP In Playback Mode the RW/UP button allows you scroll to select the video to view. In Playback Mode when playing video, the RW/UP button will rewind the current video. -
Page 6: Installation
INSTALLATION Please review the Vehicle Installation Warnings prior to installing the Dash Cam in your vehicle. Find a mounting surface inside the vehicle for the Dash Cam where it can be easily seen, but is not near the rearview mirror assembly or in any other position where it can obstruct your vision when driving. -
Page 7: General Settings
General Settings To change the settings for the microphone, loop recording, date/time stamp and other general settings, press the Settings button until the Setup icon is highlighted. Use the RW/UP and FW/DOWN Arrow buttons to select the desired feature and use the Select Within the selected feature use the RW/UP and FW/DOWN Arrow buttons to select the desired Simple Operation To manually start and stop recording a video:... -
Page 8: Camera Mode
Camera Mode To adjust the settings for Camera Mode, press the Settings button and highlight the Camera Mode Setting Menu Icon Use the RW/UP and FW/DOWN Arrow buttons to select the desired feature and use the Select button to select the feature. Within the selected feature use the RW/UP and FW/DOWN Arrow buttons to select the desired Description Function... -
Page 9: Operation
Description Function Date/Time Sets up Date/Time Screen Saver 3 min, 5 min, 10 min. 1 min, 3 min. Beep Sound Enables sound when each button is pressed. Volume Controls the volume of the video. (0 low - 7 high) Enable the ability to record sound. Microphone Enables the ability to record videos in the dark. - Page 10 been taken. To view a recorded video or picture Press the Mode button and continue clicking until the Playback Arrow Icon is highlighted. The want to view. three functions. When the desired function is highlighted, press the Select button to activate the function. Option 1: Option 2: Press the Mode button and continue clicking until the Playback Arrow Icon...
-
Page 11: Charging Guidelines And Precautions
CHARGING GUIDELINES AND PRECAUTIONS Failing to follow the guidelines below may shorten the lifespan of the battery or damage the internal battery. Only charge the battery using a 12V or 24V system and the cables supplied with the Dash Cam. Never charge the Dash Cam using any other cables than the supplied cables. Option 1: Plug the Dash Cam 12V/24V DC charge cable into the Dash Cam’s micro USB charging port and the other end into the vehicle’s 12-volt or 24-volt DC power socket to start charging. -
Page 12: Fcc Information
State law prohibits drivers in California and Minnesota from using suction mounts on their windshields while operating motor vehicles. Other dashboard or friction mounting options should be used. PEAK® of disregarding this notice. (See California Vehicle Code Section 26708(a); Minnesota Statutes 2005,... -
Page 13: Troubleshooting
Problem Situation Action Monitor is blank or No power to Dash Cam Ensure that the charging cable unclear is connected correctly to the micro USB port and the 12V or 24V DC power socket. Turn on the Dash Cam by pressing the Power ON/OFF button.
Need help?
Do you have a question about the PKC0VER and is the answer not in the manual?
Questions and answers