Advertisement
Pana40Plus
Installation Guide
Ref. No. 843 852GB Version 1
Installation
+
Note:
+
2D detectors require 2D Pana40 Plus Controller
+
3D detectors require 3D Pana40 Plus Controller
1.
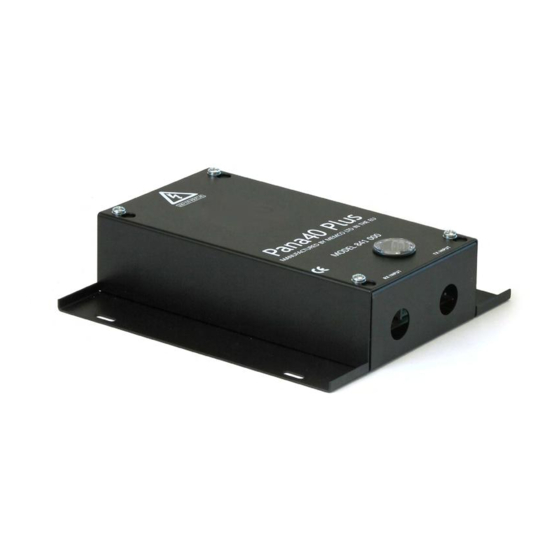
Secure Pana40 Plus Controller in a suitable position on
top of car to avoid damage.
2.
Connect the Controller with the correct mains supply
voltage and Inputs (see instruction label inside lid).
3.
It is important to ensure that the detector cables and
travelling cables (015 199) are secured to the door
correctly and that the travelling cable is routed to the
controller correctly.
4.
Connect the Transmit (TX) and Receive (RX) leads into
the Controller sockets as marked
Set-up for 3D model controllers
3D Operating Mode
Switch 1
As Doors Close
OFF
At 2'8" (800mm)
OFF
3D timeout - 20 seconds
ON
3D timeout - 10 seconds
ON
3D Sensitivity
Switch 3
Highest
ON
Intermediate
OFF
Normal
ON
Off
OFF
2D / 3D Controllers
5.
On completion, carefully open & shut doors by hand to
check the travelling cable (015 199) has a smooth free
movement and is not liable to snag on anything during
normal operation otherwise there is a risk of leads being
damaged by the lift doors or caught up when lift moves.
6.
Correct operation will show display showing 3 bars
scanning up/down. If this is not observed, switch
number SW3 ON and check trouble shooting guide, card
is located on the side of the controller lid.
7.
Static Installation Jumper J1 needs to be over both pins
(See instruction label inside lid).
Switch 2
To configure 3D Pana40 Plus Controller:
OFF
+
Fit the Pana40 Plus 3D detectors (Models 77X) to the
controller.
ON
+
All 3D controllers are factory set as: 3D activated settings
OFF
'as door close' on 'Highest' sensitivity'.
ON
+
Select the 3D Operating Mode using switches 1 & 2 if
necessary (see Table 1 opposite)
Switch 4
+
Adjust the 3D Sensitivity using switches 3 & 4 if
ON
necessary (see Table 1)
ON
OFF
OFF
Table 1
Advertisement
Table of Contents

Summary of Contents for Janus Pana40 Plus 3D
- Page 1 Switch 1 Switch 2 To configure 3D Pana40 Plus Controller: As Doors Close Fit the Pana40 Plus 3D detectors (Models 77X) to the controller. At 2’8” (800mm) All 3D controllers are factory set as: 3D activated settings 3D timeout - 20 seconds ‘as door close’...
- Page 2 As doors close - Switches 1 & 2 both OFF. If the light curtain is broken at any time, the timer will then 3D proximity detection will be activated as the doors be reset and the door operator relay is de-energised begin to close.
Need help?
Do you have a question about the Pana40 Plus 3D and is the answer not in the manual?
Questions and answers