Advertisement
Quick Links
Installation Diagram
Self
Adhesive
Str
ips
Camera
Door hole
Package Contents
Camera
Eques Technology Co., Limited
Add: Room301,Building 1,No.168 Jixin Road
Minhang District, Shanghai, China.
Bracket
Tel: +86 21 54389062
Email: info@eques.com.cn
Website: www.eques.com.cn
Camera
1 piece
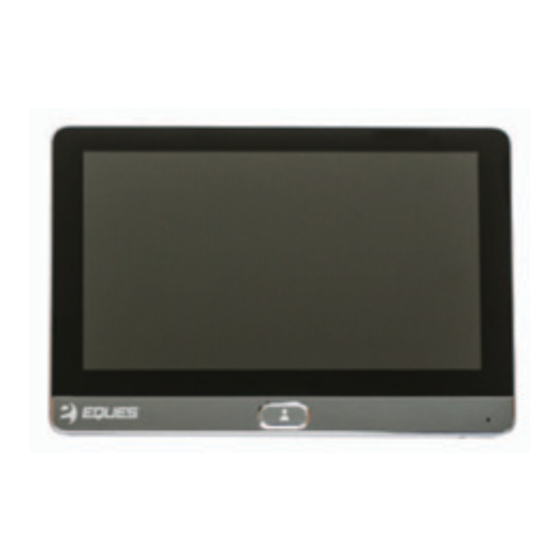
Screen
1 piece
Installation
1
Bracket
Screen
Door
Attach two bolts to the camera
loosely.
Ribbon cable
3
Bolts
Main key
Pass the ribbon cable through the
door hole.
5
Screen
USB cable
Hold the bracket upright(see the UP
Bolts
Charger
arrow on the bracket),slide the ribbon
cable through the middle slot on the
bracket.
Charger
1 piece
Bolts
3 pairs
Bracket
1 piece
USB cable
1 piece
7
8
2
Peel off the protective film from the
Slide the bracket to the left and
Plug the ribbon cable into the port
adhesive strips.
tighten the bolts.
on the back of the screen.
4
9
10
Fasten the camera by pressing it
Hang the screen with the concave on its
Swing the lower screen toward the
lower bracket.The strong magnet will
firmly onto the door.
back aligning with the top of the bracket.
hold two parts together firmly.
6
11
Align the round end of the top and
Press and hold the Power key for 3
bottom slots on the bracket with the
seconds to turn the power on.
two bolts on the camera, then slide the
bracket toward the camera.
① Sleeping mode, press the main key to show the home screen.
② Press main key to see real time
video under home screen.
③ Press"< BACK"to exit.
Wi-Fi Video Doorbell R22
User Manual
Press this
Press this
Press this
icon to snapshot, press"< BACK"to exit.
icon to snapshot, press"< BACK"to exit.
icon to snapshot, press"< BACK"to exit.
APP Download
Advertisement

Summary of Contents for Eques R22
-
Page 1: User Manual
Camera Screen USB cable Wi-Fi Video Doorbell R22 Eques Technology Co., Limited User Manual Add: Room301,Building 1,No.168 Jixin Road Hold the bracket upright(see the UP Align the round end of the top and Press and hold the Power key for 3 Minhang District, Shanghai, China. - Page 2 Install App, click the icon to run it. ② 3. For door thickness range of 90-110mm, choose 80mm bolts. Click the R22 icon to view real time video directly. Parts Description If bound successfully, the device How to add device will communicate with your cell phone via WiFi.It intercepts a...
Need help?
Do you have a question about the R22 and is the answer not in the manual?
Questions and answers