Table of Contents
Advertisement
Quick Links
Advertisement
Table of Contents

Summary of Contents for elink EK142CAM
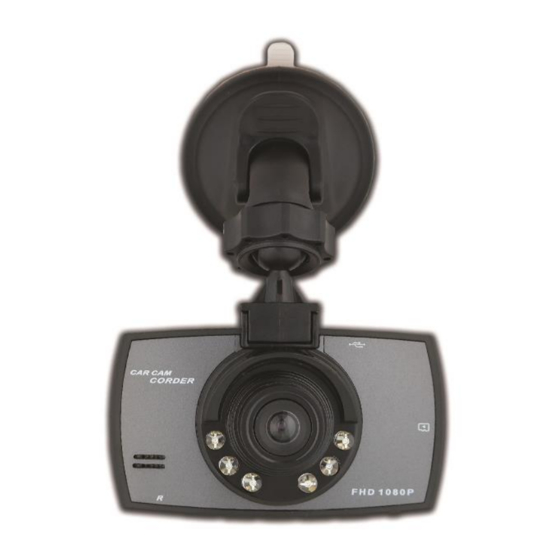
- Page 1 SLIMLINE DASH CAM Audio & Video Recorder...
-
Page 2: Getting Started
EK142CAM INSTRUCTION MANUAL PLEASE READ ALL INSTRUCTIONS CAREFULLY AND RETAIN FOR FUTURE USE Getting Started Remove the Car Digital Video Recorder from the box. Remove any packaging from the product. Please retain all packaging until you have checked and counted all the parts and the contents against the parts list. - Page 3 Description of Parts Reset Button Down Button Mode Button OK Button Menu Button Up Button ON/OFF Power Button – Long press for ON/OFF, short press to open or close the IR LED Micro SD card slot Speaker Bracket port Mini USB Port (Charging & Syncing) IR LED Lens LED light indicator...
-
Page 4: Camera Mode
Charging the built-in Li-ion battery: Connect the Car Charger (included) with Mini USB Port, or connect the DVR with USB power source (excluding from computer) by USB Charge & Sync cable (included). It can charge even when it’s switched off. While charging, the indicator light turns red. -
Page 5: Technical Specifications
A. Video mode 1. Size: Select 1080P/720P/VGA 2. Time Stamp: Select Off/On 3. Motion Detect: Select Off/On Note: In “Motion Detect” mode, it will begin recording automatically on detecting motion and will stop recording when there’s no movement around. 4. Video Time: Select Off/1 Min/3 Min/5 Min/10 Min to determine length of each run that should be stored. - Page 6 5. Photo format: JPG 6. Power source: Built-in rechargeable Li-ion battery 3.7V 200mAh or 12V/24V Car Charger – output 5V 1A 7. Supports Micro SD card (up to 32GB) 8. Microphone: can record sound 9. 2.4 inch TFT LCD screen 10.
Need help?
Do you have a question about the EK142CAM and is the answer not in the manual?
Questions and answers