Advertisement
White T-Shirt Transfers Use & Care Instructions
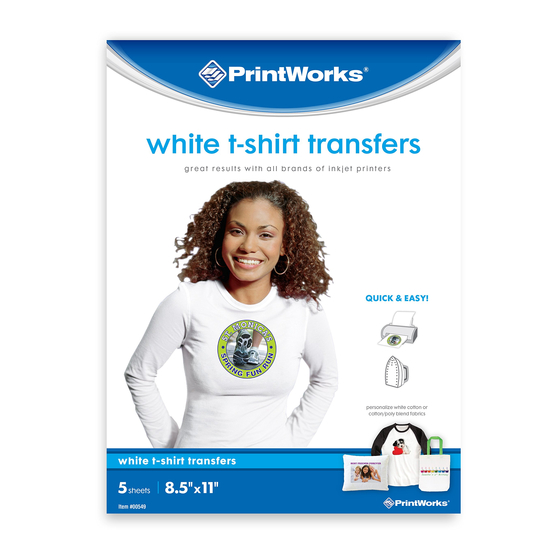
Printworks
White T-Shirt Transfers have a fade-resisting transfer formula and cool-peel technology that makes
®
printing, handling and washing them easy. Create personalized shirts, bags, hats and sports apparel for your
friends, family or next special event.
Printworks White T-Shirt Transfers are to be used on white cotton or cotton/poly blend fabrics.
DO NOT USE THIS TRANSFER PAPER WITH A LASER PRINTER! Using transfer paper
with a laser printer will result in permanent damage to the printer.
What you need
• Inkjet printer
• New, white cotton or cotton/poly blend fabric. Using this transfer paper on colored fabric will result in the fabric
color showing through the entire design.
• Pillowcase (this will be placed between your fabric and ironing surface)
• Household iron (for best results, check bottom of iron for smooth, flat surface to ensure 100% coverage when
ironing)
• Ironing surface (must be smooth, hard and non-porous. Do not use an ironing board.)
Preparing your fabric for transfer
Refer to the label to be sure your fabric is cotton or a cotton/poly blend. Iron your fabric, if necessary, to remove
any wrinkles. Allow fabric to cool before applying transfer.
Designing your transfer
You may use any computer software program that manipulates then prints images. The most commonly used are
Microsoft
Word and PowerPoint or Adobe
®
mind that this transfer is translucent and omit or void areas within the design will remain translucent after printing.
Printing your transfer
1. Your image must be printed as a REVERSE OR MIRROR IMAGE. This is especially important if your image
includes letters or numbers. Refer to your printer manual for instructions on settings to achieve a reversed or
mirrored image. If your printer does not have any of these options, you must reverse the image through your
software application.
2. Test Print: We recommend FIRST printing your image on a plain piece of paper to ensure desired size and
image location. (Note: You may do this is in fast or draft mode to conserve ink.)
3. Print on the blank side of the transfer. Load the transfer
paper into your printer according to your printer type.
4. Select Print from the File menu.
5. Click Preferences, Properties or Options (depending
on your printer) from the Print window.
6. Change the printer settings using the closest paper
type for Iron-On T-Shirt Transfers. Allow print to dry
for at least 30 minutes before proceeding to transfer.
For best results, read all instructions before proceeding!
Photoshop
®
. When designing the graphics and/or image, keep in
®
Front Loading Printers
Back of Sheet
(printed side)
Top Loading Printers
Front of Sheet
(blank side)
Advertisement
Table of Contents

Related Manuals for PrintWorks White T-Shirt Transfers

Summary of Contents for PrintWorks White T-Shirt Transfers
- Page 1 Create personalized shirts, bags, hats and sports apparel for your friends, family or next special event. Printworks White T-Shirt Transfers are to be used on white cotton or cotton/poly blend fabrics. For best results, read all instructions before proceeding! DO NOT USE THIS TRANSFER PAPER WITH A LASER PRINTER! Using transfer paper with a laser printer will result in permanent damage to the printer.
- Page 2 If ironing fabric is desired, do not iron directly on the transfer. Microsoft is a registered trademark of the Microsoft Corporation. Adobe is a registered trademark of Adobe Systems Incorporated. 800 Highland Drive | Westampton, NJ 08060 www.myprintworks.com or email us at printworks@pariscorp.com 3/14 (Item #00348)
Need help?
Do you have a question about the White T-Shirt Transfers and is the answer not in the manual?
Questions and answers