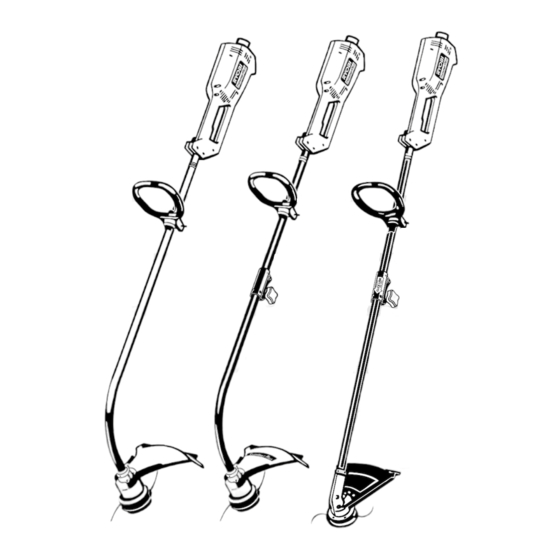
Summary of Contents for Ryobi 105r, 132r, 137r
- Page 1 105r, 132r, & 137r Electric Trimmers OPERATOR’S MANUAL FOR QUESTIONS, CALL 1-800-345-8746 in U.S. or 1-800-265-6778 in CANADA www.ryobi.com IMPORTANT MANUAL DO NOT THROW AWAY...
-
Page 2: Table Of Contents
A. Connecting the cord ....8 B. Starting the trimmer ....8 C. Holding the trimmer ....8 D. -
Page 3: Important Safety Information
Carefully read and understand the entire Operator's Manual before using your trimmer. Pay close attention to the Operating Instructions and Safety Warnings. READ ALL INSTRUCTIONS ELECTRICAL SAFETY WARNINGS •... -
Page 4: Before Operating
Also remove any objects that could be thrown during cutting. WHILE OPERATING • Use the right tool. Do not use this trimmer for any job except that for which it is intended. • Avoid accidental starting. Do not carry plugged-in unit with your finger on the switch. -
Page 5: Save These Instructions
The use of non-standard parts, or other accessories or attachments not designed for this trimmer, could result in serious injury to the user or damage to the trimmer and void your warranty. OTHER SAFETY WARNINGS • Disconnect the unit from the power supply... -
Page 6: Safety And International Symbols
SAFETY AND INTERNATIONAL SYMBOLS This operator's manual describes safety and international symbols and pictographs that may appear on this product. Read the operator's manual for complete safety, assembly, operating and maintenance and repair information. SYMBOL SAFETY WARNINGS • SAFETY ALERT SYMBOL Indicates danger, warning, or caution. -
Page 7: Assembly Instructions
INSTALLING THE STRING GUARD - MODELS 105r AND 132r WARNING: To avoid serious personal injury, never operate the trimmer without the string guard in place. 1. Place the string guard onto the boom above the clamp assembly (Fig. 3). -
Page 8: Installing The String Guard Model 137R
(Fig. 6). Fig. 6 OPERATING INSTRUCTIONS This trimmer has been designed and built to withstand normal use. It will provide many hours of service provided the operating instructions are closely followed. -
Page 9: Operating Two-Speed Switch
(attachment) boom. Hold the release button down while pushing the lower (attachment) boom into the Click-Link (Fig. 13). 2. FOR BASIC TRIMMING OR USING OTHER RYOBI ATTACHMENTS - Locate and lock the release button into the primary hole in the Click-Link (Fig. 13). Upper Boom 3. -
Page 10: Adjusting The Trimming Line Length
OPERATING INSTRUCTIONS ADJUSTING THE TRIMMING LINE LENGTH Your trimmer is equipped with a bump head, which allows the operator to release more trimming line without stopping the motor. As the line becomes frayed or worn, additional line can be released by lightly tapping the trimming head on the ground (Fig. -
Page 11: To Install New Trimming Line
MAINTENANCE AND REPAIR INSTRUCTIONS LINE INSTALLATION FOR THE ® SPEEDSPOOL The trimming line in the speed spool may be replaced by two different methods. • Winding the existing inner reel with new line • Installing a prewound inner reel THE CORRECT LINE TO USE WARNING: Always use genuine Monoflail®... -
Page 12: Releasing The Inner Reel
MAINTENANCE AND REPAIR INSTRUCTIONS 4. Pull the line away from the spool until the line is tight against the inner reel (Fig. 20). Fig. 20 5. Repeat the procedure with the second eyelet and use the same amount of line as specified in Step 2. -
Page 13: Installing A Prewound Reel
MAINTENANCE AND REPAIR INSTRUCTIONS 2. Remove the Bump Knob, foam seal, spring, inner reel, and trimming line from the outer spool (Fig. 25). Bump Knob Foam Seal Spring Assembly Inner Reel Fig. 25 3. Remove any debris or grass from the knob, spring, inner reel, and foam seal. -
Page 14: Cleaning The Trimmer
MAINTENANCE AND REPAIR INSTRUCTIONS CLEANING THE TRIMMER WARNING: To avoid serious personal injury, always unplug your unit before you clean or perform any maintenance on it. 1. Use a small brush or the air discharge of a vacuum cleaner brush to clean the fan blades. -
Page 15: Notes
NOTES... -
Page 16: Limited Two-Year Warranty
RYOBI Operator’s Manual. This warranty does not apply to any damage to the RYOBI Product that is the result of improper maintenance or to any RYOBI Product that has been altered or modified so as to...


Need help?
Do you have a question about the 105r, 132r, 137r and is the answer not in the manual?
Questions and answers