Table of Contents
Advertisement
Advertisement
Table of Contents

Summary of Contents for Nextech 8011410
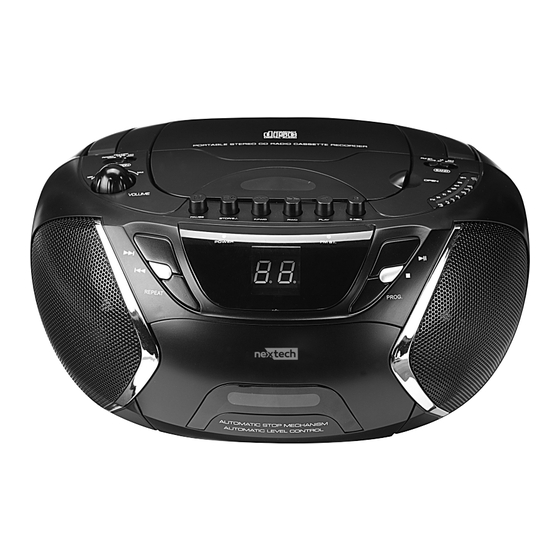
- Page 1 Instruction Manual CD Cassette Boombox 8011410...
-
Page 2: Important Safety Instructions
Important Safety Instructions TO PREVENT FIRE OR SHOCK HAZARD, DO NOT USE THIS PLUG WITH AN EXTENSION CORD, RECEPTACLE OR OTHER OUTLET UNLESS THE BLADE SCAN BE FULLY INSERTED TO PREVENT BLADE EXPOSURE. TO PREVENT FIRE OR SHOCK HAZARD, DO NOT EXPOSE THIS APPLIANCE TO RAIN OR MOISTURE. WARNING: TO REDUCE THE RISK OF ELECTRIC SHOCK DO NOT REMOVE COVER (OR BACK), NO USER SERVICEABLE PARTS INSIDE REFER... - Page 3 Warnings WARNING: Please refer to the label on the exterior bottom of this apparatus for all electrical and safety information before installing or operating this apparatus. WARNING: To reduce the risk of fire or electric shock, do not expose this apparatus to rain or moisture. The apparatus shall not be exposed to dripping or splashing and that objects filled with liquids, such as vases, shall not be placed on apparatus.
-
Page 4: The Fcc Wants You To Know
The FCC Wants You To Know This equipment has been tested and found to comply with the limits for a Class B digital device, pursuant to Part 15 of the FCC Rules. These limits are designed to provide reasonable protection against harmful interference in a residential installation. -
Page 5: Power Sources
Power Sources TO AC IN TO WALL OUTLET INSERT 6 X C SIZE BATTERIES INTO THE BATTERY COMPARTMENT Using AC Power WARNING: Incorrect use of batteries can cause electrolyte 1. You can power your portable system by leakage and will corrode the compartment or plugging the detachable AC power cord into cause the batteries to burst. -
Page 6: Location Of Controls
Location of Controls HEADPHONE JACK ANTENNA TUNING CONTROL CD DOOR BAND FUNCTION SELECTOR SELECTOR OPEN/CLOSE VOLUME CONTROL DIAL POINTER TAPE BUTTONS - PAUSE, STOP/EJECT, FAST FORWARD, REWIND, PLAY, RECORD LED DISPLAY POWER INDICATOR FM STEREO INDICATOR SKIP + PLAY/PAUSE SKIP - STOP REPEAT PROGRAM... -
Page 7: Radio Operation
Radio Operation General Operation 1. Set the FUNCTION selector to “RADIO” mode. 2. Select the desired band width using the “BAND” selector. 3. Adjust the radio frequency to your desired station by using the “TUNING” control. 4. Adjust the “VOLUME” control to the desired level. AM/FM/FM-Stereo Reception 1. -
Page 8: Tape Operation
Tape Operation General Operation PAUSE Press to temporarily stop the tape playing. Press again to resume operation. STOP/EJECT Press to stop the tape playing. Press again to open the cassette door after the tape spools stop turning. FAST FORWARD & REWIND Press to start rapid tape winding;... - Page 9 CD Operation General Operation PLAY/PAUSE Press to start playing the CD disc. Press again to temporarily stop playing the CD. Press again to resume playback. SKIP + Press to go to the next track or back to the previous track. SKIP - Press and hold while playing until you find the point of sound.
-
Page 10: Other Operation
Other Operation Headphone Jack Connects to a 3.5 mm headphones (not included). Use the volume control to adjust the sound level of the headphones. Maintenance & Safety Precautions & General Maintenance • Place the unit on a hard flat surface so the system does not tilt. -
Page 11: Troubleshooting
Troubleshooting If a fault occurs, first check the points listed below before taking the unit for repair. Do not open the unit as there is a risk of electric shock. If you are unable to remedy a problem by following these hints, consult your dealer or service centre. WARNING: Under no circumstances should you try to repair the unit yourself, as this will void the warranty. -
Page 12: Specifications
Specifications • Programmable top loading CD, CD-R/RW • Recordable cassette player • Analog tuning with AM/FM/FM-Stereo • 3.5 mm headphone jack Frequency: AM 530-1700 KHz and FM 88-108 MHz Power: Option 1) AC 120, 60Hz Option 2) 6 x C batteries (not included). We recommend InfiniCell batteries for maximum performance.
Need help?
Do you have a question about the 8011410 and is the answer not in the manual?
Questions and answers