
Subscribe to Our Youtube Channel
Related Manuals for Euromatic EF451SL


Summary of Contents for Euromatic EF451SL
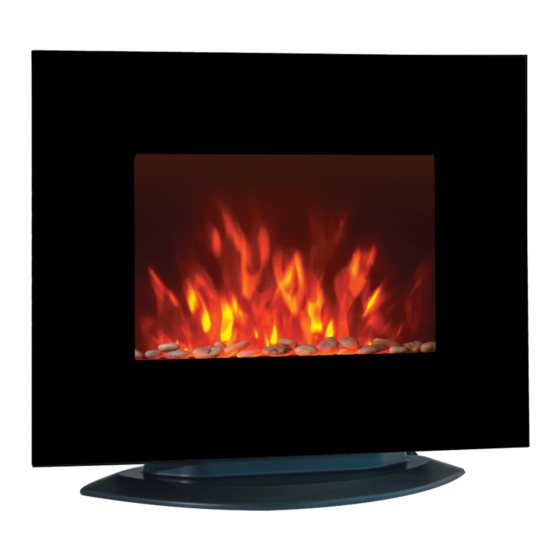
- Page 1 Electric Flame Effect Heater with Remote Control INSTRUCTION MANUAL Model EF451SL AFTER SALES SUPPORT (AU) 1300 886 649 (NZ) 0800 836 761...
-
Page 2: Table Of Contents
Contents Page Important Safety Instructions Product Overview Getting Started Operating Instructions Other Useful Information After Sales Support (AU) 1300 886 649 (NZ) 0800 836 761 | info@tempo.org... -
Page 3: Important Safety Instructions
Important Safety Instructions READ CAREFULLY AND KEEP FOR FUTURE REFERENCE Read this manual thoroughly before first use, even if you are familiar with this type of product. The safety precautions enclosed herein reduce the risk of fire, electric shock and injury when correctly adhered to. Make sure you understand all instructions and warnings. - Page 4 Important Safety Instructions (Cont.) • Damaged cord: Check the power cord regularly for visible damage. If the cord is damaged, it must be replaced by the manufacturer or appropriately qualified personnel, in order to avoid any hazards. • WARNING! Damaged heater: Do not pick up or operate the appliance if the power supply cord, plug or housing is damaged, after it malfunctions, or has been dropped or damaged in any manner.
- Page 5 Important Safety Instructions (Cont.) • WARNING! No external timer: Never operate the heater on a program switch, external timer switch or any other appliance for automatic operation, as there is a risk of fire if the heater is covered or positioned incorrectly. In order to avoid a hazard due to inadvertent resetting of the thermal cut-out, do not connect it to a circuit that is regularly switched on and off by your energy provider.
- Page 6 Important Safety Instructions (Cont.) • WARNING! No thermostat: This heater is not equipped with a device to control the room temperature. Do not use this heater in small rooms when they are occupied by persons not capable of leaving the room on their own, unless constant supervision is provided.
-
Page 7: Product Overview
Product Overview Scope of delivery (A) Parts list Air outlet grille Power rocker switch [ I / O ] Control panel (see page 8 for details) Side brackets (affixed to the back of the glass panel on both sides, not visible here) Base (for freestanding use, supplied unassembled) Decorative pebbles (supplied separately in a plastic bag) - Page 8 Product Overview (Cont.) (B) Control panel 1800W High heat button and indicator 10 900W Low heat button and indicator 11 I/0 On/off button 12 ON/OFF switch [ I / O ] (C) Remote control 13 I/0 On/off button 14 1800W High heat button 15 Dimmer button 16 900W Low heat button (D) Installation hardware (not shown,...
-
Page 9: Getting Started
Getting Started Before first use • Unpack: This product has been packaged to protect it against transportation damage. Unpack the appliance and keep the original packaging and materials in a safe place. It will help prevent any damage if the product needs to be transported in the future, and you can use it to store the appliance when it is not in use. - Page 10 Getting Started (Cont.) Wall-mounting the heater Your new flame effect heater can be mounted onto a wall, if you choose to, or assembled onto the base supplied. If wall-mounting the heater, please use the mounting instructions below and on the following pages as a guide, or consult qualified personnel, if required.
- Page 11 Getting Started (Cont.) Removing the glass panel • Before installing the heater, you have to remove the front glass panel so that you can add the pebbles later. • Place the flame effect heater glass-side down on a stable surface (table, benchtop).
- Page 12 Getting Started (Cont.) • Drill four holes in the wall, insert the four wall plugs into the holes, then use the screws to attach the wall-mounting bracket to the wall. • Attach the lower (small) fixing bracket to the base of the flame effect heater using the two small black screws supplied;...
- Page 13 Getting Started (Cont.) Base assembly (for freestanding use) Your new flame effect heater can also be assembled onto the base supplied. • First remove the glass panel, as described on page 11. • Place the metal body of the flame effect heater horizontally on a table or worktop, with the bottom part overhanging for free access.
-
Page 14: Operating Instructions
Operating Instructions Using the flame effect heater Before switching on your flame effect heater for the first time, check it again to be sure it is fully assembled and did not get damaged during wall-mounting or base assembly. The appliance can be operated either manually (by the switches located on the top right hand side of the heater) or remotely (by the supplied remote control). - Page 15 Operating Instructions (Cont.) Remote operation When using the remote control to operate the flame effect heater, please ensure you have properly inserted two AAA batteries, as explained on page 18. Point the remote control directly towards the front of the flame effect heater. The remote control will not operate if its path is blocked.
-
Page 16: Other Useful Information
Other Useful Information Tip-over safety switch The appliance is fitted with a tip-over safety switch. If the flame effect heater tips over or is tilted to a certain degree, it switches itself off automatically. The heater can only be switched back on when it is in an upright position. Safety cut-off This flame effect heater is fitted with a safety cut-off, which activates if the appliance overheats (e.g., due to blocked air vents). - Page 17 Other Useful Information (Cont.) CAUTION! • Always switch off and disconnect the appliance from the power supply before attempting any maintenance or cleaning the flame effect heater. • Do not attempt to open the heater and repair it yourself. Any repairs must be carried out by a qualified technician.
- Page 18 Other Useful Information (Cont.) Battery replacement If the batteries in the remote control need replacing, please proceed as follows: • To open the battery compartment at the back of the remote control, slide the cover down in arrow direction. • Remove the cover and insert two AAA size 1.5V batteries (not supplied), following the polarity markings (+ / - ) inside the compartment.
- Page 19 Other Useful Information (Cont.) Technical specifications Voltage 220-240V~, 50Hz Rated power 1800W Illumination LED system (no replaceable parts) Dimensions without base: 660 (W) x 95 (D) x 520 (H) (approx. mm) with base: 660 (W) x 270 (D) x 570 (H) Weight 13.8kg (approx.) Responsible disposal...
- Page 20 Warranty returns Should you for any reason need to return this product for a warranty claim, make sure to include all accessories with the product. Product does not work? If you encounter problems with this product, or if it fails to perform to your expectations, make sure to contact our After Sales Support Centre on (AU) 1300 886 649 or (NZ) 0800 836 761 before returning it to the store for a refund.
Need help?
Do you have a question about the EF451SL and is the answer not in the manual?
Questions and answers