Advertisement
Quick Links
Advertisement

Summary of Contents for HomeSelects 2052
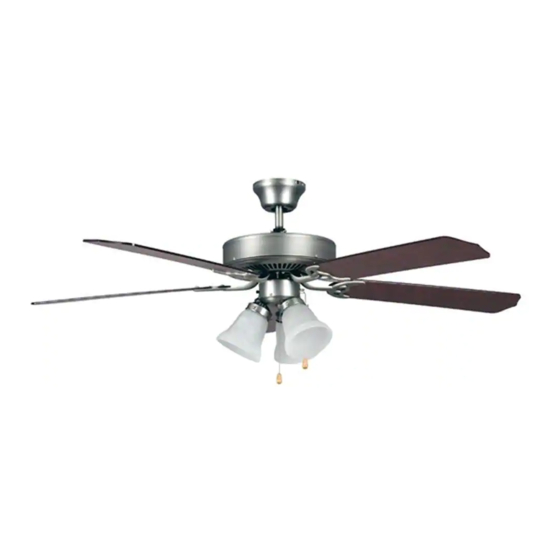
- Page 1 Model 2052 Installation Manual 951.698.7887 www.HomeSelects.com...
- Page 2 Before you begin, TURN OFF THE ELECTRICITY. Determine which cir- cuit your new fan will be using and remove the fuse or turn off the circuit breaker at the main electrical panel. Make sure that all wiring conforms to national and local electrical codes. If you are in question, obtain a copy of the codes and wire the fan according- ly.
- Page 3 This ceiling fan was not designed for installation in any location where it might be exposed to moisture or high humidity. Installation in this type of location could be UNSAFE, will most likely damage the fan and its finish... and will VOID YOUR WARRANTY. Every effort has been made to provide you with proper instructions for the safe installation of this ceiling fan.
-
Page 4: Turned Off
Have you TURNED OFF the Electricity? Step 1 Attach the mounting bracket Remove the two non-slotted mounting screws on the top of the canopy. Back the two slotted screws out about half way. This will enable you to remove the mounting bracket from canopy (see figure 1). - Page 5 Step 3 Attach the support assembly This fan is designed to be mounted as a flush mount (for lower ceiling heights), or suspended. Flushmount (see figure 4) Loosen the set screws (2) in the support rod coupler located on the top center of the motor housing until the inside channel is clear.
- Page 6 Step 4 Hanging the Fan Body NOTE: Suspended Installation (follow steps 1-4), Flushmount Installation (go to step 4) 1 - Notice the half ball on the end of the support rod is grooved down one side. This Keyway fits over the small keyway pin on the inside of the mounting bracket and keeps the ceiling fan from spinning on the mounting bracket.
- Page 7 Step 5 Making the Electrical Connections To operate your ceiling fan with the pull chain(s) and switches mounted on your fan, follow the instructions below: Attach the GREEN wire (connected to the half ball) to the GROUND wire in the junction box. The GROUND wire is usually a bare copper wire without plastic insulation.
- Page 8 Step 6 Fan Blade and Blade Arm Assembly Attach each fan blade to a blade arm with three 3/16” x 7.5 mm blade screws and three 3/16” fiber washers (see figure 11). DO NOT OVER TIGHEN THESE SCREWS. Screws should be tightened until the washers are compressed by the screw head.
- Page 9 Step 8 Light Fixture Installation Back off (loosen) the three screws on the electrical housing cover (see figure 13). Connect White wire to White wire, and Black wire to Blue wire using quick connectors. Press together firmly. Place light fixture onto fan, line up the 2 holes and rotate light fixture;...
- Page 10 Optional Wiring Diagrams Figure 15 illustrates the wiring used to control the fan with a wall switch plus an optional light fixture controlled at the fixture. Figure 16 illustrates the wiring used to control fan with the pull chain on the electrical switch housing plus an optional light fixture with a wall switch.
-
Page 11: Maintenance
Your new ceiling fan is now ready for use. Reset your circuit breaker and restore power to the circuit. See the Operation Instructions below to review the function of each control on your fan. Operation Instructions The three speed pull chain located on the switch housing (see figure 13) controls the speed of your fan.
Need help?
Do you have a question about the 2052 and is the answer not in the manual?
Questions and answers