
Subscribe to Our Youtube Channel
Related Manuals for PCTEL SeeGull

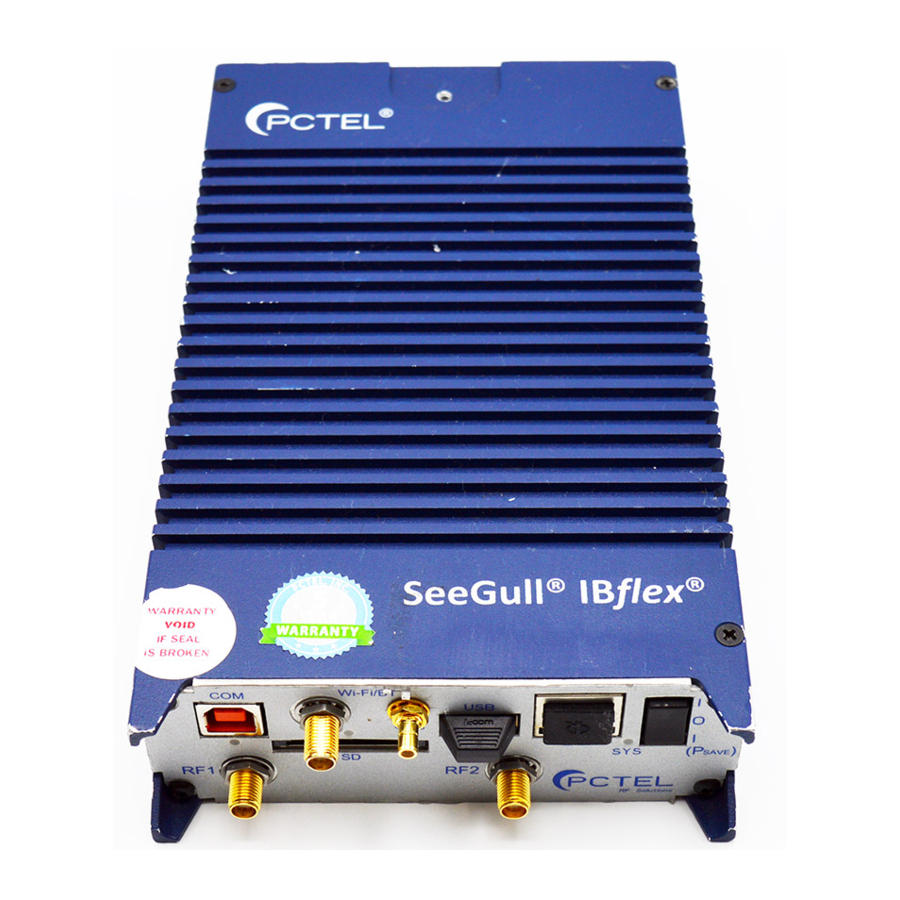
Summary of Contents for PCTEL SeeGull
- Page 1 SeeGull CW Transmitter User Guide SeeGull® CW Transmitter User Guide Rev. D PCTEL...
- Page 2 Restrictions: This document contains proprietary information that is protected by copyright; it is intended for use by PCTEL and its customers only. It is not to be disclosed to a third party. All rights reserved. No part of this document may be photocopied or reproduced in any way without the prior written permission of PCTEL, Inc.
- Page 3 PCTEL RF Solutions is always interested in your feedback concerning our products, and the features or additions that would make them better. Please feel free to contact PCTEL RF Solutions using the support information below with any suggestions for improvements.
-
Page 4: Table Of Contents
SeeGull CW Transmitter User Guide Table of Contents Preface ......................5 Purpose ..................... 5 Introduction ..................... 6 Overview ....................6 Feature List ....................6 Safety Compliances .................. 6 Setup ......................7 Parts......................7 CW Transmitter Interface ................8 CW Transmitter Keypad ................9 Screen Display .................. -
Page 5: Preface
SeeGull CW Transmitter User Guide 1 Preface 1.1 Purpose This document walks the user through the menu setup and functionality of the CW Transmitter to emit up to four continuous wave (CW) signals for network testing. Rev. D PCTEL... -
Page 6: Introduction
2 Introduction 2.1 Overview PCTEL’s SeeGull CW Transmitter supports the design, verification, and optimization of in-building networks. It emits up to four simultaneous continuous wave signals on any technology or band, with a frequency range of 400 MHz to 2.7 GHz. This replicates a live network environment for RF propagation testing. -
Page 7: Setup
SeeGull CW Transmitter User Guide 3 Setup 3.1 Parts Customer shipping will include two items. Please contact support if any piece is missing or damaged. Figure 1 - Parts 1. SeeGull CW Transmitter. 2. Charger. Note: use only supplied charger. Using other chargers may damage the CW Transmitter and void the warranty. -
Page 8: Cw Transmitter Interface
SeeGull CW Transmitter User Guide 3.2 CW Transmitter Interface Figure 2 - Interface 1. Antenna port interface. 2. LCD menu screen. 3. Keypad. 4. Charger socket. 5. USB: Strictly for PCTEL calibration and firmware updates. Not intended for customer use. Rev. D PCTEL... -
Page 9: Cw Transmitter Keypad
SeeGull CW Transmitter User Guide 3.3 CW Transmitter Keypad Figure 3 - Keypad 1. ON/OFF: Power on and off the device by holding for one second. 2. Up/Down Arrows: • Navigate through each menu screen. • Adjust Freq MHz edit field in steps of 100 KHz. -
Page 10: Screen Display
SeeGull CW Transmitter User Guide 6. Save: Save current configuration for future use. Edit Key: • Prompts edits of selected value or Channel name. • When a Freq or Amp field is selected, pressing enables fine-tune adjusting with arrow keys. -
Page 11: General Operations
SeeGull CW Transmitter User Guide 4 General Operations 4.1 Preparations Steps: 1. Connect the charger if needed. Note: use only supplied charger. Using other chargers may damage the CW Transmitter and void the warranty. 2. Power on the device by holding down the ON button for one second. -
Page 12: New Channel
SeeGull CW Transmitter User Guide 4.2.3 New Channel: Figure 7 - Add Channel To add a new channel for transmission or to be saved for future use: • Freq: Enters the required channel frequency from 400 MHz to 2.7 GHz in the relevant band, with a standard frequency step of 100 KHz. -
Page 13: Memory Status
Port Upgrade: Displays Wideband 2 port or Wideband 4 port. A check box will indicate the device’s current configuration. 2 port transmitters can be upgraded to 4 ports: Contact PCTEL Sales for purchasing information to receive an upgrade code. Select “Wideband 4 port” and press Enter. -
Page 14: Starting A Test Scenario
SeeGull CW Transmitter User Guide 4.3 Starting a Test Scenario 4.3.1 Start a New Test Figure 12 - Ch. Info 1. Press the RF ON/OFF key. This will recall the last test configuration. The menu page is labeled: “Ch. Info.”... -
Page 15: Recall Saved Configuration
SeeGull CW Transmitter User Guide • Press Enter to save with this name. • Press the Edit Key to use the Keypad letters to change the name – press the Enter Key to complete saving process (Note: 12 character limit). -
Page 16: Specifications
SeeGull CW Transmitter User Guide 5 Specifications RF Characteristics Active RF Ports 2 or 4 Ports Frequency Accuracy 1.1 ppm Frequency Range 400 MHz to 2.7 GHz Frequency Step 100 KHz Modulation Continuous Wave Min. Output Power -10 dBm 15 dBm: 400 MHz – 1900 MHz Max. -
Page 17: Support
PCTEL Department Phone Number E-Mail Address Customer Support +1 240-460-8833 Support.rfsg@pctel.com Quality Manager +1 301-444-2045 Quality.rfsg@pctel.com Sales +1 301-515-0036 RFS.Sales@pctel.com 6.2 Repair and Calibration Options OPS140 Full Calibration, SeeGull CW Transmitter OPS141 RMA Evaluation Fee, SeeGull CW Transmitter Rev. D PCTEL...
Need help?
Do you have a question about the SeeGull and is the answer not in the manual?
Questions and answers