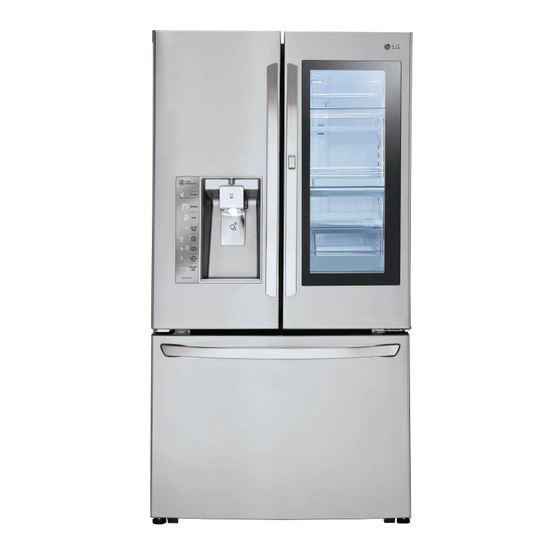
LG LFXS30796 Series Owner's Manual
French door refrigerator
Hide thumbs
Also See for LFXS30796 Series:
- Service manual (122 pages) ,
- Technical manual (183 pages) ,
- Owner's manual (74 pages)

Related Manuals for LG LFXS30796 Series


Summary of Contents for LG LFXS30796 Series
- Page 1 OWNER’S MANUAL FRENCH DOOR REFRIGERATOR Please read this owner's manual thoroughly before operating and keep it handy for reference at all times. LFXS30796* LFXC24796* www.lg.com...
-
Page 2: Installation Overview
INSTALLATION INSTALLATION Installation Overview Please read the following installation instructions first after purchasing this product or transporting it to another location. 1 Unpacking your 2 Choosing the proper 3 Disassembling/Assembling refrigerator location 4 Connecting the water 5 Leveling and Door supply and water line Alignment NOTE... -
Page 3: Specifications
INSTALLATION Specifications The appearance and specifications listed in this manual may vary due to constant product improvements. Bottom-freezer refrigerator model LFXS30796* Description French door refrigerator Electrical requirements 115 VAC @ 60 Hz Min. / Max. Water pressure 20 – 120 psi (138 – 827 kPa) Dimensions 35 3/4"... -
Page 4: Unpacking The Refrigerator
INSTALLATION Unpacking the Refrigerator Choosing the Proper Location Select a place where a water supply can ü WARNING be easily connected for the automatic icemaker. Use two or more people to move and ü install the refrigerator. Failure to do so NOTE can result in back or other injury. -
Page 5: Ambient Temperature
INSTALLATION Ambient Temperature Removing/Assembling the Refrigerator Door Handles Install this appliance in an area where the temperature is between 55°F (13°C) and 110°F (43°C). If the temperature around the appliance NOTE is too low or high, cooling ability may be When it is necessary to move the adversely affected. -
Page 6: Removing/Assembling The Freezer Drawer Handle
INSTALLATION Removing/Assembling the Removing/Assembling the Freezer Drawer Handle Doors and Drawers Removing the Handles When it is necessary to move the refrigerator through a narrow opening, removing the doors is the recommended procedure. Loosen the set screws located on the lower side of the handle with a in. -
Page 7: Removing The Left Refrigerator Door
INSTALLATION Rotate the hinge lever counterclockwise Removing the Left Refrigerator Door . Lift the top hinge free of the hinge lever latch. The water supply is connected to the upper right part of the rear surface of the refrigerator. Remove the ring in the joint area. -
Page 8: Removing The Right Refrigerator Door
INSTALLATION Removing the Right Refrigerator Rotate the hinge lever clockwise. Door Lift the top hinge free of the hinge lever latch. Remove the screw from the top hinge cover . Lift the hook (not visible), located at the bottom of the front side of the cover , with a flat-head screwdriver. -
Page 9: Assembling The Right Refrigerator Door
INSTALLATION Assembling the Right Refrigerator Door Install the right-side door first. Connect the wire harnesses . Srew the ground wire Make sure that the plastic sleeve is inserted in the bottom of the door. Lower the door onto the middle hinge pin as shown in the figure. -
Page 10: Assembling The Left Refrigerator Door
INSTALLATION Push the water supply tube into the hole Assembling the Left Refrigerator on the top case and pull it through the Door backplate. Install the left refrigerator door after the right door is installed. Make sure that the plastic sleeve is inserted in the bottom of the door. -
Page 11: Removing The Freezer Drawers
INSTALLATION Removing the Freezer Drawers NOTE In the following figures, the Pullout Drawer Collet located above the freezer drawer is not shown for clarity. Tube CAUTION Insert Line Use two or more people to remove and ü Clip install the freezer drawer. Failure to do so can result in back or other injury. - Page 12 INSTALLATION Pull the drawer open to full extension. Remove the screws from the rails at both ends. Gently lift and pull out the ice bin. Grip both sides of the drawer and pull it up to remove it from the rails. CAUTION On the left rail, use a flat blade screwdriver to push in on the tab to release the drawer...
-
Page 13: Assembling The Freezer Drawers
INSTALLATION Assembling the Freezer Drawers Lower the door into its final position and tighten the screws located on both sides. Pull out both rails simultaneously, until both rails are fully extended. Grasp the drawer on each side and hook the Insert the drawer into the frame, and push drawer supports into the rail tabs located on the drawer back into place until you hear a... -
Page 14: Connecting The Water Line
INSTALLATION Connecting the Water Line Before You Begin CAUTION This water line installation is not covered by the Wear eye protection during installation refrigerator warranty. Follow these instructions to prevent injury. carefully to minimize the risk of expensive water damage. If the water pressure from the reverse osmosis system is less than 20 psi or 138 kPa or 1.4 kgf/ Water hammer (water banging in the pipes) in... -
Page 15: Water Line Installation Instructions
INSTALLATION If your existing copper water line has a ü Water Line Installation Instructions flared fitting at the end, you will need an adapter (available at plumbing supply WARNING stores) to connect the water line to the When using any electrical device refrigerator OR you can cut off the flared (such as a power drill) during fitting with a tube... - Page 16 INSTALLATION FASTEN THE SHUTOFF VALVE CONNECT THE TUBING TO THE VALVE Fasten the shutoff valve to the cold water Place the compression nut and ferrule (sleeve) pipe with the pipe clamp. for copper tubing onto the end of the tubing and connect it to the shutoff valve.
-
Page 17: Turning On The Power
INSTALLATION Turning On the Power TURN THE WATER ON AT THE SHUTOFF VALVE Tighten any connections that leak. Plug in the refrigerator. CAUTION CAUTION Check to see if leaks occur at the water Connect to a rated power outlet. ü line connections. -
Page 18: Leveling And Door Alignment
INSTALLATION Leveling and Door Alignment Door Alignment Leveling The left refrigerator door has an adjustable nut, After installing, plug the refrigerator’s power located on the bottom hinge, to raise and lower cord into a 3-prong grounded outlet and push the door for proper alignment. the refrigerator into the final position.
Need help?
Do you have a question about the LFXS30796 Series and is the answer not in the manual?
Questions and answers