Table of Contents
Advertisement
Quick Links
TM
F E NI E X / /
201 8
/ /
INSTR U CTIO N M ANUAL
WE B / / w w w.fe ni ex i ndu s t r i es .com
Is this the latest version?
SCAN HERE
D-50015
INSTRUCTION MANUAL
Feniex Product Copyrights This price List and the mentioned Feniex products include or describe copyrighted Feniex material. Laws in the United States and other countries
preserve for Feniex Industries and its licensors certain exclusive rights for copyrighted material, including the exclusive right to copy, reproduce in any form, distribute and make
derivative works of the copyrighted material. Accordingly, any copyrighted material of Feniex and its licensors contained herein or in the Feniex products described in this Price
List may not be copied, reproduced, distributed, merged or modified, transmitted, transcribed, stored in retrieval system or translated into any language or computer language,
in any form or by any means, without prior written permission of Feniex Industries, Inc.. Feniex and the stylized Feniex logo are registered in the U.S. Patent & Trademark Office.
Advertisement
Table of Contents

Related Manuals for Feniex T3


Summary of Contents for Feniex T3
-
Page 1: Instruction Manual
List may not be copied, reproduced, distributed, merged or modified, transmitted, transcribed, stored in retrieval system or translated into any language or computer language, in any form or by any means, without prior written permission of Feniex Industries, Inc.. Feniex and the stylized Feniex logo are registered in the U.S. Patent & Trademark Office. -
Page 2: Table Of Contents
TABLE OF CONTENTS Safety Regulations & Warranty Service after Expiration Copyright Feniex Product Copyright Box Contents, Specifications, & Dimensions Box Contents Flash Patterns Specifications Dimensions Configuration & Mounting Wiring Diagram Power Setting Master/Slave Patterns & Synchronization Mounting Instructions FE N IE X / / 2 018 // I N ST R U CT I O N MAN UA L / / v 2 .0... -
Page 3: Safety Regulations & Warranty
SAFETY REGULATIONS CONDITIONS The following provides all the information necessary to Feniex Industries, Inc. will not be held responsible for any safely operate the previously listed products of Feniex costs associated with equipment removal and/or Industries, Inc. Please read this manual thoroughly before re-installation resulting from a warranty claim. -
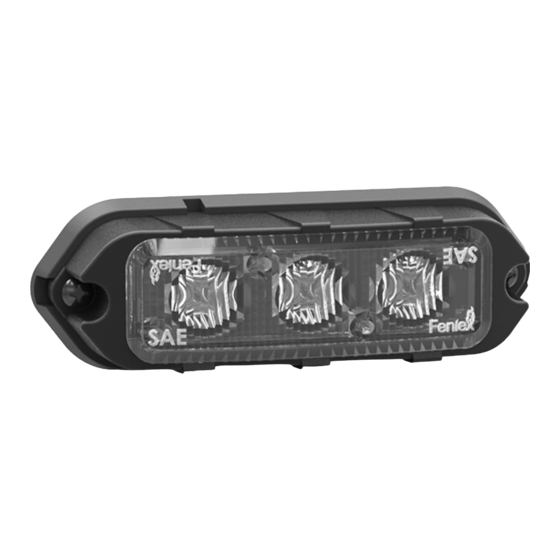
Page 4: Box Contents, Specifications, & Dimensions
BOX CONTENTS, SPECIFICATIONS, DIMENSIONS, & PATTERNS BOX CONTENTS SYSTEM SPECIFICATIONS Input Power 12 VDC COMPONENTS QUANTITY Current Draw 0.75 Amps External Fuse 125% of Circuit Load Rubber Pad Colors Amber, Red, Blue, White, Green Screws SAE Certification J595, CT13, SAE J1113-11 Flash Patterns Dimensions 1.05"... -
Page 5: Configuration & Mounting
1) Momentarily tap the blue wire to a ground 12v (-) source to cycle through the flash patterns. 2) Synchronization: To synchronize two or more T3 units (or compatible products) together: A) Choose the desired flash pattern for each unit. -
Page 6: Mounting Instructions
MOUNTING INSTRUCTIONS 1) Place the unit against the selected mounting surface. 2) Mark the areas where the mounting holes will be drilled. If the mounting surface is part of the vehicle, make sure no vital components could be damaged by the drilling process.
Need help?
Do you have a question about the T3 and is the answer not in the manual?
Questions and answers