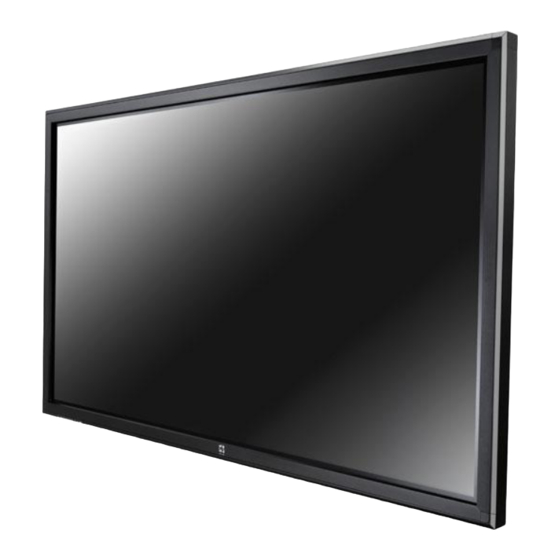
Summary of Contents for Avtek TouchScreen 55
-
Page 1: User Manual
Avtek TouchScreen 55 LED Interactive Multi-Touch Display User Manual The latest user manual can be always found on website http://avtek.eu... -
Page 2: Table Of Contents
User Manual Contents Installation requirements ........................3 Basic Operations ..........................5 OSD Menu ............................6 Source Selection ........................7 Screen Menu ..........................7 Media Player ........................... 10 Remote Control Functions ......................12 Control Panel ........................... 13 Interface Panel ..........................14 Troubleshooting .......................... -
Page 3: Installation Requirements
User Manual Installation requirements On the back part of the monitor special adapters are preassembled to simplify mounting on regular VESA mounting bracket. VESA mounting holes Rear interface board Preassembled mounting accessory Screw... - Page 4 User Manual In order to install the monitor to any wall mount (not included) the below points shall be followed. 1. There are 4 x M8 mounting holes at the back of the monitor (VESA 600 x 400) M8 Mounting holes 2.
-
Page 5: Basic Operations
User Manual Notes The product components which supply voltage is greater than safety voltage should be Ü installed or placed out of children’s reach. Do not use other power cords except for the official one as this could cause a burning Ü... - Page 6 User Manual l Turn on the ship form switch on the bottom of the TouchScreen (beside the power interface) to power on (the indicator light is red). l Press "Power" on the TouchScreen or "Standby" on the remote control to switch on the TouchScreen (the indicator light is green now).
-
Page 7: Osd Menu
User Manual OSD Menu Source Selection Automatic detection of signal resource: turn on or no signal, the device will automatically detect the signal source and switch signal source. 1. Press "Source" in the remote control to get the signal source list. 2. - Page 8 User Manual In the sound menu, there are six options: sound mode, balance, auto volume, surround sound, SPDIF mode, EQ. Press ▲/▼ to switch options. In the time menu the clock, off time, on time, sleep timer, OSD Duration options will be displayed, press ▲/▼...
- Page 9 User Manual In the settings menu, there are five options: OSD language, Restore Factory Default, Blending, Key Lock, Set Password, Set Key. Press ▲/▼ to switch options. Key lock Enter number button to enter Ø password. Press◄ to delete the password you Ø...
-
Page 10: Media Player
User Manual Media Player By getting into the multimedia signal resource, there are four options: Picture, Music, Movie and File. You could press ◄/► to choose the option when the USB has been connected. The USB icon will be blue if the USB has been connected, be gray if the USB has not been connected. - Page 11 User Manual Press ◄/► to choose different functions and press confirm to implement. The functions are: play/stop, Ø remind, fast forward, previous track, next track, cease, circulation mode, mute, playlist, skip. Press exit to quit playing. Ø Movie (supported files .avi, .mpg, .dat, .vob, .div, .mov, .mkv, .rm, .rmvb, .mp4, .mjpeg, .ts, .trp, .wmv, .asf) Get into movie option, press ▲/▼/◄/►...
-
Page 12: Remote Control Functions
User Manual Remote Control Functions Press this button to eliminate or Switchover between standby and restore sound power on Show or exit signal source menu Customizable Button Select previous or next channel in order Adjust image automatically Adjust the volume of the speaker Exit current operation Freeze/Unfreeze screen display up/down/left/right selection... -
Page 13: Control Panel
User Manual Control Panel Standby: standby on and off VGA1 : Switch to VGA1 Port VGA2: Switch to VGA2 Port Custom:Customizable Button Source: Show or exit signal source menu Volume -: decrease volume Volume +: increase volume ECO Mode: Switch to ECO Mode,Reducing power consumption PC: Power on/off the computer (only applicable to the model with built in PC) -
Page 14: Interface Panel
User Manual Interface Panel... -
Page 15: Troubleshooting
User Manual Troubleshooting Symptoms Presumable Causes Solutions The handwriting color is same to Use the pen with other colors. the background color. Strong light source or IR source Remove the interferences or move to a interferences. place without interferences. Write with the writing screen pen and hold Cannot write the place of the pen away from the pen tip as far as possible.


Need help?
Do you have a question about the TouchScreen 55 and is the answer not in the manual?
Questions and answers