
Summary of Contents for Jelight JEL-2400
-
Page 1: Operating Instructions
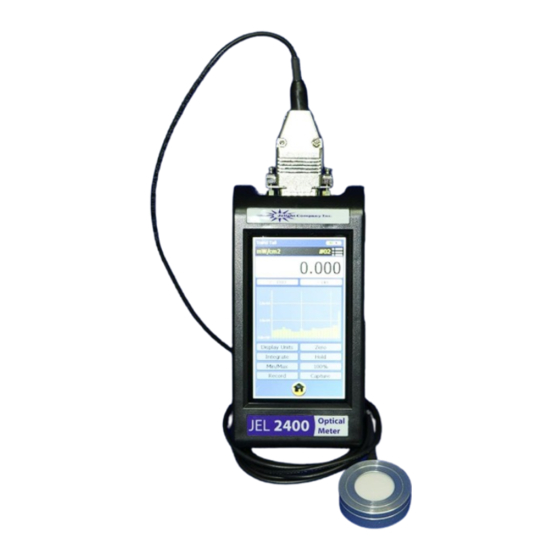
Jelight Company, Inc. ELIGHT 2 Mason, Irvine CA 92618 USA Tel: +1-949-380-8774 Fax: +1-949-768-9457 http://www.jelight.com e-mail:sales@jelight.com OPERATING INSTRUCTIONS JEL-2400 RADIOMETER/PHOTOMETER Rev X... -
Page 2: Table Of Contents
Table of Contents 1. System Includes System Specifications 3. Quick Reference Guide 4. Internal Battery Pack 5. Sensor Connector and Wiring 6. USB Ports 7. Display 8. Current Measurement and Limitations 9. Sample Time and Limitations 10. Reverse Bias 11. Home Screen 12. -
Page 3: System Includes
3B. Rear: The JEL-2400 has a stand at the back which is opened by grasping at the two finger slots and gently lifting the stand up. The stand has small posts that slide along the housing to open and close. - Page 4 Contains the sensor mount, a 15-Pin D-Sub connector and posts for securing the sensor to the device. The JEL-2400 is backwards compatible with all “D” style sensors with the exception of PMT's and SHD Low light level sensors. To connect the sensor, align the sensor’s male 15 pin connector to the meter’s female connector and apply slight...
- Page 5 Place the un-covered sensor in the test location. Cover the test light source, or turn it off. Press Zero. The JEL-2400 will take a measurement and subtract that value from all future readings until zero is pressed again.
- Page 6 Note: If light level is selected prior to selecting a calibration/sensitivity factor, an error message Set Factor will appear in place of light level readings (see 15Q for selecting factors). If OD and % Trans, are selected and no baseline 100% value has been set and error Set 100% will appear see 3G8 below to learn more about setting 100%) 3G3.
-
Page 7: Internal Battery Pack
Charging the battery is done through the USB 3.0 mini or micro port. WARNING: The battery pack in the JEL-2400 is expected to last for many years (up to 500 charge cycles). Batteries should only be charged, stored and used in temperature between 0 Deg C to 45 Deg C, or expansion and damage can occur. -
Page 8: Usb Ports
1 mA of current to prevent risk of damage to the sensitive measurement circuitry. 6. USB Ports: There are three USB ports on the side of the JEL-2400 device. UPDATE: Is used for code updates and requires the use of a memory stick. (not... -
Page 9: Current Measurement And Limitations
JEL-2400 so no damage will occur to the meter during saturation. 8C. Dynamic / Measurement Range: The JEL-2400 can measure current from 1 pA to 1 mA however the recommended range for calibrated readings is 50 pA to 1 mA. This range does not take into account the range of current the sensor is capable of supplying to the meter. -
Page 10: Sample Time And Limitations
10. Reverse Bias: The JEL-2400 can supply -5V or -9V to the detector through the D sub connector. The 5V bias can be used on silicon sensors to increase the response time. Bias voltage is required to supply the necessary voltage to sensors containing Photomultipliers, and Vacuum Phototubes. -
Page 11: Display Content
Cloak: Cloak provides a black and white low intensity display setting to minimize light output into the environment. This was designed to prevent light from the JEL-2400 display being included in the light level measurement. Cloak has a very large data capture button to allow the user to easily capture and store a single reading in the dark. -
Page 12: Feature Buttons
(temperature, noise, ambient lighting). 14C. Integrate: Is used to measure dosage or exposure. When toggled on, the JEL-2400 will take the present reading and add it to the previous value, once per second, creating a sum of light measurements over time. When in integrate mode the units of the readings change to include *seconds. -
Page 13: Settings
Use Smart Detector Factor must be enabled, in 15B3. 15B3. USE Smart Detector Factor: ON/OFF ON enables use of the sensor’s cal factors. Off only allows customer to use factors saved in the JEL-2400 meter. Page 13... - Page 14 Datalight III Meter or Flash. 15D. Auto Gain Range: On or off. The JEL-2400 has 3 relays that it cycles through when auto ranging from the lowest signals in the Pico amp range to the higher signals in the micro amp to 1 milli- amp range.
- Page 15 15G. 5V Bias On or Off: The default setting is off as there are numerous sensors that can be damaged or read incorrectly if bias is applied. When turned on, the meter will supply reverse bias to any sensor plugged into the device (see section 5 for pin out information pertaining to bias) Silicon sensors such as the JSED033, JSED100, JSPD025Y, and the JXRL series can be biased when measuring flashing or rapidly changing values to increase response time.
- Page 16 Select from Scientific notation on i.e. 1.06e-3 W/cm2 to Scientific notation off i.e. .001 W/cm2 (2e+2 lux becomes 200 lux) Note: the Display on the JEL-2400 allows up to 3 digits after the decimal place. When using scientific notation on, the device can display readings as low as e-13 with two decimal places, ie 6.23e-13.
- Page 17 ISO17025 accredited lab by trained and experienced technicians. Use of altered calibration factors can void traceability. 15Q.1. Factor Number: Numbers range from 1-20. The JEL-2400 stores up to 20 calibration factors which are selected using Factor number as shown in section in 15B. 15Q.2. Factor Description: Enter a nick name, component model&Serial number, or sensor stack i.e.
-
Page 18: Files
15R.Firmware Update >: • Insert USB stick with new firmware file ####.hex • Use select File to read the file from the USB stick • Click Update Warning: be sure the device is connected to power or has at least 20% battery life prior to performing an update. -
Page 19: Light Calc
16B. Downloading Stored Readings: When the JEL-2400 is connected to the computer using the USB micro cable, the computer will register the JEL-2400 as a device with removable storage, allowing access into the Files folder. To access saved Files using a PC, click on Start, Computer and then click double click on the “... -
Page 20: Info
2. Turn the Meter on, allow initialization to complete and verify the battery life is above 20% (no USB devices should be plug in during initialization) 3. Insert the USB stick into the USB A port on the side of the JEL-2400. 4. Click on Settings, and Scroll to the bottom of setting window. -
Page 21: Care And Handling
22. Care and Handling: The JEL-2400 internal board is a sensitive electronic device. Due to risk of board damage, only trained personnel should attempt opening the housing on the JEL-2400. Opening the JEL-2400 voids all warranties and may adversely affect the calibration of the meter. -
Page 22: Warranty
This warranty does not apply to damage resulting from improper set up, accident, alteration, abuse, loss of parts or repair by other than Jelight Company, Inc. The equipment will be repaired or replaced, at our option, without charge to the owner for parts or labor incurred in such repair.
Need help?
Do you have a question about the JEL-2400 and is the answer not in the manual?
Questions and answers