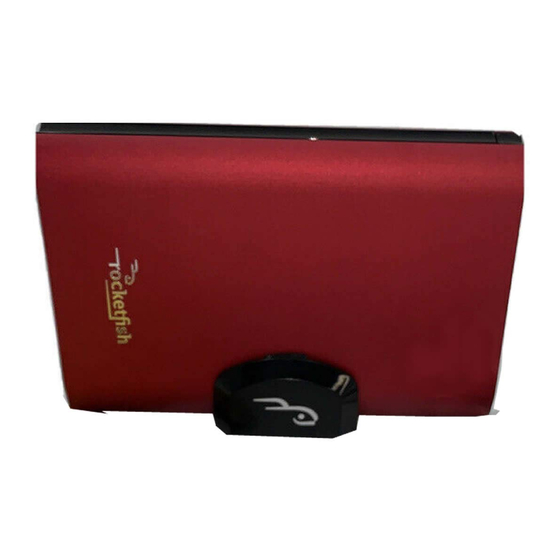
RocketFish RF-PHD35 User Manual
3.5“ pata hard disk drive enclosure
Hide thumbs
Also See for RF-PHD35:
- Manual de l'utilisateur (12 pages) ,
- Guía del usuario (12 pages) ,
- Quick setup manual (2 pages)
Table of Contents
Advertisement
Advertisement
Table of Contents

Summary of Contents for RocketFish RF-PHD35
- Page 1 3.5" PATA Hard Disk Drive Enclosure RF-PHD35 User Guide...
-
Page 2: Table Of Contents
3.5" PATA Hard Disk Drive Enclosure Contents Introduction ...3 Safety information ...3 Important safety instructions ...3 Features...3 Package contents ...4 System requirements ...4 Setting up your hard drive enclosure ...4 Installing your hard drive in the enclosure ...4 Connecting the enclosure to your computer...5 Installing the software...5 Using your enclosure ...6 Starting Roxio BackOnTrack...6... -
Page 3: Introduction
Introduction Congratulations on the purchase of your new Rocketfish RF-PHD35 external hard drive enclosure kit. By simply assembling your 3.5" EIDE/ATA hard drive into the enclosure, you can easily back up, restore, and synchronize your data using the one-touch backup button. -
Page 4: Package Contents
Package contents • RF-PHD35 enclosure (1) • Hi-speed USB 2.0 cable (1) • AC power adapter (1) • Stand (1) • Roxio BackOnTrack Backup software CD with User Guide included (1) • Quick Setup Guide (1) Setting up your hard drive enclosure... -
Page 5: Connecting The Enclosure To Your Computer
Insert the included CD into your optical drive. The introductory screen opens. Or, if the screen does not open, double-click the autorun.exe file on the CD. Click Install Roxio® BackOnTrack™ 3 LE. The Welcome screen opens. Click NEXT. The Roxio End-User License Agreement screen opens. RF-PHD35... -
Page 6: Using Your Enclosure
Using your enclosure Starting Roxio BackOnTrack To start Roxio BackOnTrack: Press the backup button (the button with the Rocketfish logo on it) on the front of the enclosure. Or, click Start, BackOnTrack, then click BackOnTrack Home. Choose the setup type, then click Install to start installation. -
Page 7: Disconnecting The Enclosure From Your Computer
After the software is uninstalled, restart your computer if prompted. • Use the rear USB ports on the back of the computer instead of the front USB ports. • Check for motherboard compatibility issues. • Check for hard drive compatibility issues. RF-PHD35... -
Page 8: Specifications
Specifications 3.5" IDE hard drive Hard drive type 5.24 × 8.09 × 1.37 inches (133.17 × 205.40 × 34.83 mm) Dimensions 19.4 oz. (550 g) (estimated) Weight USB 2.0 (USB 1.1 compatible) 480 Mbps Interface AC power adapter Power supply AC input: 100~240 V/ 0.8 A maximum 50~60 Hz DC output: DC 12 V +5/-8% / 0~2 A maximum Legal notices... -
Page 9: One-Year Limited Warranty
Products and parts replaced under this warranty become the property of Rocketfish and are not returned to you. If service of Products and parts are required after the Warranty Period expires, you must pay all labor and parts charges. - Page 11 RF-PHD35...
- Page 12 7601 Penn Avenue South, Richfield, MN 55423-3645 USA © 2009 Best Buy Enterprise Services, Inc. All rights reserved. ROCKETFISH is a trademark of Best Buy Enterprise Services, Inc. All other products and brand names are trademarks of their respective owners.


Need help?
Do you have a question about the RF-PHD35 and is the answer not in the manual?
Questions and answers