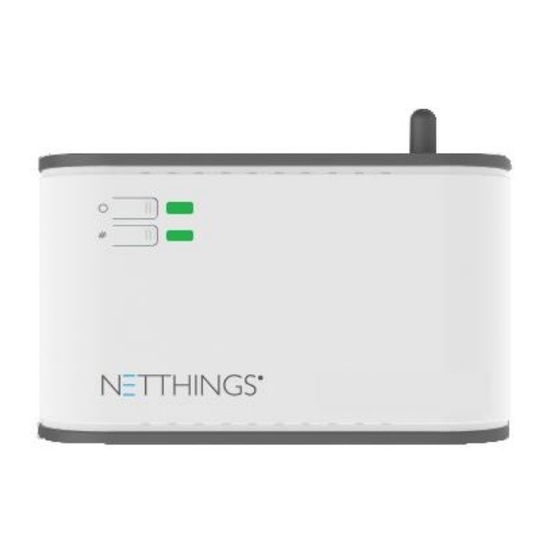
Summary of Contents for NetThings EMK-200 Series
- Page 1 ENERGY MANAGER INSTALLATION & USER GUIDE NetThings Ltd 14 New Mart Road Edinburgh EH14 1RL info@netthings.co.uk T: +44 (0) 131 331 5445 Document 200SM075 Version 2.0...
-
Page 2: Table Of Contents
INSTALLATION OVERVIEW INSTALLATION CONNECTIONS COMMISSIONING THE ENERGY MANAGER USING THE ENERGY MANAGER ADDITIONAL INFORMATION SPECIFICATION APPENDIX 1 – M-BUS INSTALLATION APPENDIX 2 – EVINOX INTEGRATION... -
Page 3: Installation Overview
Make connections to the service you require to be monitored. Note: Additional equipment may be required to connect to other manufacturer’s products. Please contact NetThings if in doubt. Pair the Display to the Energy manager, complete the channel setup, and remove the yellow commissioning warning banner. -
Page 4: Installation Connections
WIFI Please contact Netthings or visit further setup to define the correct www.netthings.co.uk for further communication may be information M-Bus records to report on. unreliable. If you have any questions about installing this product please contact NetThings or visit www.netthings.co.uk... -
Page 5: Commissioning The Energy Manager
COMMISSIONING THE ENERGY MANAGER POWER UP Once the Controller and Display have been correctly installed, power up both and wait for the controller to broadcast its own Wi-Fi signal. The display can be turned on using the Allen key provided, inserted into the small hole of the frame if it hasn’t started upon application of power. - Page 6 CONFIGURATION Following a successful WIFI connection between the Controller and the Display, the Energy Manger should now be configured to enable the energy sources that are connected to the meter. To Setup the system, press the setup icon in the top right hand corner of the screen.
- Page 7 ACTIVATE CONFIGURATION & COMPLETE COMMISSIONING • At the home page the display will now show the channels that have been enabled. • Select an icon to observe the information being reported. • IMPORTANT: At this point the system operation should be verified by consuming energy and checking that the channels are recording correctly on the home display.
-
Page 8: Using The Energy Manager
No existing meter readings can be imported into the Energy Manager. No connection to your existing home broadband is made or required. Please visit www.netthings.co.uk for further assistance and to view our latest product range. UNDERSTANDING THE INFORMATION •... - Page 9 Search for available WIFI connections on your device. • The NetThings Controller will look something similar to: NT_0004A36D365F. Check that this matches up with the label on the top of the Controller as it is possible that you may be able to find other Controllers that are nearby.
-
Page 10: Additional Information
You do not need to have your home Wi-Fi connected to the Energy Manager system in order for it to function. The system broadcasts its own signal to transfer the information to your home display. No external Internet pages can be shown on the NetThings home display . GENERAL ACCOUNT OVERVIEW... - Page 11 The value is a rolling average of the past 15 minutes of energy measurements. CARE AND MAINTENANCE The NetThings Energy Manager and Display require no regular maintenance. Do not spray with water or any cleaning products, which may damage the surfaces or cause a risk of electric shock.
-
Page 12: Specification
SPECIFICATION Name of Manufacturer NetThings Limited Model number EMK-001-xx (CT + Pulse), EMK-200-xx (CT + Pulse + M-Bus) Purpose of product (Energy Manager) Monitoring building energy consumption Dimensions Controller: 165mm x 95mm x 52mm 5” Display: 173mm x 99mm x 18mm 7”... -
Page 13: Appendix 1 - M-Bus Installation
APPENDIX 1 – M-BUS CHANNEL SETUP SETTING UP M-BUS CHANNELS (only available on M-Bus supported Energy Managers) The M-Bus functionality is only available on hardware that supports M-Bus communication. If the Energy Manager supports M-Bus, a menu item for M-bus will be available in the Configuration page. •... - Page 14 M-Bus Scan Information • The scan should identify all units that the Energy Manger is able to connect to. If this list does not identify the expected meters, check all wiring to connected devices and press Refresh restart the scan. •...
-
Page 15: Appendix 2 - Evinox Integration
APPENDIX 2 – EVINOX INTEGRATION SETTING UP EVINOX CHANNELS (only available when a supported Evinox HIU is connected) An Evinox HIU can be connected to a NetThings Energy Manager and provide meter readings for five distinct meters: Heating (Combi boiler) - Page 16 SETTING UP EVINOX CHANNELS continued • A maximum of three Evinox meters can be assigned at any one time, as Evinox meters can only be assigned to pulse channels, and there are only three pulse channels. • If a pulse channel is not required for Evinox, it can be used as a normal pulse channel if desired. •...
- Page 17 THIS PAGE IS INTENTIONALLY BLANK...
- Page 18 THIS PAGE IS INTENTIONALLY BLANK...
- Page 19 THIS PAGE IS INTENTIONALLY BLANK...
- Page 20 NetThings Ltd 14 New Mart Road Edinburgh EH14 1RL info@netthings.co.uk T: +44 (0) 131 331 5445...
