Table of Contents
Advertisement
Quick Links
After usng the bed for one week, fittings should be re-tightened.
NOTE: If you have questions assembling your bed, please call your retailer or our
customer services number below.
Recommended care for your bed:
• Avoid placing in direct sunlight or next to heating apparatus.
• Do not leave wet objects, nail polish or perfumes on polished surfaces.
• Rotate the position of your slats over the length of the bed frame at six monthly intervals.
• Care for your Design Mobel mattress by following the instructions on the mattress care label
(underside of matress) .
• Keep assembly instructions and tool(s) for ease of resassembly when moving.
• Use the complimentary care cloth provided to clean yoiur frame.
Warranty
• Register your warranty card online at www.dm.co.nz
and receive your free $50 linen and bedding voucher.
Design Mobel (New Zealand)
PO Box 1142, 130 Maleme Street, Tauranga 3140, New Zealand
Ph: +64 7 543 3660
Fax: +64 7 543 3669
Freephone 0800 337 446
Design Mobel (Australia)
48 Alexandra Place, Murarrie, QLD 4172, Australia
Freephone 1800 194 510
Fax: +61 7 3902 8810
www.dm.co.nz
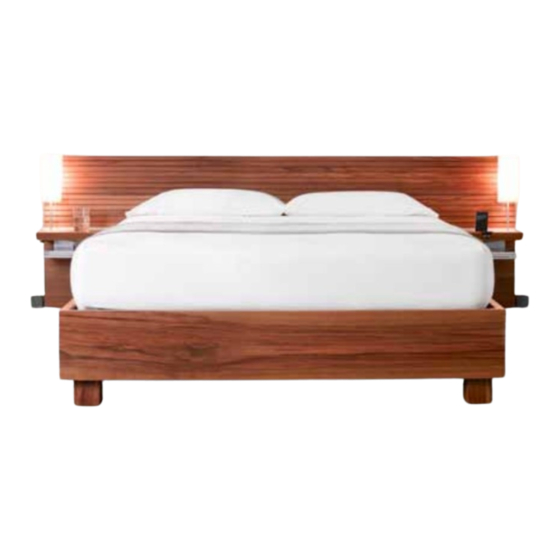
iPod, Bose Shelf Accessories, Tray, Drawer,
Side Lamp & Task Lamp.
A S S E M B L Y
I N S T R U C T I O N S
Thank you for choosing a Design Mobel. As part of our longstanding plant a tree policy as a
direct result of your purchase, we will shortly be planting a native tree at a school.
For information including product care and maintenance please refer to the brochure also
enclosed in product packaging. Register your product/s online at www.dm.co.nz to receive
your free $50 Design Bodyfit™ linen voucher.
NOTE: Never drag your Design Mobel bed as it may cause damage or break the bedframe.
Advertisement
Table of Contents

Summary of Contents for Design Mobel Pause
- Page 1 • Register your warranty card online at www.dm.co.nz and receive your free $50 linen and bedding voucher. Thank you for choosing a Design Mobel. As part of our longstanding plant a tree policy as a Design Mobel (New Zealand) direct result of your purchase, we will shortly be planting a native tree at a school.
- Page 2 PAUSE BED FRAME Screw M8 metal dowels into threads in headboard tie rail as shown. Slide side rails into headboard tie rail. Components Included NOTE:This bed is in “knockdown” form to avoid possible transport damage and to allow movement into restricted areas such as stairways.
- Page 3 Position leg brackets in corners of bed frame. Fasten leg brackets to rails using M6 Screw M8 metal dowels into threads in underside of headboard. Slide headboard on to bolts and tighten with allen key provided. Attach legs to leg brackets using M6 bolts in headboard tie rail.
- Page 4 Insert cross brace into hole #1 on cross brace brackets attached to the centre and Angle shelf in upright position as shown. Insert shelf extrusion into headboard side rails. extrusion and lower shelf into horizontal position. NOTE: Cross brace may flex upwards without mattress on bed. Align hole in velcro cable tie with hole in the back of the headboard tie rail as shown.
- Page 5 Pause Drawer Installation NOTE: If attaching aluminium tray to a previously assembled lamp, ipod or The Pause drawer is supplied pre-assembled onto the Pause shelf. To attach the shelf and drawer onto the headboard, hold the shelf and drawer together Bose shelf, ensure all cables are unplugged and pulled back through cable hole in headboard tie rail.
- Page 6 Side Lamp Installation Task Lamp installation Remove aluminium lamp hole cap Feed the lamp plug through the Align holes on task lamp bracket with holes on the back face of the from shelf. hole in the shelf. headboard as shown. Fasten using M6 bolts and tighten with allen key. NOTE: If installing side lamp onto shelf with drawer option, open drawer fully to enable easy feeding of cables.
- Page 7 iPod Shelf Bose Shelf - Series 2 Insert the audio extension cable Feed the audio extension cable Install iPod as per iPod shelf Feed the cable through the cable and iPod dock connector end of and iPod dock connector to USB2 instructions.
- Page 8 Remove cover cap from headboard tie rail. Undo nut and remove. Insert speaker bracket in the orientation shown and re-attached nut, tighten in a clockwise direction using spanner provided. See step 5 for method of attaching speakers to speaker bracket. Screw design mobel (New Zealand)
Need help?
Do you have a question about the Pause and is the answer not in the manual?
Questions and answers