Table of Contents
Advertisement
Quick Links
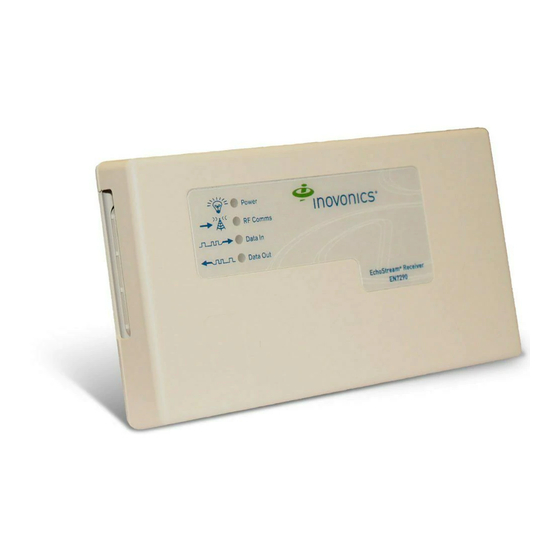
EN7290 EchoStream® Receiver/Interface for
Honeywell VISTA Panels
Installation Instructions
1 Overview
The EN7290 receiver/interface converts Inovonics EchoStream wireless
messages for compatibility with the Honeywell VISTA-128, VISTA-250 and
Safewatch Pro 3000 series panels. The EN7290 receiver/interface
supports up to 512 registered devices.
Note: Because a single device cannot be deleted from the EN7290
receiver/interface once registered, the 512 device limit is provided to allow
for future device replacements.
1.1 Installing an Inovonics Security System
An EchoStream survey kit should be used to establish an EchoStream
system. The EchoStream survey kit measures the signal strength of high-
power repeater and sensor messages to help optimize your EchoStream
system.
Figure 1 Sample EchoStream system
The EchoStream survey kit provides you with two signal strength
measurements: signal level and signal margin.
Signal level
The signal level is the measurement of the overall decibel level of the
message.
Signal margin
The signal margin is the measurement of the decibel level of the message,
minus the decibel level of any interfering signals. Inovonics equipment
should be placed within a facility such that all end-devices produce signal
margin readings of at least 4 decibels.
Both the signal level and signal margin are measured in decibels. Because
signal strength and signal margin are measured on a logarithmic scale, the
difference between a decibel level of 3 (Weak) and a decibel level of 4
(Good) is a much larger difference than it would be on a linear scale.
Note: For more information about the EchoStream survey kit, see the
EN7017 Survey Kit and App Installation and Site Survey Instructions.
Caution: The EchoStream system should be tested regularly to ensure
operation. To test: place the system in test mode, activate an end device,
and ensure an appropriate response.
1.2 RF Signal Propagation
While wood, drywall and glass usually let the RF signals pass, some
materials may inhibit or attenuate radio frequency (RF) signal propagation
by blocking, reflecting, deflecting or absorbing RF signals.
Consider anything between transmitters and repeaters and/or the receiver.
Is there concrete and steel construction? Are there earthen berms or hills?
10.23.17 06702F © Inovonics, 2017 - www.inovonics.com
Are there a lot of trees? Devices should be mounted such that they are
least affected by these elements.
For best results, transmitters and repeaters should be mounted at the
optimal height to achieve line of sight to repeaters and/or the receiver.
Usually this means they will be mounted as high as possible.
Following are some typical obstacles to RF signal propagation:
Material
Metal construction,
including ductwork;
pipes; studs; stucco,
plaster or concrete with
wire mesh; satellite
dishes, metal-lined
rooms such as walk-in
coolers or freezers;
metal siding, safes, etc.
Completely enclosed
metal boxes/enclosures.
Solar panels, cinder
block walls, windows
with built-in solar tinting.
Vegetation.
Automobile and truck
traffic.
1.3 Inovonics Contact Information
For product and installation videos visit us at
www.inovonics.com/videos or use the QR
code below.
If you have any problems with this procedure, contact Inovonics technical
services:
• E-mail: support@inovonics.com.
• Phone: (800) 782-2709; (303) 939-9336.
Affect
Recommendation
Can reflect,
Perform a site survey
absorb and/or
using an Inovonics
disrupt RF
wireless survey kit to
signals.
verify the RF signal is
acceptable, and, when
necessary, to
determine where to
locate repeaters.
Can restrict RF
signals.
Can absorb and/
or reflect RF
signals.
Can attenuate
Add repeaters as
RF signals. The
issues arise.
RF environment
can alter as
trees shed or
sprout leaves.
Can disrupt RF
Mount Inovonics
signals.
devices at a height
sufficient to achieve
line of sight above
traffic.
Advertisement
Table of Contents

Summary of Contents for Inovonics EN7290
-
Page 1: Installation Instructions
512 registered devices. Metal construction, Can reflect, Perform a site survey Note: Because a single device cannot be deleted from the EN7290 including ductwork; absorb and/or using an Inovonics receiver/interface once registered, the 512 device limit is provided to allow for future device replacements. - Page 2 North America, skip to 4.1, “Connect the EN7290 Receiver/ Power LED: Off when less than 9.5 VDC is applied to the EN7290 receiver/ Interface to VISTA Panel”; if you are using the device in Australia or New interface;...
- Page 3 2. Connect one end of a length of cabling to the EN7290 receiver/interface negative (-) screw terminal; connect the other end to screw terminal 4 on the Safewatch Pro 3000 control panel. 3. Connect one end of a length of cabling to the EN7290 receiver/interface VISTA data out (DO) screw terminal;...
- Page 4 EN1223S* Single-button, water resistant Note: For UL listed systems containing a UL hold-up switch, the EN7290 pendant transmitter must be located within three feet of a system keypad in a location out of sight from the protected premise.
-
Page 5: Specifications
2. Referring to Figure 3, “EN7290 receiver/interface internal components,” • Increase the separation between the equipment and receiver. on page 2, mount the EN7290 receiver/interface through the four corner • Connect the equipment into an outlet on a circuit different from that to mounting holes using a Phillips screwdriver and the included mounting which the receiver is connected. - Page 6 RF jam, and low battery. c.The repeater low battery is reported from a secondary input serial number created by the EN7290 receiver/ interface. A repeater with an input S/N of 345678 will report a low battery on loop 1 with the input S/N 355678 (345678 + 10000).


Need help?
Do you have a question about the EN7290 and is the answer not in the manual?
Questions and answers