Advertisement
Quick Links
INSTALLATION INSTRUCTIONS
1998-2001
CHEVROLET
2000-2002
PONTIAC
The installation of this AEM
the installation of the AEM
necessary as it is needed to properly support the clutch fluid reservoir.
* NOTE: Legal in California only for racing vehicles which may never be used upon a highway
AEM Induction Systems
Equipped with AEM
No Oil Required!
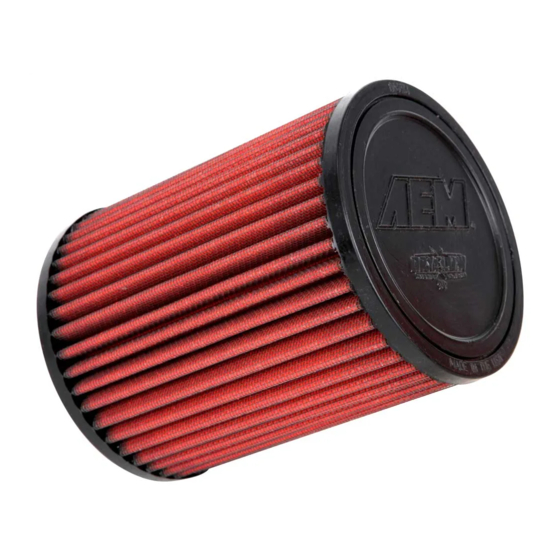
PART NUMBER: 21-447
Cavalier L4-2.2L
Sunfire
L4-2.2L
®
intake system on manual transmission model year vehicles will also require
®
clutch reservoir bracket, part # 20-445. The clutch reservoir bracket is
1 (800) 992-3000
®
Dryflow™ Filter
Manual trans.
Requires 20-455
Manual trans.
Requires 20-455
C.A.R.B. E.O. # D-670-6
C.A.R.B. E.O. # D-670-6
WWW: http://www.aemintakes.com
Advertisement

Related Manuals for AEM Dryflow

Summary of Contents for AEM Dryflow
-
Page 1: Installation Instructions
Manual trans. Requires 20-455 C.A.R.B. E.O. # D-670-6 ® The installation of this AEM intake system on manual transmission model year vehicles will also require ® the installation of the AEM clutch reservoir bracket, part # 20-445. The clutch reservoir bracket is necessary as it is needed to properly support the clutch fluid reservoir. -
Page 2: Parts List
PARTS LIST Description Qty. Part Number Element Parts Kit 2.75 X 5" Dry Ele. 21-202DK Lower Pipe 2-552 Upper Pipe 2-553 Hose, Silicone 2.75x3" Blk. 5-275 Hose, Hump 2.75/2.75x3.00" 5-575 Hose; 1/2"ID X 12"L 5-5012 Mount, Rubber 5/8" X 6mm 1228598 Grommet, 1/2"... - Page 3 Failure to follow installation instructions and not using the provided hardware may damage the intake tube, throttle body and engine. ® The AEM intake system is a performance product that can be used safely during mild weather conditions. During harsh and inclement weather conditions, you must return your vehicle to stock OEM air box and intake tract configuration.
- Page 4 c. Loosen the hose clamp at the air box. d. Remove bolt. Release the breather hose from the valve cover. e. Loosen the hose clamp at the throttle body. f. Gently pull the inlet air temperature (IAT) sensor from the inlet pipe. Remove the upper air box from the vehicle.
- Page 5 Remove the plastic clip that secures the fuse block. j. If equipped with a manual transmission, remove the clutch fluid reservoir from the air box. Secure it to the ® firewall with AEM part # 20-445 (sold separately). Remove the air box from the vehicle.
- Page 6 k. Remove the left fender liner to expose the lower air l. Release the two wire clamps on the back of the box / washer bottle assembly. washer fluid bottle. m. Unplug the washer motor. Pull the washer fluid n. Remove the bolt that secures the washer bottle to hose off of the motor and drain the fluid into a clean the fender.
- Page 7 o. Remove the lower bolt near the front of the washer p. Remove the upper bolt near the front of the washer bottle. bottle. This picture was taken through the front grill. q. Remove the washer bottle from the vehicle. Loosen r.
- Page 8 ® 3. Installation of AEM intake system. a. When installing the intake system, do not completely tighten the hose clamps or mounting hardware until instructed to do so. b. Install supplied bolt and washer through fender as c. Install spacer as shown. Install the lower pipe in the shown.
- Page 9 f. Install the supplied silicone hose as shown. Orient g. Attach the rubber mount to the tab near the washer the hose clamp screws away from the battery tray as bottle filler neck using the supplied washer and lock nut. shown.
- Page 10 j. Place the upper intake pipe in the engine bay as k. Secure the throttle/cc cable(s) to the upper pipe with shown. the zip tie(s) installed earlier. Cut off excess material. l. Insert the IAT sensor through the grommet in the m.
- Page 11 n. Check the fitment of the pipes and tighten all hose o. Reinstall the battery. Confirm that the positive lead clamps. Secure the fuse block to the rubber mount from the fuse box is on top of the intake pipe and is not with the supplied lock nut and washer.
-
Page 12: Service And Maintenance
6. Service and Maintenance a. AEM Induction Systems requires cleaning the intake system’s air filter element every 100,000 miles. When used in dusty or off-road environments, our filters will require cleaning more often. We recommend that you visually inspect your filter once every 25,000 miles to determine if the screen is still visible. - Page 13 AEM Air Intake System Warranty Policy ® warrants that its intake systems will last for the life of your vehicle. AEM will not honor this warranty due to mechanical damage (i.e. improper installation or fitment), damage from misuse, accidents or flying debris. AEM will not warrant its powder coating if the finish has been cleaned with a hydrocarbon-based solvent.
Need help?
Do you have a question about the Dryflow and is the answer not in the manual?
Questions and answers