
Related Manuals for Formech 450DT

Summary of Contents for Formech 450DT
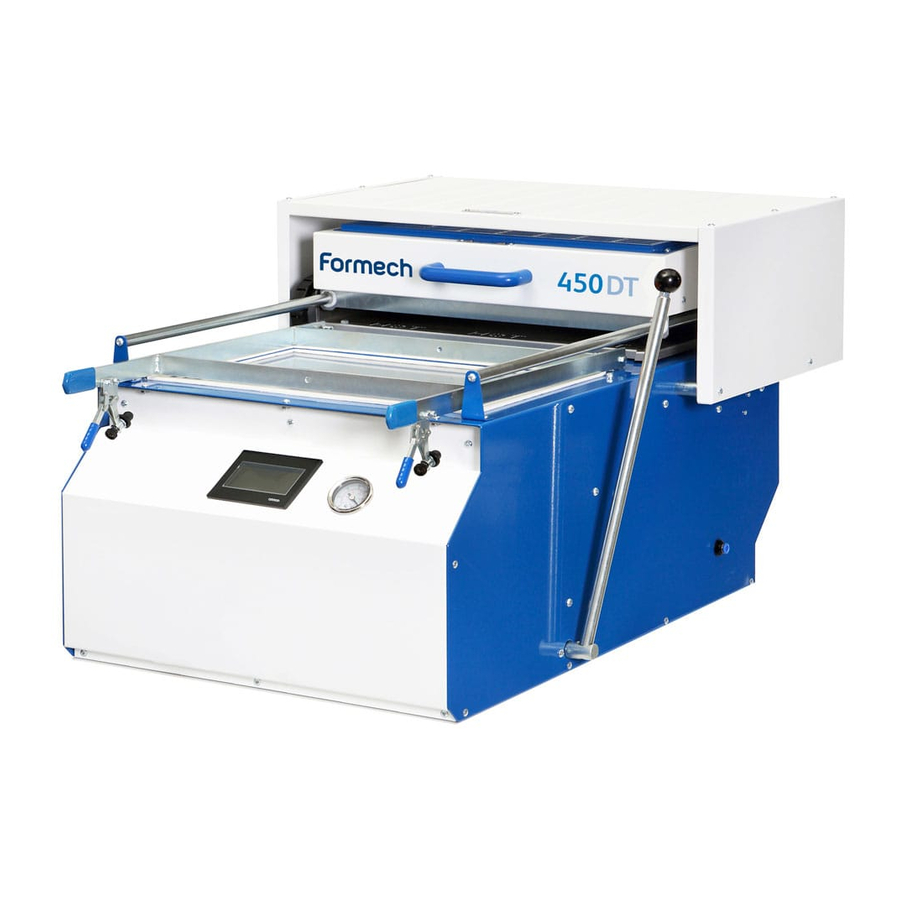
- Page 1 Desktop Vacuum . . . Forming Machine 450DT Installation, Operating and Service Manual For Parts, Service & Technical Assistance Telephone: +44 (0) 1582 496 797 Fax: +44 (0) 1582 496 646...
-
Page 2: Table Of Contents
Initial Requirements 450DT Main Menu 450DT Basic Operation 450DT Settings 450DT Saving Parameters to Memory 450DT Loading Previously Saved Parameters from Memory Operating Techniques Optional Extras and Accessories Reducing Windows - Fitting (optional) Trolley - Self Assembly Instructions (optional) Reel Feed - Self Assembly Instructions (optional) -
Page 3: Safety
> Daily repetitive use of this or any other machine may lead to a) fatigue and loss of concentration b) possible strains. > Operators should be trained in the use of correct lifting techniques. > Users of this machine should complete regular competence tests. Manual - Formech 450DT V1.0 - 0317... - Page 4 Care is required when operating the clamping frame to ensure that fi ngers or hands are not trapped. Keep hands clear of the heater rails when pulling the heater forwards. Manual - Formech 450DT V1.0 - 0317...
- Page 5 THIS IS NOT AN EXHAUSTIVE LIST OF THE POSSIBLE MISSUSE OF THIS MACHINERY. THE USE OF THIS MACHINE MUST BE ASSESSED, MONITORED AND CONTROLLED BY THE PERSON RESPONSIBLE FOR THE HEALTH AND SAFTEY IN THE ORGANISATION THAT OWNS AND OPERATES THIS MACHINE. Manual - Formech 450DT V1.0 - 0317...
-
Page 6: Introduction And Initial Assembly
6mm thick material. These machines are intended for use only for the vacuum forming of plastics components and for the blow moulding of heated plastics. The 450DT is ideal for prototype development work whilst also quite capable of small and large production runs. -
Page 7: Transportation / Positioning
A minimum of 2 persons are required to lift the machine. In the case of the 450DT trolley, ensure that the 2 machine retaining screws are fi tted to the under-side of the trolley / machine. -
Page 8: General Arrangement
This is the main power switch. Switch this ‘ON’ to provide power to the machine after connecting the power lead. When set ‘OFF’ there will be no power to the machine. 4. Specifi cation Plate This states the essential machine data & CE marking. Manual - Formech 450DT V1.0 - 0317... - Page 9 When the vacuum pump is running, the pressure is diverted to this outlet. This can be used to supply or run other equipment when not being used for vacuum forming. Do not block this outlet or attempt to connect air supply. THIS MACHINE DOES NOT REQUIRE AIR SUPPLY. Manual - Formech 450DT V1.0 - 0317...
-
Page 10: Machine Footprint
General Arrangement Machine Footprint (Dimensions are in mm) Air outlet port Power inlet socket Manual - Formech 450DT V1.0 - 0317... -
Page 11: Operating Procedure
Operating Procedure Introduction to the 450DT Control System - Operating Buttons and Icons Heater Enable Enables the heaters on the main menu screen. Heaters will shut off after 40 minutes if the machine is unused. Start Opens the load options screen to allow selection of saved parameters or manual operation. -
Page 12: Initial Requirements 450Dt
Place the plastic material over the aperture. completely cover the white seals around the aperture. Adjust the toggle clamp screws to properly grip the plastic. The rear of the clamp is spring loaded. Manual - Formech 450DT V1.0 - 0317... -
Page 13: Main Menu
Heater settings may be changed via the settings button. In manual mode the heaters are set to the default values. The Save button will use the settings of the timers shown and import them to the settings screen to edit and save as required. Manual - Formech 450DT V1.0 - 0317... - Page 14 Operating Procedure The following section explains the 450DT vacuum forming process: Pull the Heater forwards over the clamped Push the heater back slightly to test the softness of plastic. As the plastic heats up it may begin to the plastic manually or to observe its state. Continue rise slightly.
-
Page 15: 450Dt Settings
The heater power and timer parameters may be edited before saving into memory. The timer button will open an adjustment screen with a key-pad as described above. When complete, press the save button on the settings screen to select a memory slot to save. There are 20 memory locations. Manual - Formech 450DT V1.0 - 0317... -
Page 16: 450Dt Saving Parameters To Memory
Press on the memory title to edit the title using the pop-up key pad as required. Press the save button when complete. 450DT Loading Previously Saved Parameters from Memory Press the load button on the load options screen to load previously saved parameters. -
Page 17: Operating Techniques
This is to provide more heat around the outside edges of the forming area which can be affected by environmental factors such as draughts. The element and zone layouts are shown below. Front Front Manual - Formech 450DT V1.0 - 0317... - Page 18 2. The standard aperture size of the Formech 450DT reducing window is 228mm x 203mm, to use plastic size of 248mm x 223mm. Formech can also produce special size reducing windows. For more information please contact our sales department.
-
Page 19: Reducing Windows - Fitting (Optional)
7. Fit the bolt and the nut 8. Reducing windows to secure the window to the correctly fi tted to the clamp frame. machine. Manual - Formech 450DT V1.0 - 0317... -
Page 20: Trolley - Self Assembly Instructions (Optional)
Establish the desired position for the dividing panels and tighten securely with three M6 button head screws and nuts per divider. Position the completed lower tray to one side and begin the assembly of the top tray. Manual - Formech 450DT V1.0 - 0317... - Page 21 7. Once the trolley and machine have been placed in their ideal position, the two locking castors need to be depressed to prevent trolley movement. ENSURE THAT LOCAL LIFTING AND HANDLING PROCEDURES ARE APPLIED AND MONITORED BY A PERSON RESPONSIBLE FOR HEALTH AND SAFETY. Manual - Formech 450DT V1.0 - 0317...
-
Page 22: Reel Feed - Self Assembly Instructions (Optional)
Reel Feed - Self Assembly Instructions (optional) The 450DT can be used with a reel feed as an accessory. See assembly diagram below. Place the cones and locking collars either side of the reel. Then tighten the two collars to the central shaft so that the cones are locked in place. -
Page 23: Tooling
Sealed moulds will usually release more easily. Silicone based release agents may be used on more difficult moulds. Silicone based release agents are rapidly absorbed by porous (unsealed) moulds, rendering them ineffective. Manual - Formech 450DT V1.0 - 0317... -
Page 24: 450Dt Standard Baseboard
Attach MDF board to steel plate with screws screws in the corners or strips of high bonding double sided tape 300XQ reducing window base board Manual - Formech 450DT V1.0 - 0317... -
Page 25: Plastics
Formech has available a Vacuum Forming Guide which will cover some of these topics in more details. Please contact Formech to gain access to this guide. -
Page 26: Post Forming Operations
Formech has available a Vacuum Forming Guide which will cover some of these topics in more details. Please contact Formech to gain access to this guide. -
Page 27: Warranty
Warranty Reliability and a long service life are synonymous with the Formech brand. However, as with any machinery, certain parts will require periodic replacement. Seals The silicone seals applied to the mould table and to the top aperture of the machine (clamp) are seen as being consumable parts, their service life will depend on how the machine is treated and how often it is used. -
Page 28: Service / Repair
4. With a sharp blade cut a 45° mitre joint at all corners. Fill gaps in the joints with sealant. Remove the masking tape before the sealant has set. For best performance leave seal to set overnight. Manual - Formech 450DT V1.0 - 0317... -
Page 29: Replacing A Heating Element
Remove the relevant terminal block covers to determine this. If you are a qualifi ed electrical technician and conversant with electrical fault-fi nding techniques, then refer to the circuit information at the rear of this manual. If you are uncertain then contact Formech for service and advice. - Page 30 8. Ensure that the connections are replacement new heating element correctly fitted and the connector block ensuring the fixing screws are secured. screws are fully tightened. Replace the connector cover and top heater cover. Finally test the heater. Manual - Formech 450DT V1.0 - 0317...
-
Page 31: Electrical Troubleshooting
See also section dealing with Electrical circuit information. If you are a qualifi ed electrical technician and conversant with electrical fault-fi nding techniques, then refer to the circuit information at the rear of this manual. If you are uncertain then contact Formech for service and advice. -
Page 32: Vacuum / Pressure Troubleshooting
Turn the vacuum on Check the reading you A vacuum gauge reading of get on the vacuum gauge 22”Hg or higher is normal. A lower reading indicates poor vacuum where attention is required Manual - Formech 450DT V1.0 - 0317... - Page 33 Access to these parts is by disassembly of the pump heads. The following provides drawings and parts data to assist with the maintenance and repair of the diaphragm pump. Simply disassemble, inspect, replace parts if required and reassemble. Manual - Formech 450DT V1.0 - 0317...
-
Page 34: Replacing The Filter
Fit the new fi lter ensuring that the arrow embossed on the fi lter is pointing to the pump with the internal spring on the right-hand side. Replace pipe clips A&B. Replace the rear panel and test. Manual - Formech 450DT V1.0 - 0317... -
Page 35: Cleaning
Apply general purpose grease to the table guide bars when required to assist with table movement. Apply a small amount of fine silicone oil or fine oil to the heater slide bars when required to assist free movement of the heater. Manual - Formech 450DT V1.0 - 0317... -
Page 36: Wiring Diagram Formech 450Dt
Wiring Diagram Formech 450DT Manual - Formech 450DT V1.0 - 0317... - Page 37 Wiring Diagram Formech 450DT Manual - Formech 450DT V1.0 - 0317...
-
Page 38: Spare Parts Listing
Pipe Clip - Small plastic, Type C, 1/4" Tube Pipe Clip - Small plastic, Type F, 3/8" Tube EE114 EE115 Communications Cable PLC-HMI EE116 24VDC Power Supply, 1A EE01 Relay, single pole, 6A, 24VDC EE92 Manual - Formech 450DT V1.0 - 0317... - Page 39 Microswitch, Hi temp EE34 Buzzer 12-24VDC EE96 BS1363/A 3Pin Plug to C19 Power Lead, 13A EE57 EU(Shuko) Plug to C19 Power Lead, 16A EE56 NEMA6/15(N America) Plug to C19 Power Lead, 15A EE74 Manual - Formech 450DT V1.0 - 0317...
-
Page 40: Ec Machinery Directive
2014/35/EU 2014/30/EU 2011/65/EU Technical File Compiled by: Andrew Berry at address below Formech International Limited, Unit 4, Thrales End Farm, Thrales End Lane, Harpenden Hertfordshire AL5 3NS, United Kingdom Significant harmonised standards applied: EN ISO 12100 : 2010 EN 60204-1:2006+A1:2009 ... - Page 41 South America Telephone: 608.424.2524 spares@formechinc.com Formech International Limited Unit 4, Thrales End Farm, Thrales End Lane, Harpenden, Hertfordshire, AL5 3NS U.K. Tel: +44 (0) 1582 469 797 Fax: +44 (0)1582 469 646 Email: info@formech.com Manual - Formech 450DT V1.0 - 0317...
Need help?
Do you have a question about the 450DT and is the answer not in the manual?
Questions and answers
I want to buy this machine