Table of Contents
Advertisement
®
Reliabl e | Superi or | Revol utiona ry
OPERATOR'S AND SAFETY MANUAL
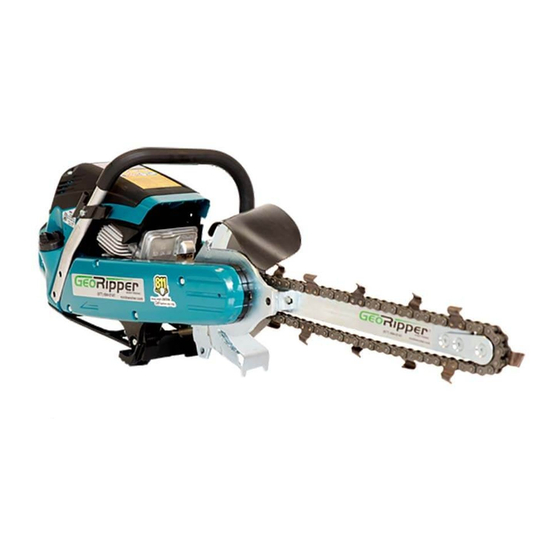
FOR GEORIPPER MODELS GR16, GR20, GR27
WARNING!
Read and understand this Manual. Always follow safety
precautions in the Operator's and Safety Manual.
Improper use can cause serious injury!
TERRATRENCH USA, INC. dba MiniTrencher
815 NE 172
Avenue, Vancouver, WA 98684
nd
877.694.0141 www.MiniTrencher.com
Advertisement
Table of Contents

Summary of Contents for MiniTrencher GeoRipper GR16
- Page 1 FOR GEORIPPER MODELS GR16, GR20, GR27 WARNING! Read and understand this Manual. Always follow safety precautions in the Operator’s and Safety Manual. Improper use can cause serious injury! TERRATRENCH USA, INC. dba MiniTrencher 815 NE 172 Avenue, Vancouver, WA 98684 877.694.0141 www.MiniTrencher.com...
- Page 3 FUELS WITH MORE THAN 10% ETHANOL ARE NOT APPROVED FOR USE IN GEORIPPER 2-STROKE AND 4-STROKE ENGINES! Use of alternative fuels, such as E-20 (20% ethanol), E-85 (85% ethanol) or any fuels not meeting MINITRENCHER requirements are not approved for use in GEORIPPER MINITRENCHERS!
-
Page 4: Table Of Contents
GUIDE TO MAINTAINING DIGGING COMPONENTS ..............9 USING MINITRENCHER EZ KART™ ....................10 TIPS FOR EZ KART™ USE ......................11 GEORIPPER® TROUBLESHOOTING ..................... 11 SERVICE AND PARTS ........................12 REPLACEMENT PARTS FOR GEORIPPER® MINITRENCHER ............. 12 WARRANTY ..........................13 EU DECLARATION OF CONFORMITY ..................14... -
Page 6: Important Safety Instructions
Check that the powerhead, including handles, and all safety apparatus are in good working order. Ensure that the GeoRipper® minitrencher is correctly fitted to the powerhead, the chain and belt are correctly tensioned, all nuts and bolts are tight and the belt guard is in place. Before starting the engine, remove and inspect the digging chain for any damage. - Page 7 The digging blade may kick back if the bar and digging chain contacts hard, solid ground or other obstructions. When tuning or testing the minitrencher, be sure to point the blade away from self and others. The chain will rotate at high speed without warning.
-
Page 8: Assembly Instructions
ASSEMBLY INSTRUCTIONS Before assembly, check parts list within product packaging. If anything is missing, please call MiniTrencher or your local dealer immediately. Removed powerhead from box and lay on its side on a non-marring surface. Position so the digging bar bolts are visible. (Fig. F) Fig. - Page 9 18mm wrench. Tighten securing nut on bar tensioner to keep tensioning bolt in place. The GeoRipper® minitrencher is now ready to operate. Refer to both the section in this manual and the powerhead manual for correct and safe operation of the GeoRipper®...
-
Page 10: Digging Chain Information
Check along the desired trench line, clearing any obstructions, branches, large stones and other obstructions that could cause the operator to slip or loose footing. If a long continuous trench is planned, consider using the MiniTrencher EZ Kart™. -
Page 11: Using The Georipper® Minitrencher
To trench laterally across an incline, always direct the discharge chute downhill. This will keep the spoils from falling downhill back into the trench. 10. In very rocky soils, the option rock shield can be used with the MiniTrencher EZ Kart™. 11. Cut grass before trenching to help recover spoils. -
Page 12: Special Situations
5mm hex bit will help to loosen screws. Add a stud locking compound (Red Loctite) to screws before reinstalling. Tighten Nose bolts to 18 foot-lb torque. When storing the GeoRipper® minitrencher, drain fuel from tank, run machine dry, and oil digging chain. Follow storage instructions in powerhead Owner’s Manual. -
Page 13: Fuel Information
FUELS WITH MORE THAN 10% ETHANOL ARE NOT APPROVED FOR USE IN GEORIPPER 2-STROKE AND 4-STROKE ENGINES! Use of alternative fuels, such as E-20 (20% ethanol), E-85 (85% ethanol) or any fuels not meeting MINITRENCHER requirements are not approved for use in GEORIPPER MINITRENCHERS! -
Page 14: Guide To Maintaining Digging Components
Clean other surfaces with a brush or damp cloth. Avoid using petroleum-based products, abrasives, or other solvents on labels. Remove the drive belt guard, remove dust and dirt from belt housing and reinstall. Store the GeoRipper® minitrencher is a safe, dry place. -
Page 15: Using Minitrencher Ez Kart
WARNING! Electric shock can be fatal regardless of whether you are using the GeoRipper® minitrencher manually or with the MiniTrencher EZ Kart™ system. Remember to check the location of all underground services, especially electric cables, prior to digging. CALL 811 BEFORE YOU DIG Refer to instructions supplied with EZ Kart™... -
Page 16: Tips For Ez Kart™ Use
RPM. Before changing to a different notch, throttle off and allow your digging chain to come to a rest so that you retail full control of the GeoRipper® minitrencher at all times. When trenching with the EZ Kart™, allow the GeoRipper® minitrencher to dig at a rate which the soil type/condition allow. -
Page 17: Service And Parts
MiniTrencher service center to maintain warranty status. This work will be charged at the normal rates unless found to be a warranty item. Beyond the warranty period, replacement parts can be ordered through MiniTrencher and its dealers for convenient field replacement. -
Page 18: Warranty
OPTION, REPLACE) WITHOUT CHARGE TO THE EXTENT ALLOWABLE. THE SAFE AND CORRECT USE OF THIS PRODUCT IS BEYOND THE CONTROL OF THE MANUFACTURER. MINITRENCHER WILL NOT BE LIABLE TO ANY PURCHASER OR ANY OTHER PERSON FOR ANY LOSS OF PROFITS OR ANY CONSEQUENTIAL, INDIRECT OR SPECIAL LOSS, DAMAGE OR INJURY OF ANY KIND HOWEVER CAUSED (INCLUDING NEGLIGENCE) ARISING DIRECTLY OR INDIRECTLY FROM OR IN CONNECTION WITH ANY GEORIPPER®... -
Page 19: Eu Declaration Of Conformity
® GR MANUFACTURING, LTD PO BOX 44 WARKWORTH 0910 NEW ZEALAND EU Declaration of Conformity In accordance with EN ISO 17050-1:2010 Object of the declaration: Product Portable Handheld Trencher Model/type GR M(Makita) H(Husqvarna) S(Stihl) then length 400-500-800mm Batch/serial no. GR Alphabetical Revision then numerical sequentially GR Manufacturing 5 Lilburn Street Warkworth 0910... - Page 20 TERRATRENCH USA, INC. dba MiniTrencher 815 NE 172 Avenue, Vancouver, WA 98684 877.694.0141 www.MiniTrencher.com...
Need help?
Do you have a question about the GeoRipper GR16 and is the answer not in the manual?
Questions and answers