
Summary of Contents for Aussie Traveller K3600-50
-
Page 1: User Manual
K3600-50 User manual K3600-50 Installation guidelines and user manual Please read all instructions carefully before using the unit and keep instructions for future reference... - Page 2 1. Introduction 2. Installation guide 3. Operating instructions 4. Product Maintenance 5. Troubleshooting guide...
- Page 3 Introduction...
-
Page 4: Exploded Parts List
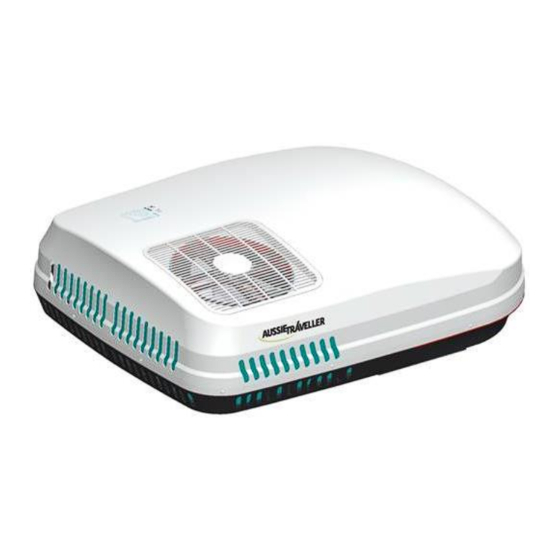
Introduction Exploded Parts List Key components: 1. Air-conditioner main unit ×1 2. Reinforced roof support ×1 3. Mounting frame ×1 4. Plenum unit ×1 Fastener components: 5. M8 x 110 mm bolts ×4 6. Fixing washer ×4 7. Round washer ×4 8. - Page 5 Introduction 1. Operations K3600 creates a comfortable environment for a recreational vehicle or caravan. It is recommended the user should consult caravan manufacturer to understand total heat load, as well to choose a suitable Air-conditioner, some tips to reduce heat load and improve performance: Park the caravan at a shaded place to avoid direct sunshine exposure, close all the doors, skylights and windows, draw the curtains and open the sunshade.
- Page 6 Introduction 2. Condensation Condensation usually happens in areas where the air humidity is comparatively low and when warm moist air within the caravan meets with the cold air from the outlet. In this case, please pay attention to the following measures: Close all the doors, skylights, windows and draw the curtains to decrease any warm moist air from entering.
- Page 7 Introduction 3. Choosing and using generator K3600 requires an AC power source, and may require a generator in some remote circumstance. Requirements for inverter generator include: efficient power source; stable current; output sine wave, which shall meet the requirements of the compressor.
-
Page 8: Installation Guidance
Do not add other parts or restructure the product during the installation. The installers shall be qualified refrigeration technicians Consult with Aussie Traveller in the case of unusual applications or installation conditions that are not specifically covered by this manual. - Page 9 Installation guidance Preparation The main unit should be installed in the center of roof, it is recommended to have a min 100mm space around the top unit Before installing please verify there is suitable space in the ceiling to accept the plenum ...
- Page 10 Installation guidance Preparation (continued) Please check with your caravan manufacturer to confirm the roof can bear the weight of the air-conditioner and maintain a level surface to avoid accumulating condensate/water Please consult with your caravan manufacturer for the best solution if there is a requirement to cut a mounting hole if provision has not been made for an air conditioner ...
- Page 11 Installation guidance Installation Remove the roof support from carton and make sure it is aligned correctly. Add a continuous line of sealant on the back of the support and fit into the cut out ensuring that it is Glue width aligned correctly.
- Page 12 Installation guidance Installation (continued) Match the corresponding active (brown), neutral (blue) ground wire (yellow-green) and tighten up screws to make sure power is properly connected. Insert Plenum mounting bracket through the ceiling to base. Pay attention as the “C” hook must match the corresponding “C”...
-
Page 13: Operation Instruction
Operation Instruction Tips 1. Be careful when installing the unit on the roof of the caravan, crawl boards may be required. 2. There may be wires between the roof and the ceiling. When cutting into the roof, make sure the power is isolated to prevent the risk of electric shock. - Page 14 Operation Instruction Tips (continued) 10. To select the COOL mode, adjust the set point temperature to three degrees lower than the room temperature, the unit will start to blow cold air after the compressor starts – approximately 3 minutes. 11. To select the HEAT mode, adjust the setting temperature as three degrees higher than the room temperature.
-
Page 15: Remote Control
Operation Instruction Remote control Mode Display Fan Speed Display AUTO/COOL/DRY/FAN/HEAT Low/Medium/High/Auto Setting Temperature Display LED On/Off Display ℃/℉ Lock Function Display Room temperature Display ℃/℉ Clean Filter Function Display Timer OFF Display Sleep Function Display Timer ON Display Up Key (Set Temperature) Real Time Clock Down Key (Set Temperature) POWER Key... - Page 16 Operation Instruction Plenum Display Temperature Display COOL Display AUTO Display LED Display HEAT Display Clean Filter Display Touch Screen Key Fan Display Operation of the remote controller Turn on Press the ”Power ” key, the unit turns on, the buzzer in the plenum beeps one time and the running mode and the temperature will be displayed.
- Page 17 Operation Instruction Operation of the remote controller (continued) DEHUMIDIFY mode Press the “MODE” key, select the ” mode, the air volume is un- adjustable to stay at minimum level. Press the down “TEMP-” key to set the temperature ” and the 1℃...
- Page 18 Operation Instruction Operation of the remote controller (continued) TIMER ON Press the” TIMER ON” key, the Hour digit will flash. Press “TIME+” or “TIME- ” key to set desired time for “TIMER ON”. Press the “OK” key to confirm setup is done.
- Page 19 Operation Instruction • THE REMOTE CONTROLLER WILL ONLY OPERATE IF DIRECTLY POINTED AT THE PLENUM. It will beep once when the signal is received. Adjust the distance and angle if the plenum does not respond. • The unit will blow cold air in COOL mode and hot air in HEAT mode. •...
-
Page 20: Specification Parameters
Specification Parameters Specifications Model 220~240V/50Hz Power supply Refrigerant charged R407C/850g Rated cooling capacity (W) 3600 Rated heating capacity (W) 3600 Input power for cooling (W) 1400 Input power for heating (W) 1200 Rated current for cooling (A) Rated current for heating (A) Maximum input power (W) 1600 Maximum current (A) - Page 21 Operation Instruction Operation Instruction Specification Parameters Product Maintenance Product maintenance Filter The return air filters are the only components needing to be maintained periodically. Check and clean the filters each week when in use. Remove filters from the plenum and wash in warm water with a touch of detergent.
-
Page 22: Troubleshooting Guide
Troubleshooting Guide Troubleshooting Guide Be sure all door and windows are closed 1. Display not showing on the plenum Draw curtains to help reduce incoming when turned on /off heat Check if the power is connected properly to Heating not good ... -
Page 23: Warranty
Warranty The unit comes with a 2-year warranty. If the unit is serviced by an Aussie Traveller appointed air-condition dealer or service center, the warranty can be extended from 2 to 4 years. This extended warranty period of an additional... -
Page 24: Service Book
Date (dd.mm.yyyy): _________________ Appointed Service center: _________________________________________ Stamp and signature: _________________________________________ Name of person signing on behalf of the Service _________________________________________ Centre: (please print) Aussie Traveller 11-15 Oasis Court Clontarf Qld 4019 Australia Phone: 1300 663 868 Web: www.aussietraveller.com.au Email: enquiries@aussietraveller.com.au...
Need help?
Do you have a question about the K3600-50 and is the answer not in the manual?
Questions and answers