
Summary of Contents for Parksafe Automotive PS440
- Page 1 AUTOMOTIVE Parking Sensor Installation & User Guide Specifications Subject To Change Without Notice...
-
Page 2: Table Of Contents
TABLE OF CONTENTS FITTING - Fitting position - How to use collars - Check first - Sensor fitting - Control box fitting - Buzzer fitting WIRING DIAGRAMS - Front parking sensor wiring - Rear parking sensor wiring - Two sensor system - Dip switch settings WIRING CONNECTIONS - Wire colours... -
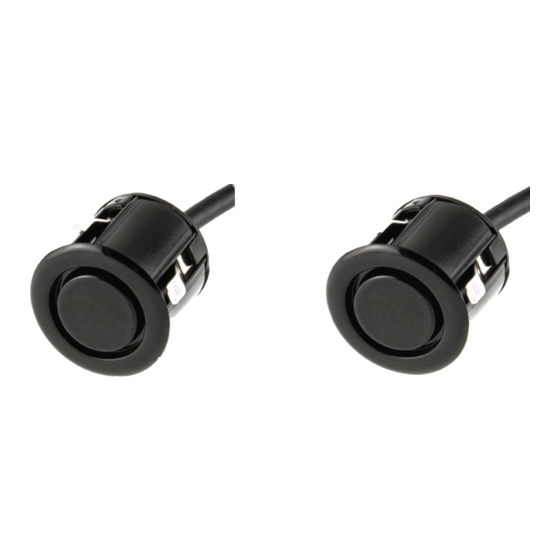
Page 3: Fitting
FITTING How To Use Collars Check First Before drilling holes with the provided hole cutter check for the following. 1. Make sure no filler has been used on the bumper, this can cause install issues. 2. Make sure no crash bar is directly behind the hole you plan to drill and you have enough space behind the cut hole for the sensor and cable so as not to over bend the cable or force the cable against any metal. -
Page 4: Wiring Diagrams
WIRING Page 2... -
Page 5: Two Sensor System
FRONT & REAR ADDITIONAL WIRING INFO Wiring connections: • Power Feed - Red to Ignition Live • Power feed - Black to Chassis • Foot brake - Use the yellow wire. Sensors will come on when the foot brake is applied and go off when not applied. There is no hold on delay. -
Page 6: Ps9** Series Fitting Guide
OEM PS9** SERIES FITTING GUIDE To ensure a strong adhesion of the support brackets to the bumper clean all internal surfaces around the holes with the 3M Automotive adhesion promoter 06396. Failure to do so may prevent long term bond of sensor bracket to bumper. Remove surface dirt and water before using 3M Automotive adhesion promoter 06396 KEEP THE 3M AUTOMOTIVE ADHESION PROMOTER 06396 OFF ANY PAINTED SURFACES. -
Page 7: Displays
DISPLAYS Mute + Functions PS62 1. Use with reverse sensors only 2. Press button on top to mute 3. Press and hold button to change screen orientation (10 Seconds) then continued to hold to scroll through screen orientations 88 - Installed on front dashboard FU - means installed on front roof nU - Means installed on rear roof with read through mirror view... -
Page 8: Canbus Interfaces
BLUE - CAN Low PURPLE - Connect to red of rear parking sensor kit For CAN High and CAN Low location and connection refer to vehicle specifications or Parksafe Automotive Checking PSPK1 CAN module is working correctly: NO LED - Incorrectly Connected... -
Page 9: Troubleshooting
TROUBLESHOOTING False beeps or constant tone If the system after installation has any kind of false beeps you need to go through the following check list. Important: make sure no objects are within a 2.5 meter range of the sensors and the vehicle is on a level surface before doing the following tests. -
Page 10: Cleaning Sensors
Important: Troubleshooting can only be done with the RUI interface in most cases available from Parksafe Automotive. Parksafe Automotive can offer technical support and access to the latest software through the RUI interface. CANRUI CANBUS Engineers Programming Kit... -
Page 11: Using Your Parking Sensor System
USING YOUR PARKING SENSOR SYSTEM Rear System Rear sensors are typically activated automatically when the reverse gear is selected. You will hear a confirmation tone and self test tone the reverse is selected. Reverse gently into the space, checking your view, and mirrors as well listening to a tone change of the parking system. -
Page 12: Sensor Id
SENSOR ID PS440 PS540 PS640 Sensor Hole Size:19MM Sensor Hole Size:19MM Sensor Hole Size:18.3MM PS740 PS940 PS1040-16 Sensor Hole Size:14.5MM Sensor Hole Size:18.5MM PS1040-16W PS1940-16 Rubber Sensor Hole Size:21MM Page 10... - Page 13 OTHER PRODUCTS IN THE PARKSAFE RANGE CAMERAS & MONITORS PARKING SENSORS LIGHTING DASH CAMERAS POWER INVERTERS COMSUMABLES WWW.PARKSAFEAUTOMOTIVE.COM Page 11...
-
Page 14: Warranty
Installers Name: Vehicle Make: Model: Vehicle Reg: SERVICE RECORD: Date: Signed: Date: Signed: Date: Signed: Date: Signed: Parksafe Automotive Ltd, Eden House, High Holborn Road, Codnor Gate Industrial Estate, Ripley, Derbyshire, DE5 3NW +44 (0) 1773 746 591 sales@parksafeautomotive.com Page 12... -
Page 15: Disclaimer
DISCLAIMER The parking assist system is designed as a driver assistance device, and should not be used as a substitute for safe parking practices. The area into which the vehicle is to be reversed must be constantly visually monitored whilst reversing. The manufacturer and its distributors do not guarantee or assume liability for collisions or damages whilst reversing your vehicle. - Page 16 Parksafe Automotive Limited, Suppliers of Vehicle Electronics. FORS & CLOCS Approved. DVR Recorders, Vehicle CCTV, Dash Cameras, Reversing Systems, Parking Sensors, Lighting, Warning Beacons & Consumables. OEM Design Services. ISO 9001 Approved Company ‘KEEPING YOU SAFE IS OUR BUSINESS’ Parksafe Automotive Ltd,...
Need help?
Do you have a question about the PS440 and is the answer not in the manual?
Questions and answers