Advertisement
Quick Links
®
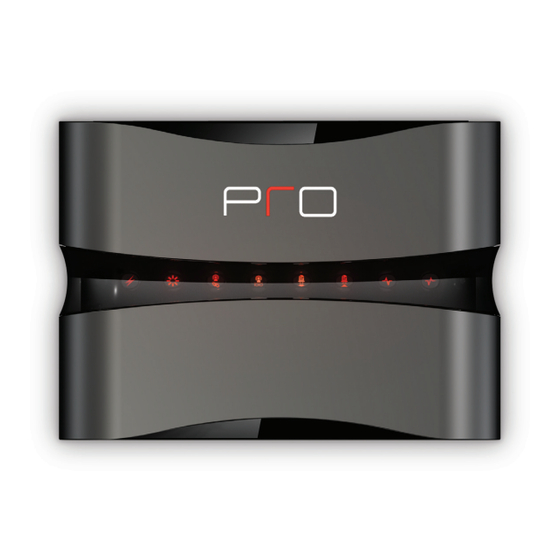
Power
supply
USB
Ethernet
ProLink.r
Quick Reference Guide
71-500005-18 V1.0
Hinged canopy door
IR output level
adjustments
Routable IR output
ports (4)
IR/Sense input
Installation & Operation
Power
The included AC adapter should be connected to the POWER jack on the ProLink.r. The power LED will turn-on. Use only the supplied
AC adapter to power the ProLink.r. Using a different power adapter could result in damage to the unit or poor performance.
Adjusting IR Output Level
The IR output level can be independently adjusted for each of the output ports. The ProLink.r is shipped with the IR gain set to the
optimum level for most equipment, and it should only need to be adjusted if the attached equipment is not responding reliably.
If adjustment is needed, rotate the IR output controls on the frontside of the ProLink.r clockwise for higher output power, or counter-
clockwise for lower output power.
USB Port
Used to program the ProLink.r and/or update its firmware.
Ethernet
This RJ-45 port allows connection to a 10/100 Base-T Ethernet network (LAN) for programming and one-way control. Network
settings such as the IP address are configurable within Pro Control Studio.
Connecting IR Emitters To Output Ports
The IR emitter ports on the ProLink.r are compatible with industry standard infrared emitters and connecting blocks. Each output port
is capable of driving up to four infrared emitters directly. More than four infrared emitters per port requires an amplified connecting
block. A connecting block can be wired up to 500 feet (150 meters) away from the unit using #22 AWG (minimum) wire.
Sense Input
RJ-45 Connector Pin Out
Pin Signal
Description
1
Sense 1
}
3-24 VDC
2
Sense 2
3
IR-in (future use)
4
+12 VDC in/out
5
+12 VDC in/out
6
IR-in (future use)
7
Ground
8
Ground
Mounting
The ProLink.r can be wall mounted (details below) or free standing.
Mounting Instructions
To mount to a wall, shelf, or cabinet use the enclosed mounting plate.
1 For best results, install the ProLink.r at least three (3) feet away from cable or
satellite equipment, WiFi enabled devices, TV's, and/or any other potential source of
RF interference.
2 Level and anchor the mounting plate to desired wall, shelf, or cabinet by using
appropriate fasteners (four #6-32 3/4" flathead screws included) to screw through
the mounting plate fastener holes.
3 When mounting the ProLink.r, be certain to choose a safe location (e.g. away from
electrical junction boxes, circuit breakers, wet locations, etc.)
4 Affix the ProLink.r to the mounting plate by placing the channel locks located on
the rear of the unit over the channel lock clips located on the front of the mounting
plate. Slide the ProLink.r down until the channel lock clips lock into place.
2.5 Inches
2 Inches
Mounting Plate
®
Get more control
®
Minimum RF Clearance
Advertisement

Summary of Contents for Pro Control ProLink.r
- Page 1 Adjusting IR Output Level The IR output level can be independently adjusted for each of the output ports. The ProLink.r is shipped with the IR gain set to the optimum level for most equipment, and it should only need to be adjusted if the attached equipment is not responding reliably.
- Page 2 Objects have fallen or liquid has been spilled into the unit. If you are encountering any problems or have a question about your Pro Control product, please contact Pro Control Technical Support for assistance (see the Contacting Pro Control section The power supply cord or the plug has been damaged.
Need help?
Do you have a question about the ProLink.r and is the answer not in the manual?
Questions and answers