Table of Contents
Advertisement
Quick Links
Advertisement
Table of Contents

Summary of Contents for Lexi PI00499
- Page 1 1080p HD Dashcam User Guide - PI00499 Protected by...
-
Page 2: Table Of Contents
Contents Contents Page Warnings .................................................2 Important Information ..........................................2 1. Introduction ..............................................3 2. Features ................................................3 3. Camera parts and controls ........................................4 4. Key functions ............................................4-5 5. Charging the battery ..........................................5 6. Memory card requirements and use ..................................5 7. Camera adjustment ..........................................6 8. -
Page 3: Introduction
1. Introduction This high resolution dashcam is ideal for recording your car journeys and providing evidence if an accident occurs. It also has a parking mode which automatically records if an impact occurs when you are parked. In parking mode you can also activate motion detection to show any person or vehcle that might cause damage to the car without activating the G sensor. -
Page 4: Camera Parts And Controls
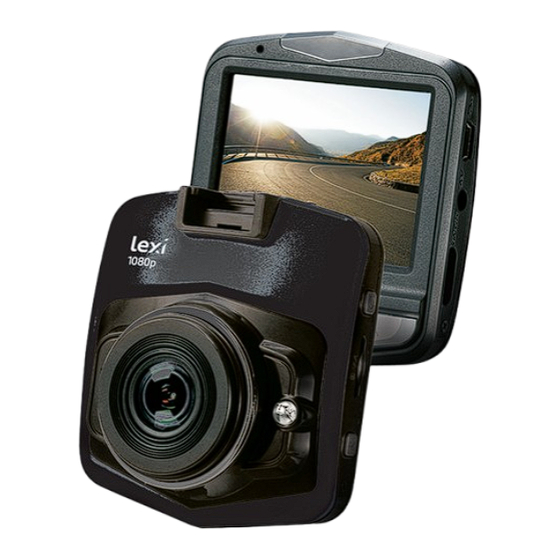
3. Camera parts and controls 1. Power Key Micro SD Slot 3. Menu Key Windscreen Reset Mount Socket Speaker Infra Red Light Lens Screen Mini USB Port AV Port Mini HDMI Port 2. OK Key 4. Mode/ Lock Key 6. Down Key 5. -
Page 5: Key Functions
4. Key Functions - continued D. Mode key i) Switching Modes: Video mode opens automatically when the dashcam is switched on, press once to change to camera mode. In camera mode, press again to enter playback mode; In playback mode, press once to enter the video mode. -
Page 6: Camera Adjustment
7. Camera adjustment The camera when attached to the windscreen mount is fully adjustable through 360°horizontally and through 60° vertically. When positioning your camera make sure that it won’t interfere with the driver’s vision Once mounted adjust to achieve the best view of the road and your vehicle. 8. - Page 7 Video Mode Options - continued Photo Mode Motion detection: On/Off Video Audio recording: On/Off Date Stamp: On/Off LDW: On/Off, Car type, Sensitivity, Area choice, Start Speed On/Off Sound Photo Mode Video mode is the default option, press the key to switch to photo mode, the screen opposite will appear.
-
Page 8: Basic Operation
9. Basic operation - continued Connecting to an HD display You can playback your videos and view stored photos on an HD TV or Monitor by conecting it via an HDMI cable to the mini HDMI port on your camera (HDMI cable not supplied). 10.
Need help?
Do you have a question about the PI00499 and is the answer not in the manual?
Questions and answers