Table of Contents
Advertisement
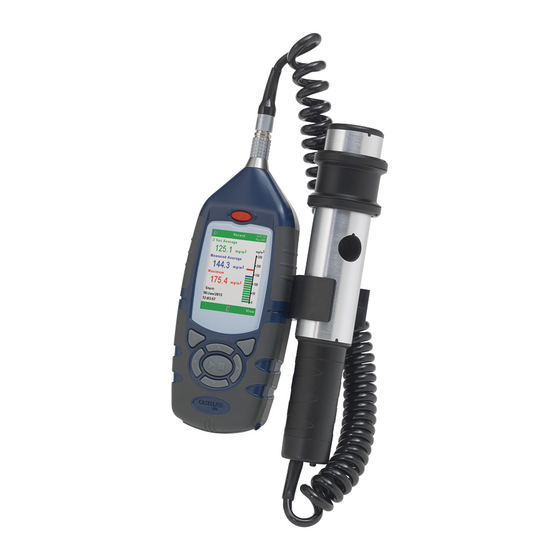
CEL-712 Microdust Pro
Real-time Dust Monitor
HB4048-01
User Manual
CASELLA MEASUREMENT
Regent House,
Wolseley Road,
Kempston, Bedford,
MK42 7JY, U.K.
Phone: +44 (0) 1234 844 100
Fax: +44 (0) 1234 841 490
E-mail: info@casellameasurement.com
Web: www.casellameasurement.com
CASELLA CEL Inc., a subsidiary of IDEAL Industries, Inc.
415 Lawrence Bell Drive,
Unit 4
Buffalo,
NY 14221 U.S.A
Toll Free: (800) 366-2966
Tel: (716) 276-3040
Fax: (716) 276-3043
Email:
Info@CasellaUSA.com
Web:
www.casellausa.com
Advertisement
Table of Contents


Need help?
Do you have a question about the CEL-712 and is the answer not in the manual?
Questions and answers