Advertisement
Quick Links
Advertisement

Subscribe to Our Youtube Channel
Related Manuals for HoMedics AR-75


Summary of Contents for HoMedics AR-75
- Page 1 Professional HEPA Air Cleaner Instruction Manual and Warranty Information AR-75...
-
Page 2: Important Safety Instructions
IMPORTANT SAFETY INSTRUCTIONS: WHEN USING ELECTRICAL PRODUCTS, ESPECIALLY WHEN CHILDREN ARE PRESENT, BASIC SAFETY PRECAUTIONS SHOULD ALWAYS BE FOLLOWED, INCLUDING THE FOLLOWING: READ ALL INSTRUCTIONS BEFORE USING DANGER – TO REDUCE THE RISK OF ELECTRIC SHOCK: • Always unplug the air cleaner from the electrical outlet immediately after using and before cleaning. - Page 3 • Do not operate the air cleaner with a damaged cord or plug, or after the air cleaner malfunctions, has been dropped or damaged in any manner. Discard the air cleaner or return to HoMedics Consumer Relations for examination, electrical or mechanical adjustment, or repair.
-
Page 4: Technical Specifications
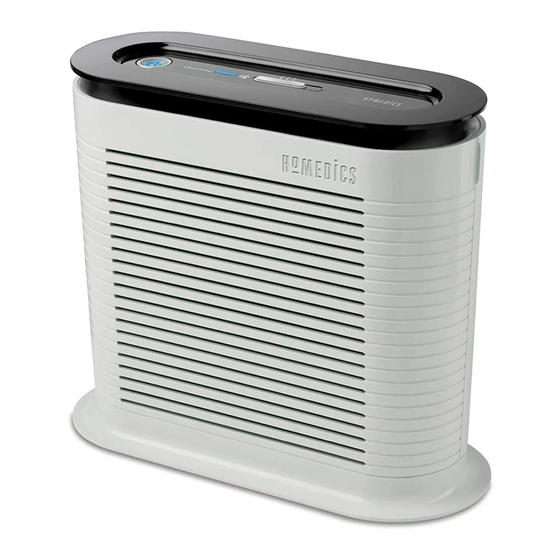
• Use this air cleaner only for its intended use as described in this manual. Any other use not recommended by the manufacturer may cause fire, electric shock, or injury to persons. • Always plug the air cleaner directly into a wall outlet/receptacle. Never use with an extension cord or relocate power tap (outlet/power strip). - Page 5 Main Features on the Professional HEPA Air Cleaner Front Grill Plate Control Panel HEPA Filter Main Unit...
- Page 6 Power ON/OFF Control Clean Filter Indicator CLEAN FILTER Speed Selection (Low/Medium/High)
- Page 7 Operating Instructions Turning the Unit On • Take the air cleaner out of the box and remove the clear protective plastic bag. • Place the air cleaner on a firm level surface. • Before turning the air cleaner ON, you need to confirm that the filter is firmly in place and did not become loose during shipping.
-
Page 8: Cleaning And Maintenance
3. The HEPA filter will be resting inside the unit. Make sure that the filter is firmly seated inside of the unit. Fig. 3 4. Place the tabs at the bottom of the grill plate into the base of the unit. Gently push the grill plate back into place until you hear a click sound indicating that the grill is firmly latched. - Page 9 DO NOT USE WATER, WAX, POLISH OR ANY CHEMICAL SOLUTION Clean Filter Indicator The air cleaner is equipped with a CLEAN FILTER indicator to let the user know when it is time to clean the HEPA filter, about every 2160 (90 days) hours of use. When the HEPA filter is ready to be cleaned, the LED CLEAN FILTER indicator will light up on the control panel.
- Page 10 3. Remove the HEPA filter from the main unit. Fig. 7 4. Use the brush attachment with your vacuum cleaner. Run the attachment along both sides of the HEPA filter, cleaning thoroughly between the accordion folds of the filter. Fig. 8 5.
-
Page 11: Troubleshooting
DO NOT USE WATER OR ANY HOUSEHOLD CLEANERS OR DETERGENTS TO CLEAN THE HEPA FILTER. It is recommended that you replace the HEPA filter every 18 months to maintain the optimal performance of your air cleaner, contact Homedics Australia Pty Ltd (03) 8795 4200 Troubleshooting... - Page 12 © 2012 HoMedics, Inc. and its affiliated companies, all rights reserved. HoMedics ® is a registered trademark of HoMedics, Inc. and its affiliated companies. All rights reserved.
Need help?
Do you have a question about the AR-75 and is the answer not in the manual?
Questions and answers