Table of Contents
Advertisement
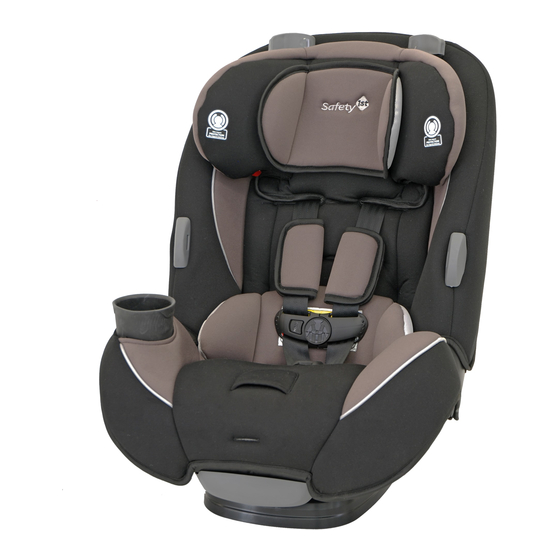
and
Grow
Go
™
Grow
and
Go
Sport, EverFit, MultiFit
™
3-in-1
rear-facing child restraint
2.3-18 kg (5-40 lb) and 48-102 cm (19-40 in.)
forward-facing child restraint
10-30 kg (22-65 lb) and 74-125 cm (29-49 in.)
and at least 2 years old
booster seat
18-45 kg (40-100 lb) and 110-132 cm
(43-52 in.) and at least 4 years old
KEEP INSTRUCTIONS FOR
FUTURE USE.
Read all instructions
before using this
child restraint and
booster seat.
Failure to read, understand, and follow the instructions
and warnings in this instruction manual and the
warnings on the system could result in serious injury
or death to the child.
4358-6825A
2.25.16
Advertisement
Table of Contents


Need help?
Do you have a question about the Grow and Go Sport and is the answer not in the manual?
Questions and answers