Electrolux WRH605I Series User Manual
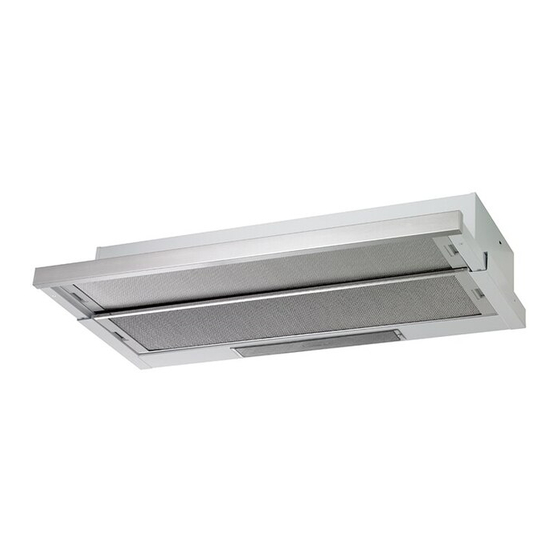
Retractable rangehood
Hide thumbs
Also See for WRH605I Series:
- Operation manual/installation instructions (12 pages) ,
- Operation manual & installation manual (12 pages)
Advertisement
Quick Links
Advertisement

Related Manuals for Electrolux WRH605I Series


Summary of Contents for Electrolux WRH605I Series
- Page 1 REHR6* WRH605I* WRH608I* WRR614*A WRH908I* Retractable Rangehood User manual...
- Page 2 WELCOME CONTENTS Thank you for purchasing this appliance. You’ve chosen Important safety instructions a product that brings with it decades of professional Installation experience and innovation. Ingenious and stylish, it has Operation and maintenance been designed with you in mind. So whenever you use Warranty it, you can be safe in the knowledge that you’ll get great results every time.
-
Page 3: Safety Instructions
SAFETY INSTRUCTIONS Please read the user manual carefully and store in a CAUTION handy place for later reference. Pass the user manual on to possible new owners of the appliance. • Accessible parts may become hot when used with cooking appliance. Read the following carefully to avoid damage or injury. - Page 4 INSTALLATION Standard ducting installation Fixing point dimensions – 900mm The rangehood must be positioned at a minimum clearance of 600mm for an electric cooktop and 650mm for a gas cooktop. the rangehood should be no further than 800mm from the cooktop, otherwise the unit becomes less effective as the distance from the cooking surface to the rangehood increases.
- Page 5 Accessories can be bought from your local appliance retailer, or in Australia at our online spare parts and Fixing flue pipe accessories store: shop.electrolux.com.au Fix a 125mm diameter noncombustible rigid flue pipe. Drilling holes Fix flue pipe to the exhaust transition duct. Use cable ties Drill the holes on top wooden support.
- Page 6 INSTALLATION Installation using the supplied drawer fascia – Setting of circulation air doors REHR6* WRH605I* WRH608I* WRH908I* Standard ducted installation calls for a door extension of 130mm whether the client opts to use the supplied draw Exhaust fascia or a custom fascia of the same dimensions as that supplied.
- Page 7 The silicone seal is placed over the lamp thread and then the lamp is screwed into the holder. Ensure replacement lamp is tightened firmly. Replacement lamps from Electrolux Parts Centres are supplied with silicone seals. Maintenance To maintain efficiency and reduce fi re risk, fi lters should be removed every four weeks (maximum) for cleaning.
- Page 8 NOTES...
- Page 9 NOTES...
- Page 10 NOTES...
- Page 11 5. To the extent permitted by law, you will bear the cost of transportation, 12. For Appliances and services provided by Electrolux in New Zealand, the travel and delivery of the Appliance to and from Electrolux or its ASC. If you Appliances come with a guarantee by Electrolux pursuant to the provisions...
- Page 12 1800 350 067 email: customercare@electrolux.com.au web: electrolux.com.au Electrolux Home Products New Zealand telephone: 0800 436 245 fax: 0800 225 088 email: customercare@electrolux.co.nz web: electrolux.co.nz P/No. E613030 © 2017 Electrolux Home Products Pty Ltd. ABN 51 004 762 341 EMAN_GenericRangehood_Mar17...
Need help?
Do you have a question about the WRH605I Series and is the answer not in the manual?
Questions and answers