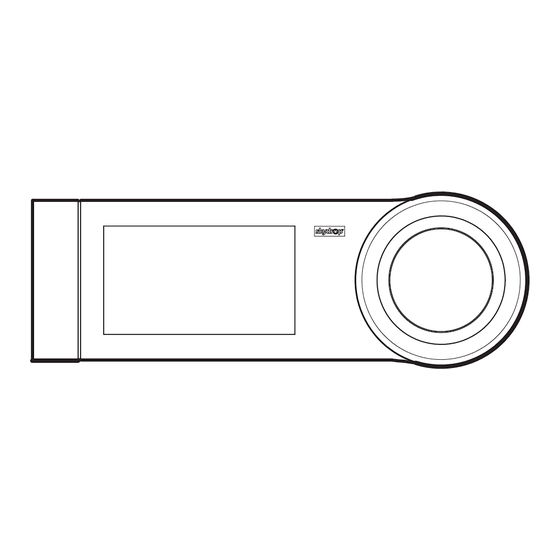
Summary of Contents for Vyrsa Skydrop
- Page 1 Wi-Fi Connected to Wi-Fi May 26, 2016 8:00 AM Burgos, Spain Partly sunny Next Watering Tomorrow 12:00 AM 20º Smart watering enabled Installation and Quick Start Guide...
- Page 2 Welcome to Skydrop This guide will help you set up your Skydrop Controller. For more information, check out our step-by-step installation video or visit our website. Installation Video: www.vyrsa.com/skydrop...
-
Page 3: Before You Begin
Before You Begin Wireless Access Outdoor Installation The Skydrop Controller uses The Skydrop Controller is designed Wi-Fi, and the controller must be to be installed indoors. installed close to a strong signal If you need to place your controller source for optimal performance. - Page 4 Contents Controller Wall Screws Power Supply Wall Plate Installation Guide...
- Page 5 Step 1: Mount the Skydrop Wall Plate Position your Skydrop Wall TIP: Mount your Skydrop Controller at eye level for Plate using the integrated optimal screen viewing. level, and secure using anchor screws (included) NOTE: Wall anchors are not necessary when mounting your Skydrop Controller to drywall.
-
Page 6: Step 2: Power And Wiring
Step 2: Power and Wiring Insert the power supply cable through the Push each valve wire firmly into a designated wiring slot found on the bottom of the zone position (1-8) and pull back gently to verify mounted Wall Plate (or through the breakaway that each wire is secure. - Page 7 Step 3: Place Controller onto Wall Plate Align the snap pegs on the back of the Skydrop Controller with their corresponding positions on the Wall Plate. Once aligned, push the Skydrop Controller firmly into place. The VYR logo will illuminate when the...
-
Page 8: Step 4: Initial Setup
Step 4: Initial Setup The first time you power up your Skydrop Controller, you will be guided through the initial setup process aids in connecting the Skydrop Controller to your Wi-Fi network and helps you to configure settings for each of your watering zones. - Page 9 Step 5: Mobile Control You can manage your Skydrop Controller configuration and settings directly on the device itself, via the web, or through any iOS or Android device. Download the Mobile App Visit www.vyrsa.com/skydrop Carrier 12:34 AM 100% Settings skydrop controller Atlanta, GA for more information.
- Page 10 Account (trough either the Skydrop website, or through your landscape. the Skydrop App) you will be prompted to enter the Security Code from your device. Pairing is To set up cloud-assisted Smart Watering you complete once a valid Security Code has been must first connect the Skydrop Controller to a...
- Page 11 To take full advantage of Skydrop’s Smart Watering technology you will be prompted (via the Skydrop Mobile App, • Watering new sod, or any new plant that requires website, or the controller itself) to answer questions about more water than mature plants.
- Page 12 Setting Up Offline Watering You do not need to be connected to Watering Schedules a Wi-Fi network to use your Skydrop WiFi Controller. Enter your current local Select existing or add new July 31st, 2016 time, and enable one or more 12:27 PM customized watering schedules.
-
Page 13: Day-To-Day Use
A visibly stressed lawn, or dry, discolored plants indicate that Over-watering can be more difficult to diagnose. If it hasn’t rained Skydrop may not be watering enough. You may find that this is and you find a lot of mushrooms in your landscape, this can be a only in specific areas in your landscape. - Page 14 Accessories Expansion Module Outdoor Box...
- Page 15 Expansion Module Installation Guide Before you begin If your are installing the Skydrop expansion module to a Skydrop Controller that is already installed and setup, make sure you follow the proper steps to power down the system before removing the controller from the wall plate.
- Page 16 Step 1: Connect expansion module Connect the Skydrop expansion module to the wall plate. Align the snap pegs on the back of the expansion module with the holes in the wall plate, then push the two firmly together. Alternate Wiring Connection...
-
Page 17: Step 2: Connect Wires
The sensor inputs, S-(negative) and S+(positive) on the expansion module will allow you to connect a flow or rain sensor to the skydrop controller. Once your sensor is connected and your skydrop controller is powered on, go to Controller Settings for configuration. Place the controller onto the expansion module. -
Page 18: Step 3: Setup Wizard
Step 3: Setup wizard Once the controller is powered on, the setup wizard will prompt you to configure each new zone added with the expansion module. After you have completed the setup for all zones, check to verify all zones appear in the menu list. For users with custom schedules, you will need to add the new zones (Zones 9 to 16) to your existing custom schedules. - Page 19 In case VYRSA detects any defect during the ANY OTHER MANNER FOR DAMAGES CAUSED OR CLAIMED TO BE CAUSED AS warranty period on any of our products, VYRSA will repair or replace, at its A RESULT OF ANY DESIGN OR DEFECT IN VYRSA PRODUCTS, OR FOR ANY option, the product or the defective part.
- Page 20 +34 947 26 22 26 www.vyrsa.com/skydrop...

Need help?
Do you have a question about the Skydrop and is the answer not in the manual?
Questions and answers