Table of Contents
Advertisement
Advertisement
Table of Contents

Subscribe to Our Youtube Channel
Summary of Contents for Flair Puck
- Page 1 Puck Installation Guide...
- Page 2 Welcome to the Flair community! Our users are energy nerds, home automation gurus, and HVAC Pros. If you have any questions, feel free to check out the forums at forum.flair.co. If you don’t see what you are looking for there, you can reach us at one of the following: support@flair.co...
- Page 3 What’s in the Box? A. Puck C. Batteries E. Mounting Adhesive B. USB Cable D. Screws F. Power Adapter...
-
Page 4: Quick Start
Create an Account and Log In. WIFI If you are setting up your first Puck, plug it in with the power adapter and follow the instructions in the App for Connecting to WIFI. If you need to make a change to your WIFI settings at anytime, go to Home Settings →... - Page 5 Your Flair system can be controlled through the App or directly with your Puck(s). For details on the App, see Flair App Overview. Controlling the Puck is simple. You can push the front surface or rotate the collar. Rotate Push...
- Page 6 Puck works with most IR controlled heating and cooling devices including Minisplits, Window ACs and Portables. Puck also works with Central Heating and Cooling systems as a remote temperature and occupancy sensor. For these systems, Puck integrates with popular Smart Thermostats and our Smart Vents to deliver precise control and comfort using as little energy as possible.
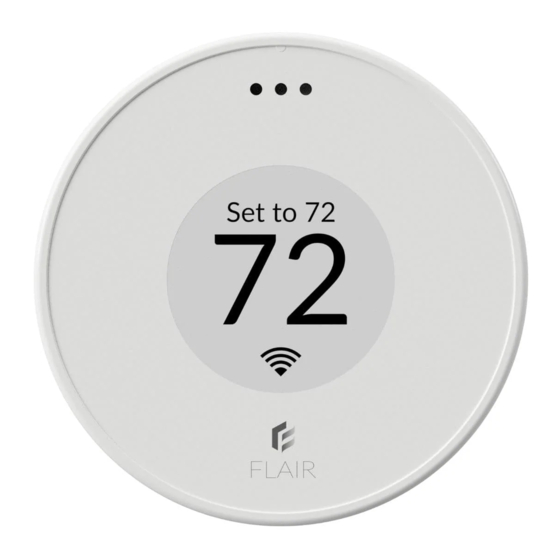
- Page 7 Temperature App (Default Home Screen) Puck opens in this App by default. This screen lets you adjust the room’s current setpoint. Push the Puck to go back to the app menu. Temperature App Icon This is the menu icon for the Temperature App shown above.
- Page 8 This App lets you change your Puck from a Factory Rest Sensor or Gateway and apply other settings. Exit Push the Puck to go back to the App menu. Wait Switching After switching your Puck to a Sensor or Gateway, the Puck will take a few moments to apply the change.
- Page 9 Puck Door The Puck door has two sides. For wall mounting, side A should face away from the wall. Side A Side B To open the Puck door, press on the round dimple.
- Page 10 Wall Mounting Adhesive Attach adhesive square to the hard plastic side (side B) of the Puck door. Press the Puck door onto the wall and ensure it is securely attached before attaching the Puck. Screws Press and rotate the screws through the small holes in the soft side (side A) of the Puck door.
- Page 11 Power Wired Wireless Gateway Pucks should be Sensor Pucks can run for wired with the included more than a year on AAAs adapter and cable. Sensors (included). can optionally be wired.
- Page 12 Puck Placement Interior Walls, Night Stands, Coffee Tables, Shelves In order to get accurate temperature readings from your Puck it is best to avoid placing it directly under windows, on exterior walls or directly next to fans/vents etc. Ideally it is wall mounted just behind a couch, on a nightstand, on your desk, etc.
- Page 13 Puck Placement Examples Stand Bedside Table Wall Bedside Table Wall Behind Couch Office Desk...
- Page 14 Air Conditioner/Heater. If your system is in Automatic Mode, you have additional options that relate to how Flair determines if you are Home or Away, temperature set points and how to behave when you are away or heading home.
- Page 15 Rooms are designated active if either a user with our app on their phone is near a Puck, a third party sensor determines a user is in a room, a setpoint is adjusted on the Puck or the room is designated active via the slider on the room tile (app main screen) menu.
- Page 16 Ensures that everything is off while you are away. Smart Away Allows you to specify upper and lower bounds for temperature and humidity and will apply this to every room with Flair equipment. Defer to Rooms Allows you to specify temperature and humidity ranges for each room individually.
- Page 17 | support@flair.co | +1 (800) 590-6943 © Standard Euler, Inc.
Need help?
Do you have a question about the Puck and is the answer not in the manual?
Questions and answers