
Related Manuals for Fluid 8020917


Summary of Contents for Fluid 8020917
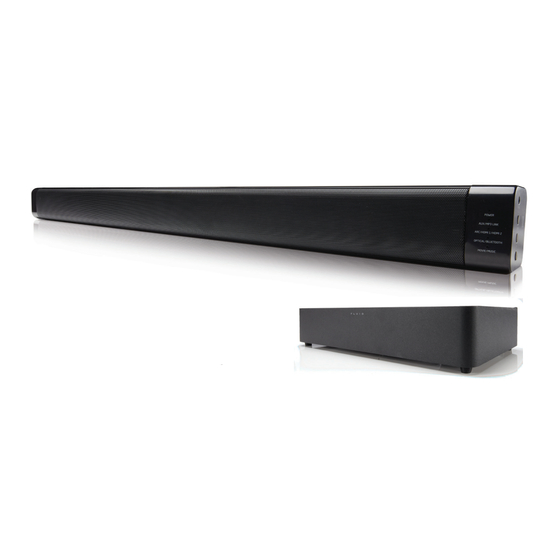
- Page 1 8020917 2.1 Channel TV Soundbar 120 WATTS With 3 HDMI, (2 in, and 1 out with CEC & ARC) Optical and AUX IN Instruction Manual Read all of the instructions before using this TV and keep the manual in a safe place for future reference.
-
Page 2: Table Of Contents
Contents Important Safety Instructions . . . . . . . . . . . . . . . . . . . . . . . . . . . . . . . . . . . . . . . . . . . . . . . . . 3 Safety . -
Page 3: Important Safety Instructions
Important Safety Instructions 10 Protect the power cord from being walked on CAUTION or pinched, particularly at plugs, convenience RISK OF ELECTRIC SHOCK receptacles and at the point where they exit DO NOT OPEN from the apparatus . 11 Only use attachments/accessories specified by C AU T I O N : TO R E D U C E T H E R I S K O F E L E C T R I C the manufacturer . - Page 4 • Before operating this system, check the voltage of this system to see if it is identical to the voltage of your local power supply . • Do not cover the ventilation openings with items such as newspaper, table-cloths, curtains etc. Ensure that there is at least 20 cm of space above and at least 5cm of space on each side of the unit . • Do not place this unit close to strong magnetic fields. • Do not place this unit on the amplifier or receiver. • Do not place this unit close to damp areas as the moisture will affect the life of the laser head. • If any solid object or liquid falls into the system, unplug the system and have it checked by qualified personnel before operating it any further .
-
Page 5: Identifying The Parts
Identifying the Parts Main Unit Front View Rear View (Left) (Right) 1 Remote Control Sensor • MOVIE/MUSIC: In MOVIE mode: Light off . 2 LED Indicators In MUSIC mode: Light up solidly . • POWER: 3 MP3 LINK Socket In STANDBY mode: Light up red . Connect to an external audio device . -
Page 6: Wireless Subwoofer
Wireless Subwoofer 1 PAIR Indicator Light up solidly when the pairing is successful . 2 PAIR button Connect to the main unit . 3 AC~ Socket Connect to power . Remote Control Switch the unit between ON and STANDBY mode . Select the play function . -
Page 7: Preparations
Preparations Prepare the Remote Control The provided Remote Control allows the unit to be operated from a distance . • Even if the Remote Control is operated within the effective range (6m), remote control operation may be impossible if there are any obstacles between the unit and the remote control . • If the Remote Control is operated near other products which generate infrared rays, or if other remote control devices using infra-red rays are used near the unit, it may operate incorrectly . Conversely, the other products may operate incorrectly . -
Page 8: Connections
Connections Use the HDMI Connection Using HDMI to connect the main unit, AV equipment and TV: HDMI (ARC) HDMI OUT HDMI IN AV equipment Method 1: ARC (Audio Return Channel): - With the ARC (Audio Return Channel) function, you can send the audio input from your ARC-compliant TV to ARC-compliant audio devices (e .g . -
Page 9: Use The Optical Socket
Use the OPTICAL Socket - Remove the protective cap of the OPTICAL socket, then connect an OPTICAL cable (not included) to the TV’s OPTICAL OUT socket and the OPTICAL socket on the unit . OPTICAL cable Tip: If there is no sound coming out of the soundbar and the indicator light is blinking, make sure the audio setting of your source player (e .g . -
Page 10: Connect Power
Connecting Power Warning: - Ensure that the power supply voltage corresponds to the voltage printed on the back or the underside of the unit . - Before connecting the AC power cord, ensure you have completed all other connections . • Connect the power cord of the main unit to a wall outlet. -
Page 11: Basic Operation
Basic Operation Standby/ON When you first connect the main unit to the wall outlet, the main unit will be in Standby mode . - Press the /SOURCE button on the unit or the button on the remote control to switch the unit ON . /SOURCE button on the unit - Press the button again on the remote control or press and hold the... -
Page 12: Play With Bluetooth Device
/PAIR” button on the remote control to be searchable . The OPTICAL/ BLUETOOTH indicator light will blink . 3 Activate your Bluetooth device and select the search mode . “Fluid 8020917” will appear on your Bluetooth device list . 4 Select “Fluid 8020917” in the pairing list . The OPTICAL/BLUETOOTH indicator will flash slowly while the pairing succeeds . -
Page 13: Nfc (Near Field Communication) Operation
NFC (Near Field Communication) Operation Pair your NFC-enabled mobile device directly with this unit by just a single tap . - Make sure the unit is disconnected from other Bluetooth devices . 1 . Activate NFC on your mobile device . 2 . -
Page 14: Troubleshooting
Troubleshooting To keep the warranty valid, never try to repair the system yourself . If you encounter problems when using this unit, check the following points before requesting service . No power - Ensure that the AC cord of the apparatus is properly connected . - Ensure that there is power at the AC outlet . -
Page 15: Specifications
Specifications Soundbar Power Supply . . . . . . . . . . . . . . . . . . . . . . . . . . . . . . . . . . . . . . . . . . . . . . . . . . . . . . . . . . . . . . . . . . . . . . . AC120V~ 60Hz Output Power . -
Page 16: The Fcc Wants You To Know
Please Recycle...
Need help?
Do you have a question about the 8020917 and is the answer not in the manual?
Questions and answers
I need a remote for my soundbar 8020917. Can I order one or is there a universal remote you recommend?