Table of Contents
Advertisement
Available languages
Available languages
Quick Links
Advertisement
Table of Contents

Subscribe to Our Youtube Channel
Summary of Contents for Fonax FNX-HL
- Page 1 Fonax.com FNX-HL FNX-ST-HL Terminal SIP Avanzado HL Guía de Instalación Rápida...
-
Page 2: Información General
FNX-HL y su falta de no haber hecho los arreglos de lugar para accesar estos servicios de emergencia de acuerdo con el párrafo anterior. - Page 3 Colocar los dos espaciadores de pared en las ranuras para Montaje en Pared localizada en parte posterior del teléfono. Para con gurar el FNX-HL, siga los siguientes pasos Fije el teléfono a la pared a través del ori cio de Montaje en Pared.
-
Page 5: Package Contents
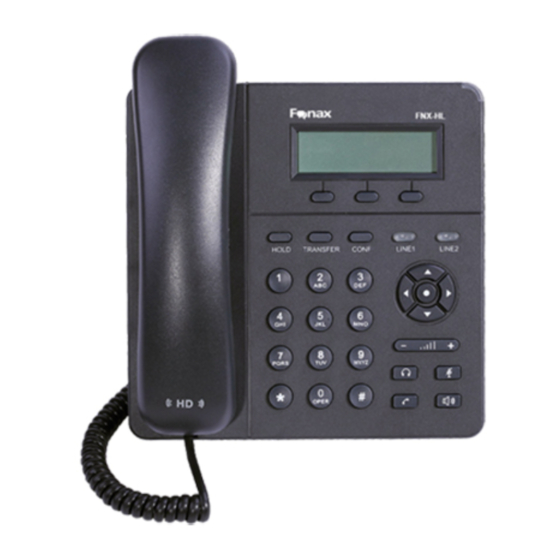
IMPORTANT FNX-HL is a next generation small-to-medium business IP phone that features The FNX-HL is not pre-con gured to support or carry emergency calls to any type 2 lines with 2 SIP accounts, a 128x40 graphical LCD, 3 XML programmable of hospital, law enforcement agency, medical care unit (“Emergency Service(s)”) -
Page 6: Phone Setup
Attach the two wall mount spacers to the slot for wall mount spacers on the back of the phone. To setup the FNX-HL, follow the steps below Attach the phone to the wall via the wall mount hole. Connect the handset and main phone case with the phone cord. - Page 8 FCC Compliance Statement: This device complies with part 15 of the FCC Rules. Operation is subject to the following two conditions:(1)This device may not cause harmful interference, and (2) this device must accept any interference received, including interference that may cause undesired operation.
Need help?
Do you have a question about the FNX-HL and is the answer not in the manual?
Questions and answers