Advertisement
Quick Links
Please read this manual carefully before use for proper installation and quick use.
Due to product upgrades, some functions may be adjusted, please prevail in kind.
The Product Features
Sports Mode
History
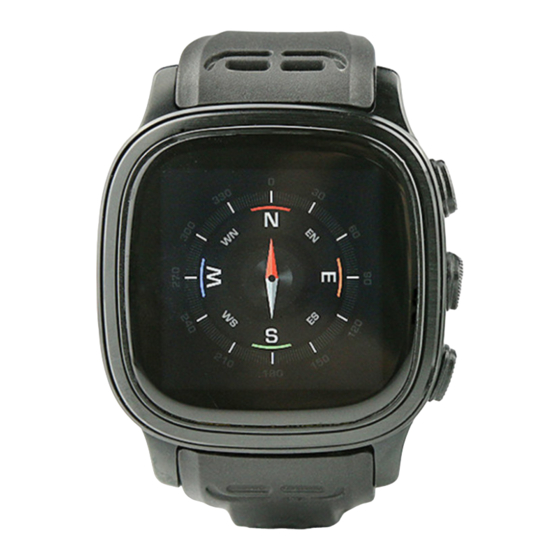
Compass
Environment
Stopwatch
Heart Rate
Calendar
Alarm
Settings
Bluetooth
一、
Watch Introduction
1,
The Key Instructions
Smart Watches
Quick Use Guide
Advertisement

Summary of Contents for Starvox L8STAR
- Page 1 Smart Watches Quick Use Guide Please read this manual carefully before use for proper installation and quick use. Due to product upgrades, some functions may be adjusted, please prevail in kind. The Product Features Sports Mode History Compass Environment Stopwatch Heart Rate Calendar Alarm Settings Bluetooth 一、 Watch Introduction 1, The Key Instructions...
- Page 2 ●Power key: long press 2 ~ 3 seconds to start / turn off, short press to off the screen. ●Function keys: long press to increase and keep the screen brightness, long press again to reduce the brightness. In the intercom interface. 2, The Screen Display ●Main interface: interface icons are humidity, temperature, clock, step, system date, battery logo, the following for the elevation, pressure. ●Main Menu: Standby Slide the screen to the left to enter the main menu (the default is the first intercom), slide up and down the screen to switch to other main menu, slide the screen to the right to exit. ●Function menu: In the main menu interface, click on the screen to enter the corresponding function menu, slide the screen to the right to exit. 二、 Operating Instructions 1, Watch Pre‐charge ...
- Page 3 The watch to get outdoors or a good place where the signal is good, long press the boot button for 2 to 3 seconds, the boot screen appears,into the boot state 三、 The Menu Function 1, Standby Interface Operation ●Long press the screen appears clock dial, there are several different styles of dials to choose from ●Long press the function key can improve and maintain the screen brightness, long press again can reduce the brightness, And within the specified time without the operation into the off screen ●Long press the power key, turn off the watch.
- Page 4 3, Sport interface ●Slide the main menu up and down and click on the sport icon to enter the preparation interface ●sport state, the data will change, at any time to record the current movement of the value, including the center of the screen heart rate data, movement speed, consumption of calories, the lower movement distance and movement time.
- Page 5 ●S Slide the m ain menu up p and down and click the compas s icon to e enter the a application terface. ●W When the app plication i interface ap ppears to c calibrate t he prompt i icon, accor rding to the...
- Page 6 ●Slide the main menu up and down and click the stopwatch icon to enter the application interface. ●Select the timer mode, click on the middle digital area, you can slide up and down the screen to modify the hour: minute: second number, set the timer level, then press the Start to turn on the countdown, click the End to turn off the countdown ●Stopwatch mode, click Start to open the timer, click the End off the timer.
- Page 7 ●Slide the main menu up and down and click on the calendar icon to enter the application interface. ●The application interface displays the date of the day, sliding the screen up and down to switch to another date. ●Click the calendar icon at the bottom of the screen to view the calendar and browse up and down.
- Page 8 ●Slide the main menu down and click the Settings icon to enter the application interface ●Application interface shows several settings options, from top to bottom are Bluetooth, time, volume, display, click to modify and save. ●Under the option item, slide down the screen also can restore the factory settings and view the watch information ●Slide the screen to the right to return to the standby screen.
- Page 9 ●Select the dial menu, enter the picture 1 interface, enter the number and press the dial key, you can dial the call, while the watch can also answer the call, during the call, slide up and down the screen to adjust the call volume, press the hang key to refuse / end the call.
- Page 10 Do not place the watch in a dusty, dirty place or use the watch Do not place the watch in high temperature, high temperature may shorten the life of electronic devices, destroy the battery, and make some plastic parts deformation or melting. ...
- Page 11 Note: maintenance by the authorized maintenance unit, fill in the maintenance records and stamped, otherwise the maintenance records are invalid. Warranty Under normal use, the product warranty is around 1 year. Which battery and data line warranty period of 3 months. Damage caused by human causes is not warranted. Including but not limited to wear, dirt, fall or crush, water and so on. Damage caused by natural disasters such as fires, floods, lightning strikes and so on is not covered by the warranty FCC Warning This device complies with Part 15 of the FCC Rules. Operation is subject to the following two conditions: (1) This device may not cause harmful interference, and (2) this device must accept any interference received, including interference that may cause undesired operation. NOTE 1: Any changes or modifications to this unit not expressly approved by the party responsible for compliance could void the user's authority to operate the equipment. ...
Need help?
Do you have a question about the L8STAR and is the answer not in the manual?
Questions and answers