Table of Contents
Advertisement
Quick Links
W606-5
Recording and sharing in HD, During each flight, you can record
an HD video that's sent directly to your iOS/android devices
Acrobatic maneuvers continuous flips
Fast LiPo battery charger with US/JP, UK, EU, ANZ plugs
Headless Mode for beginners and taking a video
A View from Above See exactly what your camera sees with a
live HD video feed right on your mobile device
Please read the instruction manual before go for flight.
R
FLANKER
Instruction Manual
Auto Take off & Landing HD
FPV Acrobatic maneuvers drone
5.8Ghz HD Video FPV
14+
Advertisement
Table of Contents

Summary of Contents for HJ Toys Flanker W606-5
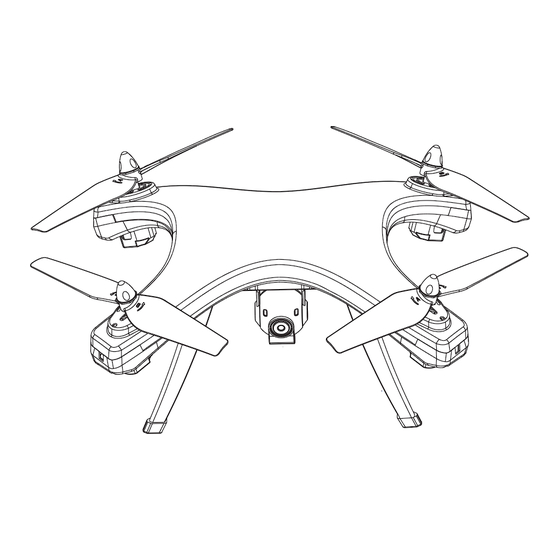
- Page 1 FLANKER Instruction Manual Auto Take off & Landing HD FPV Acrobatic maneuvers drone W606-5 5.8Ghz HD Video FPV Recording and sharing in HD, During each flight, you can record an HD video that's sent directly to your iOS/android devices Acrobatic maneuvers continuous flips Fast LiPo battery charger with US/JP, UK, EU, ANZ plugs Headless Mode for beginners and taking a video A View from Above See exactly what your camera sees with a...
- Page 2 5.8GHz FPV FLANKER Aircraft: NO. Flanker main technical contents FLANKER Size L: 420MM × W: 320MM × H:150MM FLANKER weight 560 gram Flying distance 200-300 meters Charging time 180 minutes 9-10 minutes Flying time Standard charger Adapter for FLANKER Battery 7.4 V 2500 MAH Li-po battery inside 6*AA battery (Not including) Transmitter Battery...
- Page 3 Installation of propeller /Dismounting Steps Dismounting Steps: 1. Rotate cover of blades counterclockwise & take it out (as picture 1). 2. Rotate collar bush counterclockwise and get tube out (as picture 2). 3. Pull collar bush up as picture 3. Installation Procedure: 1.
-
Page 4: One Key Return
How Does Headless Mode Work: NORTH The functioning of headless mode is pretty simple. The only pre-requisite is that before taking off, you’re required to position the drone in such a way that its front is your front. Since yaw (the left stick) anyway doesn’t have anything to do with orientation (left is left and right is right all the time, regardless of where your drone is pointing at), it is how the drone... -
Page 5: Fine-Tuning Operation
Flying operation introduction First Step:Push the throttle up and down twice for connecting the drone. Forward and backward Hover up and down Push the throttle up or down, the Push the direction lever up or down, the quadcopter flies upward or downward. quadcopter flies forward or backward. -
Page 6: Spare Parts
Battery charging using instructions Remove the battery from aircraft before charge, place the adopter and battery socket in right way (Image 01). when charge will have Red light on adopter, after 180 minutes when the charge complete it will turn green, which means full charge. plug cord 黑线... - Page 7 5.8Ghz FPV Device INSTALLATION AND OPERATION 5.8G Real-Time Transmission Transmitter Component Installation Instructions screw camera The four pillars (Image 1) 5.8G real-time transmission transmitter component corresponding to (Image 2) (A) are installed , screw Image 1 them . Then connect the plug (Image 2) (C) to 2 pin socket. Real-Time Transmission Display Screen Installation Instructions Image 2...
- Page 8 5.8Ghz FPV LCD INSTALLATION AND OPERATION Ⅳ. DISPLAY SCREEN ICON INSTRUCTION 1.Real-Time Transmission Display Interface : Signal Strength Display Icon : Recording Status Display Icon (No recording states red dots disappear) : Photo Shooting Status Display Icon (Red dots on screen will flash once when taking photo) : Card Display Icon When Card Inserted...
-
Page 9: Camera Installation
Camera Installation Screw camera USING THE ON-BOARD VIDEO CAMERA 1.Install the SD card, power on, green light on. If not install the SD card, green light on, red light flash. Video/ 2.Start taking video, press the video / photo button Camera (Figure 1).

Need help?
Do you have a question about the Flanker W606-5 and is the answer not in the manual?
Questions and answers