Advertisement
Quick Links
Advertisement

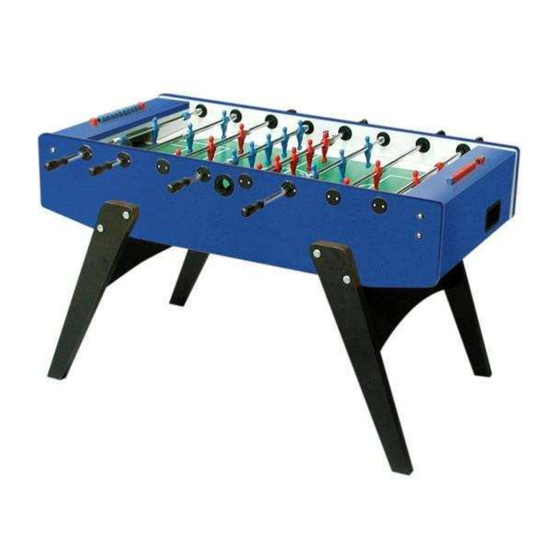
Summary of Contents for Imperial G.2000
- Page 1 ASSEMBLY INSTRUCTIONS WITH TELESCOPIC RODS...
- Page 2 WARNING, READ AND KEEP This product is not suitable for use by children under 3 years. Small balls might be swallowed or inhaled. Care and maintenance instructions for your table Congratulations! You have bought a first quality table. It is an indoor table: please assemble it and use it indoors only. IMPORTANT: Once assembled your table is quite wide and may not fit through your doors.
- Page 3 TABLE SETUP Important: children should be kept away of the table during the assembling operations fig. 1 fig. 2 Fig. 2 – Remove the wood panel keeping the table items : this is a part of the packing only and will not be needed anymore.
- Page 4 Inside the football-table cabinet you can find a plastic bag which includes: 8 black plastic handles (fig.4), 2 ball entry fillers (fig.5), 2 score counters (fig.6), 8 roller bearings (fig.8a), 16 inside bearing retainers (fig.8b), 8 outside bearing retainers (fig.8c) 10 white plastic balls, fixing screws fig.
- Page 5 d) the table legs (fig. 11) fig. 11 fig. 12 Take all the items off the cabinet and start the assembly by setting the legs. Leg Assembly Legs should be attached with an outward angle for stability. Keep the table upside down (fig. 12). Take one leg and insert two wooden pins into the blind holes (fig. 13). Using the pins as guides, rest the leg against the cabinet wall and insert two bolts into the holes (fig.
- Page 6 Working in the inside cabinet, first insert the washer (rounded shaped) and then the nut (fig.16) and tighten them up using the spanner (fig. 17). The first two legs should be attached at the same table side, to make sure you use the right ones (fig.
- Page 7 fig. 21 fig. 22 fig. 23 Rest one hinge in correspondence on the panel holes (fig.21 22) and screw it up (figg. 23-24). fig. 24 Now you can tighten the leg bolts Fit the plastic foot and Pag. 9...
- Page 8 Ball Entry Fillers You may want to leave this to the end but it is preferable to put on the ball fillers when no rods are on yet. fig. 25 fig. 26 Manually fit the ball entry filler (fig. 25), insert screws into the holes and tighten them (fig. 26). Do the same with the other ball filler.
-
Page 9: Roller Bearing
BEWARE NEW MODEL Please follow these assembly instructions: Roller bearing INT = Side of the bearing that must look towards the playfield “A” “B” Outside Bearing retainers Indside bearings retainers To match the two bearings, rest them on the bar while keeping them slanting so that the protruding part “A”... - Page 10 Pag. 12...
- Page 11 Handles Assembly Caution: do not put on handles if the plastic feels cold. If this should be the case, warm them a little before installing them. Start by manually inserting a handle onto the bar without covering the knurl (distinctly marked in fig. 41). Delicately hammer it (fig.
- Page 12 FOOTBALL-TABLE DEMOLITION AND HARMFUL MATERIAL REMOVAL Demolition: The football table doesn’t require any particular care for the demolition since it doesn’t have any parts produced with dangerous materials. The materials are: Wood, MDF, steel, aluminium, ABS, PP (moplen), PE, PVC, Glass. These materials are present in the following parts: Frame: Wood, MDF, Steel.
Need help?
Do you have a question about the G.2000 and is the answer not in the manual?
Questions and answers