Table of Contents
Advertisement
Quick Links
Advertisement
Table of Contents

Subscribe to Our Youtube Channel
Summary of Contents for Logic L07DPF10
- Page 1 7” Digital Photo Frame Instruction Manual L07DPF10...
-
Page 3: Table Of Contents
Contents Unpacking ........................4 Product Overview ......................5 Main Unit .............................5 Preparations........................6 Attaching the Stand .........................6 Connecting to the Mains Power ....................7 Inserting a Memory Card / USB Flash Drive ................8 Main Menu ........................9 Selecting the Memory Drive ......................9 Viewing Photos ......................10 Thumbnail View .......................... -
Page 4: Unpacking
The following items are included: Digital Photo Frame Photo Frame Stand P.N.: 27-155-06930100 7” Digital Photo Frame Instruction Manual L07DPF10 Mains Adapter Instruction Manual P.N.: 49-501-00600059 P.N.: 46-007-41010209 If items are missing or damaged, please contact Partmaster (UK only). Tel: 0844 800 3456 for assistance. -
Page 5: Product Overview
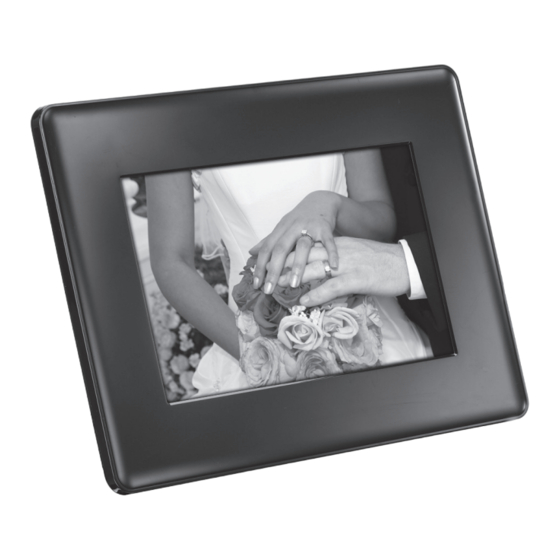
Product Overview Main Unit 3 4 5 6 LCD Display Name Description 1. ON / OFF switch • To turn the unit on and off • To move right in the menu / thumbnail mode / option button settings • To display the next photo button •... -
Page 6: Preparations
Preparations Attaching the Stand 1. Take out the stand attached at the back of the unit. Stand Receptacle Stand 2. Screw the stand into the stand receptacle. 3. Once the stand is fixed, you can choose to display your unit in a landscape or portrait position. -
Page 7: Connecting To The Mains Power
Connecting to the Mains Power 1. Connect the supplied mains adapter (5V DC, 1A) to the unit, and then plug into the mains socket. 2. Slide the ON/OFF switch to the ON position to turn on the unit. 3. To turn off the unit, slide the ON/ OFF switch to the OFF position. -
Page 8: Inserting A Memory Card / Usb Flash Drive
Inserting a Memory Card / USB Flash Drive This unit can only display one storage media’s contents at a time. If more than one storage device is connected, please refer to “Selecting the Memory Drive” and select your desired drive to be displayed in the main menu. This frame can only play images (JPEG). -
Page 9: Main Menu
Main Menu In the main menu, you can select the connected source to view photos and change frame settings. Press and hold the button to access the main menu. All connected sources, setup and now playing icons are displayed. Selecting the Memory Drive Use the buttons to navigate between the options in the main menu, and then press the... -
Page 10: Viewing Photos
Viewing Photos Thumbnail View In Photo mode, the photos on the selected memory source can be displayed on the screen as thumbnails. Up to 12 photos are displayed at a time. 1. Select a memory source (e.g. USB, SD/MMC/MS) on the main menu and press the button. -
Page 11: Playing A Slideshow
Playing a Slideshow You have two ways to start playing a slideshow: 1. While browsing a single photo, press the button to start a slide show from the current photo. • Press the button once to open the OSD menu and pause the slideshow, press twice to carry on the slide show. -
Page 12: Changing Frame Settings
Changing Frame Settings The system settings let you customise and configure your unit. 1. Select the Setup icon in the main menu and press the button. The Setup Menu appears on the screen. 2. To select a setting option, press the buttons. -
Page 13: Setting Auto Run
Setting Items Description General Setup Language Set up the language of the OSD menu. Adjust the brightness of the screen. Brightness The available options include: +3, +2, +1, 0, -1, -2, -3. Adjust the contrast of the screen. Contrast The available options include: +3, +2, +1, 0, -1, -2, -3. -
Page 14: Hints And Tips
Hints and Tips No power • Check to make sure the mains plug is plugged into the mains socket. • Make sure there is power in the mains socket. Unable to view photos on the unit • Not all JPEG files are compatible. Please open the files in a computer and resave them as JPEG files and then try to playback in the unit. -
Page 15: Specifications
Specifications Display Analog LCD Panel size:7 inches Screen aspect ratio: 16:10 Resolution: 432*234 pixels DC in Power Adapter Input: 100~240V AC, 50~60Hz Output: DC 5V 1.0A USB Port USB Host 2.0 Supports USB flash media USB Max Load : DC 5V, 400mA Supported Peripheral Devices SD™... -
Page 16: Safety Warnings
Safety Warnings When using electrical appliances, basic • When the unit is not in use or precautions should always be followed, unattended for a long period of time, including the following: disconnect it from the mains socket. • Do not remove any fixed cover as this •... - Page 17 Note: If you require a replacement for any of the items listed below, please quote their corresponding part numbers: Replacement Part Part Number Photo Frame Stand 27-155-06930100 Mains Adapter 49-501-00600059 Visit Partmaster.co.uk today for the easiest way to buy electrical spares and accessories. With over 1 million spares and accessories available we can deliver direct to your door the very next day.
Need help?
Do you have a question about the L07DPF10 and is the answer not in the manual?
Questions and answers