Advertisement
Quick Links
Advertisement

Summary of Contents for SweetBeam SBS0202
- Page 1 SweetBeam Digital Photo Frame Users Manual Model no.: SBS0202...
- Page 2 Deral Communication Commission interference state-ment : This equipment has been tested and found to comply with the limits for a Class B digital device, pursuant to part 15 of the FCC rules. These limits are designed to provide reasonable protection against harmful interference in a residential installation. This equipment generates, uses and can radiate radio frequency energy and, if not installed and used in accordance with the instructions, may cause harmful interference to radio communications.
-
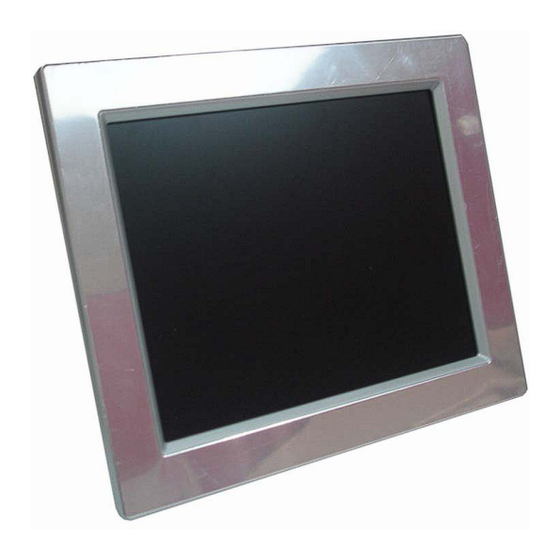
Page 3: Getting To Know Your Photo Frame
1. Getting to Know Your Photo Frame USB device port Ethernet Status Button DC Power input Touch key Light Sensor 1.1 USB device port: only for Firmware upgrade 1.2 Ethernet: 10/100Mbps Ethernet 1.3 Status Button: 1.3.1 Press 2 sec.: Photo Frame will display the status of network connecting. - Page 4 Configuring the Photo Frame 2.1 Getting the IP address of the Photo Frame Press the Status Button. The Status page will appear as below. To get the IP address of Photo frame from Status page. 2.2 Accessing to the Photo Frame 2.2.1 Open the Web browser on your computer (for example, Microsoft Internet Explorer in this guide) 2.2.2 Type the IP address in the Address bar, and then press [Enter].
- Page 5 2.2.4 After you login into the Web Configuration of the Photo Frame, the Control Panel will appear as below: Note. When finish the setting please click Submit to commit changes for Control Panel...
-
Page 6: System Setting
2.3 System setting 2.3.1 Password To prevent unauthorized access to the Photo Frame’s Control Panel, you are strongly recommend to change the default password. 2.3.2 Status Page Delay When you press Status Button to enter Status page. The Status page play time on screen, Its depend on the Delay time setting. - Page 7 2.4.3 IP networking This item allows you to select the IP address mode and set up the related configuration. Auto: Select this option when your network uses the DHCP server. When the camera starts up, it will be assigned an IP address from the DHCP server automatically.
- Page 8 2.5.1 Brightness setting The setting of Brightness Max/Inter/Min/Window. Allow you to adjust the brightness range of LCD panel. 2.5.2 Sensor setting The setting of Sensor max/Min/Off. To adjust the sensitivity of Light Sensor depend on the ambient light of Photo Frame installed. 2.5.3 User Button setting The Button is for turn On/Off the Backlight power of LCD panel.
-
Page 9: Specifications
3. Specifications Display 10.4” TFT LCD (4:3) IEEE 802.3 10BASE-T/100BASE-TX Ethernet compatible IEEE802.11b/g/n Wireless LAN Wireless Two internal Antenna Media Formats support JPG and BMP USB port One Type B USB Device port Power input DC12V Power consumption 6watts Max. Dimension W273 x H220 x D42 mm Materials...
Need help?
Do you have a question about the SBS0202 and is the answer not in the manual?
Questions and answers