Advertisement
Quick Links
Advertisement

Summary of Contents for FURNA FURNA E-TOP
- Page 1 F U RNA E -TOP A SS E M BLY GUIDE...
-
Page 2: Important Note
1 Pc 1 Pc 1 Pc 1 Pc 1 Pc 3 mm M6 x 10 M5 x 8 Two people are required to 18 Pc 4 Pc 1 Pc 4 Pc 1 Pc assemble and move this model. 4 mm STEP 1 STEP 2 Unscrew 4 screws to take off cap. - Page 3 Two people are required to assemble and move this model. STEP 3 STEP 4 Use 2 x screws (Part F) on each to secure Part A Assemble the bottom cover (Refer to Step 1) main column at the rear. Then fully tighten all 6 Insert Part H in place screw positions (including the first 4 screws from around the main column...
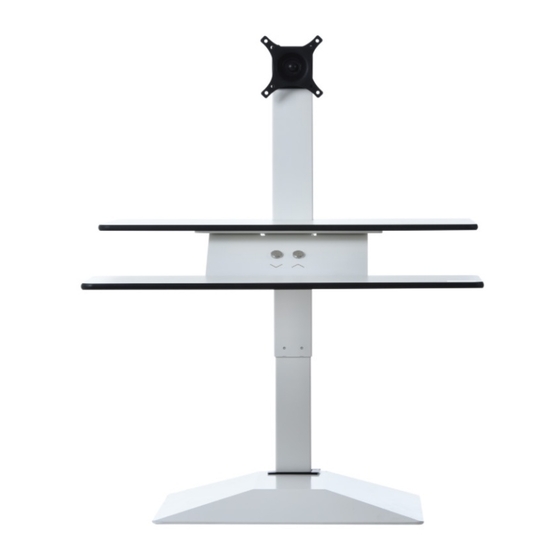
- Page 4 Two people are required to assemble and move this model. STEP 6 Connect power cable to power source and press UP button to put the E-Top in position to complete Step 7 more easily. STEP 7 Use 4 x Part G screws to secure the desk top in place.
- Page 5 Two people are required to assemble and move this model. STEP 8 Part E (VESA monitor mount) can be assembled facing up or down for increased height range. STEP 9 Assembly complete. Touch button to adjust height.
-
Page 6: Need Help
Need help? Get in touch by emailing contact@furna.co.uk or by using our Live Chat feature on our website!
Need help?
Do you have a question about the FURNA E-TOP and is the answer not in the manual?
Questions and answers