
Summary of Contents for KICK ASS KACHG1207
-
Page 1: Instruction Manual
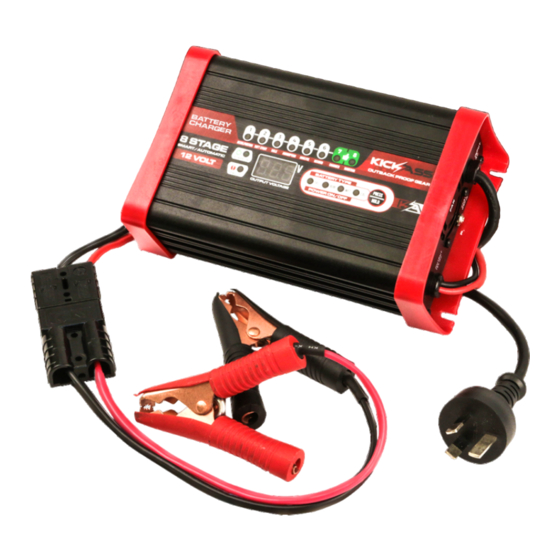
8-STAGE AUTOMATIC BATTERY CHARGER MCU CONTROLLED - HIGH FREQUENCY SWITCHMODE MODELS: KACHG1207, KACHG1212, KACHG1220, KACHG2410 Instruction Manual Please read user manual carefully before use. - Page 2 WARNING ◆ Before using the charger, please read and understand the instructions. ◆ Provide adequate ventilation and prevent sparks and flames around charging area. Explosive gases may escape from the battery during charging. ◆ Designed For charging 12 Volt or 24 Volt Lead Acid, AGM,Gel and Calcium batteries ONLY.
- Page 3 The 8-Stages Include: Desulphation - Soft Start - Bulk - Absorption - Analyse - Recondition - Float - Maintain DESULPHATION SOFT START BULK CHARGE ABSORPTION REMOVES BUILT STARTS THE CHARGING ALLOWS THE FULL VOLTAGE / CURRENT AUTOMATICALLY REDUCES UP SULPHATE DEPOSITS STORED PROCESS GENTLY TO ENSURE OUTPUT OF THE CHARGER REQUIRED BY THE CURRENT OUTPUT WHILST MAINTAINING...
- Page 4 Desulphation The Desulphation stage is designed to break down sulphation that occurs in batteries that have been left discharged for extended periods of time, this process assists in revitalizing the battery. Sulphation occurs when lead-sulphate hardens and clogs up the battery cells. Soft Start A preliminary charge process that reduces the initial current into the battery.
- Page 5 PROTECTIVE FEATURES POLARITY PROTECTION Prevents the output leads from sparking due to accidental reverse connection or short circuit, making the charger safer to use around batteries. OUTPUT SHORT PROTECTION Short circuit connection of the clips: Check clips are not touching each other OR Check the clips are correctly connected to the battery.
- Page 6 CHARGE STATUS INDICATOR The 'Charging' and 'Stage' LED's will illuminate and flash in various patterns to indicate the different Stages of Charging. See the table below for Flashing / Solid patterns. Note: SOLID : FLASH POWER ON LED STAGE LED FAULT LED FAULT LED Power Off...
- Page 7 Stage LED: illuminates and flashes when 8-stage charging is in progress and illuminates solid when fully charged. (Stage 7/8) POWER ON LED If the 'Power' LED is illuminated with a: 1. SOLID LIGHT The mains cable is connected to the wall socket. 2.
- Page 8 SPECIFICATIONS - KACHG1207 P/No. KACHG1207 - 12 Volt 7 Amp Charger Type 8-Stage automatic Input Voltage 220-240V / 50Hz Input Power 215W Output Voltage 12V DC Output Current Minimum Start Voltage Back Drain Current Fuse Rating 250VAC, T3.15A CHARGE CONTROL...
- Page 9 SPECIFICATIONS - KACHG1212 P/No. KACHG 1212 - 12 Volt 12 Amp Charger Type 8-Stage automatic Input Voltage 220-240V / 50Hz Input Power 332W Output Voltage 12V DC Output Current Minimum Start Voltage Back Drain Current Fuse Rating 250VAC, T3.15A CHARGE CONTROL Desulphation Maintain charge up to 11V 50% current rating up to 12.5V...
- Page 10 SPECIFICATIONS - KACHG1220 P/No. KACHG 1220 - 12 Volt - 20 Amp Charger Type 8-Stage automatic Input Voltage 220-240V / 50Hz Input Power 554W Output Voltage 12V DC Output Current Minimum Start Voltage Back Drain Current Fuse Rating 250VAC, T5A CHARGE CONTROL Desulphation Maintain charge up to 11V...
- Page 11 SPECIFICATIONS - KACHG2410 P/No. KACHG 2410 24 Volt 10 Amp Charger Type 8-Stage automatic Input Voltage 220-240V / 50Hz Input Power 547W Output Voltage 24V DC Output Current Minimum Start Voltage Back Drain Current Fuse Rating 250VAC, T5A CHARGE CONTROL Desulphation Maintain charge up to 22V 50% current rating up to 25V...
- Page 12 CHARGING INSTRUCTIONS Settings are made by pressing the MODE-button (Press/Hold). After about two seconds the charger activates the selected program. The selected program will automatically default to the AGM Mode next time the charger is connected STEP 1 – CHECK THE ELECTROLYTE LEVEL Please ensure to check the electrolyte level prior to charging the battery by removing the vent caps (not required on sealed &...
- Page 13 NEGATIVE EARTHED CONNECTION (Most Vehicles) Connect the RED Output Lead (Battery Clip) from the charger to the Positive (+) Battery Terminal and ensure a good connection is made. Connect the BLACK Output Lead (Battery Clip) from the charger to a clean conductor point on the vehicle's chassis away from any fuel lines or moving parts.
- Page 14 CHASSIS EARTHING (Not Essential) The chassis earthing terminal should be connected to an earting point which will be depending on where the battery charger is installed. In a vehicle, connect the chassis ground terminal to the chassis of the vehicle. In a boat, connect to the boat's grounding systems.
- Page 15 MOUNTING INSTRUCTIONS This 8-stage charger is designed for indoor use only and not outdoor conditions (rain and moisture). Ensure that both the charger and battery are in a well- ventilated area during charging. If permanently fixed, the charger should be mounted to a suitable vertical or horizontal panel, with at least 10cm clearance from the end plates to provide adequate ventilation for the cooling fan.
- Page 16 PERMANENT WIRING TO BATTERY If required, It is possible to hard wire the DC charging Output Leads to the battery for permanent installations. You will need an Adaptor Lead with Ring Terminals, Fuse, Fuse Holder and a suitable Plug to attach to the current Charger Plug. Alternatively, if you would like to install this yourself please follow the steps below: 1.
- Page 17 CHARGER REFERENCE : 12 / 24 VOLT BATTERY BATTERY SIZE CHARGER CHARGING TIME 7 Amp KACHG1207 7-24 Hours 50 - 100 Ah 12 Amp KACHG1212 7-24 Hours 90 - 150 Ah 20 Amp KACHG1220 7-24 Hours 150 - 300 Ah...
- Page 18 FAULT CODES The 8 Stage Charger Technology features high quality internal sensing components to determine any issues with the battery or charger. Various Fault Codes will be displayed on the charger for reference. The Fault Codes will be displayed in the following way: Fault Stage Power On...
- Page 19 FREQUENTL Y ASKED QUESTIONS Q. How do I know if the battery is charged? A. The charger's 'Charged' and/or 'Maintain' LED (Stage 7/8) will be illuminated (solid). Alternatively use a Battery Hydrometer (if caps are removable). A reading of 1.250 or more in each cell indicates a fully charged battery.
- Page 20 CAUTION ALWAYS PLACE THE BATTERY CHARGER IN AN ENVIRONMENT WHICH IS: A. WELL VENTILATED. B. NOT EXPOSED TO DIRECT SUNLIGHT OR HEAT SOURCE. C. OUT OF REACH FROM CHILDREN. D. AWAY FROM WATER / MOISTURE, OIL OR GREASE. E. AWAY FROM ANY FLAMMABLE SUBSTANCE. F.
Need help?
Do you have a question about the KACHG1207 and is the answer not in the manual?
Questions and answers