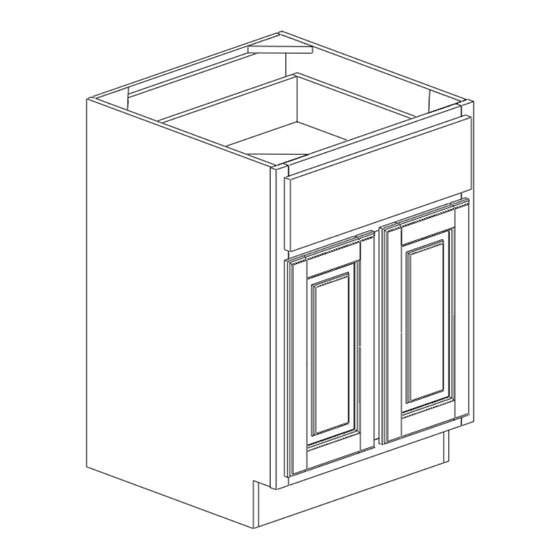
Summary of Contents for Cabinet Mania Base Cabinet
- Page 1 ® Base Cabinet Assembly Guide More assembly info available at: www.cabinetgiant.com/assembly Need Help? Give Us A Call at 1-888-551-4480 ext 2 Or You Can Watch The Assembly Videos Here http://www.worldcraftcabinetry.com/videos...
- Page 2 Hey there! Assembling our cabinets is really simple, but in case you’re a little nervous, this guide should help. Simply follow this quick guide and you’ll be a cabinet assembly master in no time. It’s painless, promise! Unlike many other ready to assemble (RTA) cabinets on the market, ours require NO hot glue guns, NO staple guns, NO bar clamps, or anything more sophisticated than a Phillips screwdriver and rubber mallet.
- Page 3 1 mins Step 2 | Identify Fastening System We use several di erent fastening systems. They are all great, but they attach di erently, so let’s gure out what you have and how it works. For the rest of the instructions, we’ll use the terms ‘Steel Spring Clips’...
- Page 4 Step 3 | Attach Sides To Front 3-5 mins Set front of cabinet, face down on your padded work surface. Line up fasteners on the side of the cabinet with fasteners on the front of the cabi- net, locking the fasteners in place. Repeat with other side of the cabinet. Front Side Side...
- Page 5 1 min Step 4 | Slide in Floor Slide the bottom oor of the cabinet into place using the dado joints (shallow grooves cut out of the sides of the cabinet) as a guide. The oor of the cabinet should be easy to identify because it is usually only nished on one side and should be just a little thinner than the dado joints (remember the prior sentence?) on the side of the cabinet towards the bottom.
- Page 6 1 min Step 6 | Toe Kick Pop the toe kick into place and use the fasteners to lock it into place. 1 min Step 7 | Shelving From the hardware bag, put the clear acrylic shelf clips into place. Pop the shelf into position.
- Page 7 1-2 mins Step 8 | Drawer Glides We use several di erent types of glides, but for this assembly guide we’re covering our most popular soft-close glide. The process is extremely easy. Locate the plastic L-shaped “boot” and place it into the corresponding holes in the back of the cabinet.
- Page 8 3 min Step 9 | Put on your drawers There are ve pieces that make up the drawer. If your drawers don’t have dovetail joints, then simply line up the pieces as shown below and use supplied 1¼” screws and the pre-drilled holes to fasten all the parts together.
- Page 9 1 min Step 5 | Click It Place the assembled drawer box on top of the extended metal glides. Towards the back of the metal glide, you’ll notice there’s a prong. Push the prong into the pre- drilled hole located in the rear of the drawer until it’s ush with the back of the cabinet.
- Page 10 1 min 2 mins 2 min Step 6 | Bracing Okay, last step. Take a look at what’s leftover, and once you’ve established what kind of vertical brace came with your cabinets, screw them on, and you’re done! Wood I-Beam Vinyl Corner Brace Take the two exible plywood “beams”, and pop...

Need help?
Do you have a question about the Base Cabinet and is the answer not in the manual?
Questions and answers