
Summary of Contents for Statesman Appliances BDW60
- Page 1 BDW60/12 INTEGRATED DISH WASHER Instruction Manual Please read these instructions carefully before use and retain for future reference. Before switching on your appliance – Always check for any damage that may have been caused in transit.
- Page 2 CONTENTS Important Safety Instructions ........3 Specification ..............4 Appliance Overview ............4 Installation ..............5 Operating Instructions ..........6-11 Cleaning and Maintenance ..........11 Fuse Replacement ............13 Trouble Shooting Guide ......... 13-15...
-
Page 3: Important Safety Instructions
IMPORTANT SAFETY INSTRUCTIONS Read and follow all of the instructions even if you feel you are familiar with the product, and find a place to keep this manual handy for future reference. Important: This product is intended for domestic indoor household use only. When using electrical appliances, basic safety precautions should always be followed: 1. Only a qualified electrician can install, connect or repair this appliance. Do not install or operate the appliance if it has been damaged. -
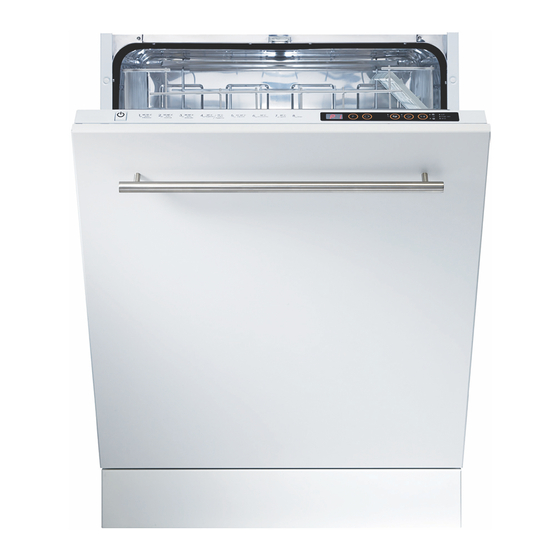
Page 4: Specification
SPECIFICATION Capacity 12 Place Settings Height 820mm - 870mm Width 596mm Depth 550mm Net Weight 38kg Power Input 220-240V, 50Hz Total Power 2200W Heating Power 2000W Pump Power 100W Drain Pump Power Water Supply Pressure 0.03 MPa (0,3 bar)-1MPa (10bar) Current APPLIANCE OVERVIEW 1. -
Page 5: Installation
INSTALLATION Location • When deciding where to place your appliance, ensure to choose a place where you can easily load and unload the dishes. • Ensure that there is a mains electrical socket; water inlet and drain close by to connect the appliance to. • Do not place the appliance where the temperature is likely to fall below 0°C. • Before installing the appliance ensure all packaging has been removed. • When installing take care to not squash the water inlet and outlet hoses. • Ensure that the appliance is level, if not adjust the appliances adjustable feet. • Only use the water inlet pipe supplied with the appliance. Connection • Connect the water inlet hose to the water supply, check for any leaks. • If the water pressure is above 10 bars, a pressure relief valve should be used. • The water outlet can either be connected to a water drain or to a sink outlet. -
Page 6: Operating Instructions
OPERATING INSTRUCTIONS Before using your Appliance • Fill the salt compartment with salt. • Pull out the lower basket and unscrew the salt compartment cover • Add 2kg of salt (not table salt) into the salt compartment and fill with water until almost full but not overflowing. To ensure best efficiency the appliance needs soft water, hard water will increase the likelihood for scale build up in the appliance • Replace the salt compartment cover. Water Hardness Setting • The appliance comes with a water hardness setting to help reduce scale within the appliance. • Check the hardness of your water by using the supplied testing strip. - Page 7 Water British hardness hardness Hardness level indicator level L1 is seen on display 7-14 L2 is seen on display 15-21 L3 is seen on display 22-28 L4 is seen on display 28-39 L5 is seen on display 40-63 L6 is seen on display • To select the correct setting for your area, press and hold the Program Selection Button.
- Page 8 • Replace the rinse aid compartment cover • The rinse aid level can be adjusted if your dishes are showing signs of water stains after wash, turn the rinse aid indicator level using a screw driver. Loading the Appliance • On the upper basket there are dish racks, when these are in the down position they can be used to place cups on them, when in the up position you can place long glasses on the basket.
-
Page 9: Using Your Appliance
• The lower basket should be used for plates, saucepans and dishes. When using the cutlery tray ensure to place all knives and sharp cutlery with the blades pointing down. • Ensure that no dishes touch the spray arms of the appliance as this could damage the appliance and the dishes USING YOUR APPLIANCE 1. Power On/Off Button 2. Program Display... - Page 10 Programme Descriptions • Press the Power On/Off Button • Select the desired program by pressing the Program Selection Button until the required program shows. • To change a program whilst a washing program is on, open the door slightly, this will stop the appliance; select the new program by pressing the Program Selection Button. Once selected close the door, the appliance will resume on the new selected program. • To cancel a program whilst a washing program is on, open the door slightly, this will stop the appliance; press and hold the Program Selection Button for 3 seconds, the End of Program Indicator will flash and “1” will show on the Program Display. Close the door and the discharge process will start; the water will discharge for about 30 seconds. Once complete the appliance will buzz 5 times and the End of Program Indicator will show. Allow the appliance to cool before opening to allow excess steam to evaporate.
-
Page 11: Cleaning And Maintenance
Tablet Detergent Button This is for when using combined detergent tablets (salt and rinse aid). To activate press the Tablet Detergent Button whilst setting the programmes. Pre-wash The pre-wash program will help to improve the washing performance of the appliance; it will change the temperature and washing time of some of the programmes. Important: If the pre-wash program is not compatible with the selected program then the appliance will buzz. - Page 12 Filters • To remove the filter, pull out the lower basket and turn the filter clockwise and remove it. • Pull the course filter out of the micro filter and rinse both with water until clean. • Remove the metal filter and clean with water. • Refit the metal filter and insert the course filter into the micro filter and reinsert into the appliance. Turn in an anti-clockwise direction until locked into place. Important: Never use the appliance without the filters. Spray Arms • It is important to check if the holes in the upper and lower spray arms are clogged; if they are then the appliance is not working correctly. Hose Filter • If a hose filter has been attached during installation this will also need to be checked, whilst checking the hose filter it is recommended to check that the hose is still in working order.
-
Page 13: Troubleshooting
FUSE REPLACEMENT (Moulded Plug Top – Class I) Remove the fuse cover with a small flat head screw driver. Take out the fuse and replace with a new fuse of the same Amp. Replace the fuse cover and push back into place. TROUBLESHOOTING If you are having problems with your appliance, please use our troubleshooting guide below. If you are unable to resolve the issue using this guide please ring our Customer Service Department on 0844 848 5861. - Page 14 Fault Possible cause Solution Water stains are Salt level is low. Refill with salt. on dishes Rinse aid level is low. Refill rinse aid. Not enough detergent. Add more detergent Salt Compartment cover is lose Check the salt compartment cover. or not on. Water hardness setting set to low. Change the water hardness setting.
- Page 15 Failure codes and what to do in case of failure...
- Page 16 38 Bluestem Road, Ransomes Europark Ipswich, IP3 9RR 0844 848 5861...
Need help?
Do you have a question about the BDW60 and is the answer not in the manual?
Questions and answers