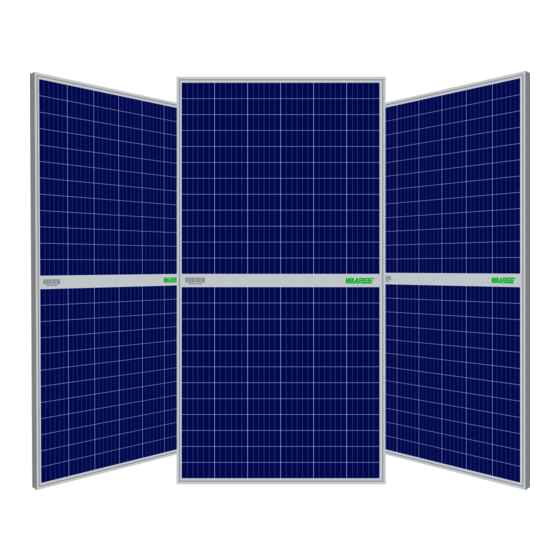
Advertisement
Table of Contents
INSTALLATION MANUAL
WAAREE ENERGIES LIMITED
Head Office:
602, Western Edge-I,
Off. Western Express Highway,
Borivali (E), Mumbai 400066,
Maharashtra, India
Tel: +91-22-66444400
waaree@waaree.com
Factory Address:
Plot No. 231 – 236,
Surat Special Economic Zone,
Diamond Park, Sachin,
Surat- 394230, Gujarat
Tel: +91-261-2398661
Advertisement
Table of Contents

Summary of Contents for WAAREE PV Modules
-
Page 1: Installation Manual
INSTALLATION MANUAL WAAREE ENERGIES LIMITED Head Office: 602, Western Edge-I, Off. Western Express Highway, Borivali (E), Mumbai 400066, Maharashtra, India Tel: +91-22-66444400 waaree@waaree.com Factory Address: Plot No. 231 – 236, Surat Special Economic Zone, Diamond Park, Sachin, Surat- 394230, Gujarat... - Page 2 WEL/ IM/ 05/ 18.03.2016 CONTENTS INTRODUCTION ..............................3 DISCLAIMER OF LIABILITY ............................. 3 GENERAL INFORMATION............................3 GUIDELINES & PRECAUTIONS FOR UNPACKING, HANDLING & STORAGE OF PV MODULE ......... 5 CLIMATIC CONDITIONS............................6 NOTES ON INSTALLATION ............................ 6 SPECIFICATIONS..............................7 SOLAR PV MODULE MOUNTING GUIDELINES ...................... 7 GROUNDING ...............................
-
Page 3: Introduction
GENERAL INFORMATION The installation of solar PV Modules requires great degree of skills, it should only be performed by a qualified and licensed professional, including, without limitation, licensed contractors and licensed electricians. The installer assumes the risk of all injury that might occur during installation, including without limitation, the risk of electric shock. - Page 4 Module, or by the edge of frame, and so on). • Only PV Modules with the same cell type and size should be connected in series. • Avoid uneven shade on the PV Module surface. Shaded cells may become hot (hot spot phenomenon) which may result in permanent damage to the Module.
-
Page 5: Guidelines & Precautions For Unpacking, Handling & Storage Of Pv Module
-cracks at the cell level, which in turn may compromise module reliability. Failure to comply with above caution will void WAAREE’s warranty. GUIDELINES & PRECAUTIONS FOR UNPACKING, HANDLING & STORAGE OF PV MODULE •... -
Page 6: Climatic Conditions
The relative humidity shall be below 85 %. • WAAREE Modules are rated for Mechanical load 5400 Pa on the front and 2400 Pa on the rear. • Operating Temperature of Modules shall be within -40ºC to 85ºC with ambient temperature -20°C to 50°C... -
Page 7: Specifications
Module should never be sealed to the mounting surface with sealant that prevents air from circulating under the Module. For roof mounted systems, provide adequate rear ventilation (100mm: 4inch gap minimum) for cooling of Modules. Please contact WAAREE’S authorized representative for any questions regarding mounting profiles for • Modules. - Page 8 WEL/ IM/ 05/ 18.03.2016 A Sample drawing is shown for installation of Module (a) Mounting guidelines for Bolting of Modules:- Modules must be mounted on mounting holes located at rear side with the M6 stainless steel nut, bolt and washer. It is recommended to use stainless steel fixing only. Module mounting must use the pre-drilled mounting holes in the frame.
- Page 9 WEL/ IM/ 05/ 18.03.2016 torque shall be big enough to fix it steadily. For safety, it is better to follow the clamp manufacturer’s recommendations. Clamp types:- Mid clamps: - They hold each neighbouring panel on the purlin. End clamps: They hold the panel at fringes at their position. INSTALLATION DIAGRAM:- Fringe module installation Middle module installation...
-
Page 10: Grounding
WEL/ IM/ 05/ 18.03.2016 2400 Pa 5400 Pa Note: - The clamp position must be in range L/8 ≤ e ≤ L/4, a≥ 6cm GROUNDING All Module frames and mounting racks must be properly grounded in accordance with respective national electrical code. The earth grounding connection shall be done by a qualified electrician. The longer sides of the Module frames are equipped with predrilled Earthing holes in their centre. -
Page 11: Electric Wiring
Module frame provides a coating to minimize the corrosion due to weather and it acts as a barrier that reduces the effectiveness of the grounding connection. For an adequate ground, the grounding hardware should pierce the anodization layer. WAAREE Modules are provided with earthing hole and same must be used for the purpose. -
Page 12: Cable Protection
The junction box, cable and connectors shall not be altered in any case. Modules with a suspected electrical problem should be returned to WAAREE for inspection and possible repair or replacement as per the warranty policy shall be provided by WAAREE. -
Page 13: Maintenance Safety
Blocking diodes are typically placed between the battery and the PV Module output to prevent battery discharge at night. WAAREE Modules do not contain a blocking diode when shipped from the factory. It is recommended that a charge controller be used to prevent the batteries from being overcharged and discharged at night. -
Page 14: Guidelines & Precautions For Cleaning Of Pv Module
Note that the installation of PV Modules on some roof types may require the addition of fireproofing, as required by local building/fire codes. - Page 15 Ltd. • Do not clean the glass surface with chemicals. Do not let water stay on the glass surfaces of PV Modules for a long time. This creates a risk of permanent damage to the glass, such as white efflorescence, otherwise known as “glass disease,”...
Need help?
Do you have a question about the PV Modules and is the answer not in the manual?
Questions and answers