Advertisement
Table of Contents
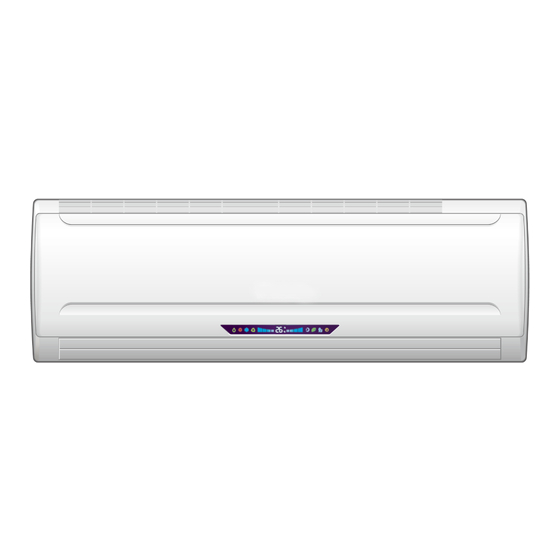
- 1 Indoor Unit
- 2 In HEAT Operation
- 3 Operation and Maintenance
- 4 Cleaning of the Air Filter and Deodorising Filter
- 5 When You Think that Trouble Has Occurred
- 6 Installing the Indoor Unit
- 7 Remove the Air in the Indoor Unit and Piping
- 8 Electric Wiring Connection & Trial Operation
- Download this manual
Advertisement
Table of Contents

Summary of Contents for S.S.Green TKF-26GW/BP
- Page 1 SOLAR AIR-CONDITIONER OPERATION AND INSTALLATION INSTRUCTIONS TKF(R)-26GW/BP ( 9000BTU ) TKF(R)-35GW/BP (12000BTU) TKF(R)-50GW/BP (18000BTU) TKF(R)-70GW/BP (24000BTU) TKF(R)-100GW/BP (36000BTU) TKF(R)-120GW/BP (41000BTU) TKF(R)-140GW/BP (48000BTU)
- Page 2 Safety Precautions Table of Contents Before using the unit carefully read these Safety P recautions fo r s afety p urposes. Safety Precautions Page WARNING Parts Description Page Indoor Unit Page Do not connect using double adopter or an extension cord and do not attach multiple loads to one Outdoor Unit Page Remote Control Buttons and Functions...
-
Page 4: Indoor Unit
Remote Control Buttons and Functions Operate Automatically According to the room temperature when the operation starts, the operation mode is automatically selected between COOL, DRY and HEAT. However, when operation is started again within 2 hours after the operation is Signal Transmitter stopped, the same operation mode being used previously is selected. -
Page 5: In Heat Operation
In DRY Operation Sleep Function 1. The indoor fan motor changes to a low speed 1. The DRY mode should be used to reduce the humidity of the room 2. In cool operation mode each hour the temperature will raise by 1 (max 2 ) 2. -
Page 6: Operation And Maintenance
Before Contacting the Serviceman Operation and Maintenance If the air conditioner cannot be operated ensure: Efficient Operation 1. The power plug is connected. The switch is turned on and the fuse is not blown In order to increase the efficiency of the operation and considering your health we recommend you use 2. -
Page 7: Cleaning Of The Air Filter And Deodorising Filter
Cleaning of the Air Filter and Deodorising Filter If the air filter is blocked it may cause condensation in the air outlet due to the reducing of the cleaning capacity. Cleaning the air filter every 2 weeks The air filter is disposable. If the colour of the cleaning filter turns to brown replace it with a new one. Open the Front Panel and Remove and Replace the Air (Customers can buy these filters in stores). -
Page 8: When You Think That Trouble Has Occurred
When you think that trouble has occurred Solar Assisted Air Conditioner Installation Picture It s n ot a m alfunctionin t he f ollowings ituations: Indoor Unit 1. The air conditioner will not operate for approximately 3 minutes when restarted. This automatically protects the air conditioners microprocessor. -
Page 9: Installing The Indoor Unit
Installing the Outdoor Unit and Piping Connection 3. Refrigerant and drainage piping work Depending on the installation site the refrigerant and drainage piping can be let out in left, right, down or Installing the outdoor unit rear directions. 1. Try as much as possible to transport the unit to the installation site as purchased Wrap the refrigerant inlet and outlet piping of heat exchanger together with drainage with binding ribbons. -
Page 10: Remove The Air In The Indoor Unit And Piping
Remove the air in the indoor unit and piping Drainage being detained The air, moisture and other foreign matter in the indoor unit or piping may cause operation current overloading Do not lift up! Slope downward and cause blocking of capillary tube. This leads to operation failure. Remove the air or moisture as follows: Remove the caps from the service port of liquid stop Water leakage Water leakage Water wave... -
Page 11: Electric Wiring Connection & Trial Operation
Electronic Diagram Electric Wiring Connection and Trial Operation Electric wiring connection WARNING TO BE INSTALED ACCORDING TO AS3000 1. Provide an exclusive circuit for power supply of the air conditioner. Wiring capacity shouldbe suitable. 2. Install a power switch and fuse matching the air conditioner. 3.

Need help?
Do you have a question about the TKF-26GW/BP and is the answer not in the manual?
Questions and answers