Advertisement
Advertisement

Summary of Contents for Wynn's Aircomatic III
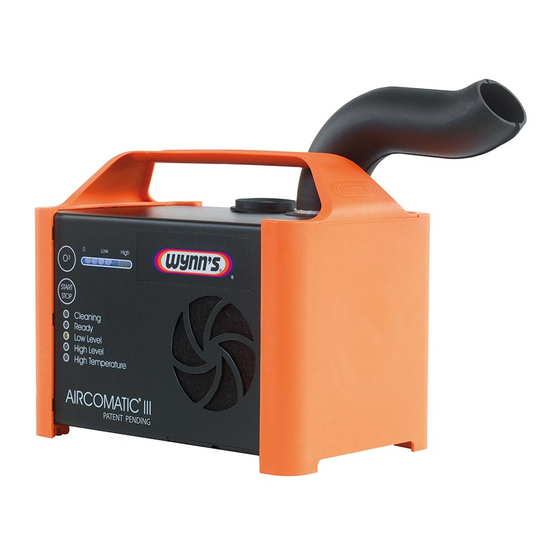
- Page 1 Repair manual Aircomatic III Status: Accepted Revision: 3 Date: 31-8-2011...
-
Page 2: Table Of Contents
Replacing transducer ........................5 Damaged powercable ........................6 Replacing the filter .......................... 7 No ozone production ........................8 Pressure calibration ......................... 9 Appendix A. How to open the Aircomatic III ..................10 Appendix B. How to close the Aircomatic III ..................12... -
Page 3: Broken Or Noisy Fan
1. Broken or noisy fan Step 1. Open the Aircomatic III as described in Appendix A. Step 2. Remove the two cables that are connected via a green connector; and the ozonebox. Step 3. Remove 3 nuts to remove the board. Be careful that the blue hose remains connected ! - Page 4 Step 4. Desolder fan wires Step 5. Remove nuts from fan Step 6. Replace fan, and put screws back. Step 7. Solder wires back, notice + and – Step 8. Put board back and test the fan. Step 9. Close the Aircomatic as described in Appendix B.
-
Page 5: Replacing Transducer
2. Replacing transducer Step 1. Open the Aircomatic III as described in Appendix A. Step 2. Remove nuts from transducerholder and remove holder. Step 3. Before removing the transducer, notice how the rubber ring is placed in the holder. Remove the transducer by removing the rubber ring. -
Page 6: Damaged Powercable
Step 3. Remove two nuts and replace board, make sure that there is just enough room to fit the other shell. Too much room will cause the pressure inside the device drop during operation. Step 4. Reconnect powersupply board to mainboard and close the Aircomatic III as described in Appendix B. -
Page 7: Replacing The Filter
4. Replacing the filter Replacing the filter is simple pulling out the old one and replacing it by a new one. A screwdriver can be helpful in getting the filter out. Please note the way it is inserted. -
Page 8: No Ozone Production
NOT be removed from the board, but on the side of the bottle. The hose is connected to a black hoseconnector, to release the hose connector press on the connector inwards and gently pull on the blue hose. Finally make sure you calibrate the Aircomatic III as described in chapter 6. -
Page 9: Pressure Calibration
The pressure sensor can only operate if it is correctly calibrated. This means it needs to be zero when the Aircomatic III is not filled with liquid. If there is any liquid in the measurement tube, the Aircomatic will not read the actual pressure, this can cause it to stop too early or too late. -
Page 10: Appendix A. How To Open The Aircomatic Iii
Appendix A. How to open the Aircomatic III Step 1. By using a flat screwdriver carefully pushback the side panel, there are 3 slots on each side. Step 2. Once one side has been lifted the other side slides off easily. - Page 11 Step 4. Finally remove the bottom shell by pushing open both back and front panel and pulling the bottom shell. The inside will now be visible.
-
Page 12: Appendix B. How To Close The Aircomatic Iii
Appendix B. How to close the Aircomatic III Step 1. Put back the bottom shell. Do this by first sliding in the part with the cutout into the top shell. Step 2. Press on the top of the shell to push it into the other shell, please not, make sure that you... - Page 13 Step 3. Push-in or pull-out the side panels till they slide into their slots. Step 4. Put handle back Step 5. Put side panels back: 1. Centre the side panel with the handle 2. Push on the corners in the designated order.

Need help?
Do you have a question about the Aircomatic III and is the answer not in the manual?
Questions and answers