
Related Manuals for Stirling STR221


Summary of Contents for Stirling STR221
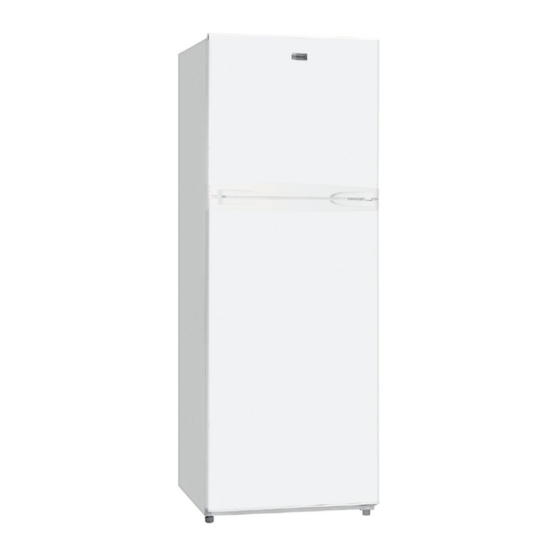
- Page 1 221L Top Mount Refrigerator Model Number STR221 INSTRUCTION MANUAL After Sales Support Telephone: 1300 886 649 N13275 Email: info@tempoaustralia.com.au...
-
Page 2: Table Of Contents
Contents Warranty Details Welcome General Safety Instructions Product Overview Getting Started: Installation Instructions Frequently Asked Questions Other Useful Information Repair and Refurbished Goods or Parts Notice After Sales Support Telephone: 1300 886 649 Email: info@tempoaustralia.com.au... -
Page 3: Warranty Details
221L Top Mount Refrigerator Warranty Details The product is guaranteed to be free from defects in workmanship and parts for a period of 36 months from the date of purchase. Defects that occur within this warranty period, under normal use and care, will be repaired, replaced or refunded at our discretion, solely at our option with no charge for parts and labour. -
Page 4: Welcome
Welcome Congratulations on choosing to buy a STIRLING ® product. All products brought to you by STIRLING ® are manufactured to the highest standards of performance and safety and, as part of our philosophy of customer service and satisfaction, are backed by our comprehensive 3 Year Warranty. -
Page 5: General Safety Instructions
General Safety Instructions Read this manual thoroughly before first use, even if you are familiar with this type of product. We have provided many important safety statements in this manual concerning the use of this appliance. Always read all safety statements. - Page 6 General Safety Instructions (Cont.) • Power cord: Do not kink or damage the power cord; do not leave it exposed or dangling. Secure it at the back so no one steps on or places anything on the cord or against it. Never unplug the unit by pulling the power cord. Always grip the plug firmly and pull straight out from the power point.
- Page 7 General Safety Instructions (Cont.) • Intended purpose: Do not use this appliance for anything other than its intended purpose, and only use it as described in this manual. Do not attempt to alter or modify this appliance in any way. •...
-
Page 8: Product Overview
Product Overview Cold air outlet Covered crisper drawer Freezer shelf 10 Adjustable feet Ice cube maker and ice box 11 Bottle rack Freezer temperature regulator 12 Middle fridge door rack Chiller section 13 Refrigerator shelves Temperature control 14 Door switch Wind channel cover 15 Upper fridge door rack Light cover... -
Page 9: Getting Started: Installation
Getting Started: Installation Installation • Unpack: The appliance and the interior fittings are protected for transporta- tion. When unpacking, make sure to remove all packing materials from the interior and pull off any adhesive tape on the interior and both sides of the door. - Page 10 Getting Started: Installation (Cont.) • Levelling: If your floor is uneven, use the two front legs to level the appliance. Turn the levelling leg(s) to raise the appliance until it slightly slopes backwards. This will ensure the doors close tightly. (Fig. 2) Fig.
-
Page 11: Instructions
Instructions Temperature regulation This refrigerator has two separate temperature controls, one in the freezer and one in the fridge compartment, so you can adjust the temperature in each compartment separately according to the food stored. The first time you turn the unit on, set the temperature control to the coldest position and then, when the thermostat starts switching off and on, adjust the temperature control to the setting that best suits your needs. - Page 12 Instructions (Cont.) Fresh food storage Use the fridge compartment for short-term storage of all your fresh food. The shelves in this compartment are removable and can be adjusted at various heights to accommodate your fresh food storage requirements. Some tips for optimum fresh food storage: •...
- Page 13 Instructions (Cont.) Frozen food storage The temperature inside the freezer compartment is suitable for freezing food, making ice cubes and appropriate long-term storage of frozen food. Some tips for optimum frozen food storage: • After buying frozen food, put it into the freezer as soon as possible. •...
-
Page 14: Frequently Asked Questions
Frequently Asked Questions If your refrigerator has a fault, is not working properly, or you think it should work better, use the list below to identify and solve any problems. If you cannot solve the problem, contact our after sales support line. Do not attempt to dismantle or repair the appliance yourself. -
Page 15: Other Useful Information
Other Useful Information CAUTION! Before carrying out any maintenance or cleaning work, make sure the temperature controls are turned to the minimum position and your refrigerator is disconnected from the power supply. Cleaning the refrigerator • Wipe the inside with a soft cloth, dampened with water — do not flush it with water. - Page 16 Other Useful Information (Cont.) Holiday time • Short holidays: Leave the fridge operating during vacations of less than three weeks. • Long holidays: If the appliance will not be used for several months, remove all food and unplug the power cord. Clean and dry the interior thoroughly.
- Page 17 Other Useful Information (Cont.) Reversing the door swing This refrigerator has been built with the door hinges on the right. If you wish to change the opening direction, follow these instructions. We recommend you have someone to help you perform this task. IMPORTANT: Before you begin: •...
- Page 18 Other Useful Information (Cont.) 4. Remove the two flange screws, then Fig. 12 remove the middle hinge that holds the lower door in place (Fig. 12). Lift the lower door and place it on a padded surface to prevent it from getting scratched.
- Page 19 Other Useful Information (Cont.) 7. Lay the refrigerator on soft foam Fig. 15 packaging or similar material. Remove both adjustable bottom feet (Fig. 15). Unscrew the flange screws and remove the fixed front foot plate and the lower hinge part (Fig. 15) lower hinge part fixed front foot plate front feet fixed board...
- Page 20 Other Useful Information (Cont.) 11. Turn the middle hinge part upside Fig. 18 down (turn it by 180°), transfer and adjust its position. Insert the middle hinge axis into the upper hole of the lower door, tighten the bolts (Fig. 18). 12.
- Page 21 Other Useful Information (Cont.) Specifications Total: Net/Gross 205L/221L Capacity Freezer: Net/Gross 43L/55L Refrigerator: Net/Gross 162L/166L Power 220-240V 50Hz Refrigerant R600A (26g) Temperature Control Mechanical Weight 50kg Gross (incl. packing) 55kg Width 550mm Product Dimensions Depth 595mm Height 1433mm After Sales Support Telephone: 1300 886 649 Email:...
- Page 22 Other Useful Information (Cont.) Responsible disposal • At the end of its working life, cut off and render any plug useless. • Observe any local regulations regarding the disposal of electrical consumer goods and dispose of the appliance appropriately for recycling and recovery of the refrigerant.
-
Page 23: Repair And Refurbished Goods Or Parts Notice
221L Top Mount Refrigerator Repair and Refurbished Goods or Parts Notice Unfortunately, from time to time, faulty products are manufactured which need to be returned to the supplier for repair. Please be aware that if your product is capable of retaining user-generated data (such as files stored on a computer hard drive, telephone numbers stored on a mobile telephone, songs stored on a portable media player, games saved on a games console or files stored on a USB memory stick) during the process of... - Page 24 After Sales Support Telephone: 1300 886 649 Email: info@tempoaustralia.com.au...
Need help?
Do you have a question about the STR221 and is the answer not in the manual?
Questions and answers